Heading2 - using the on-screen menus, Using the on-screen menus – Dukane 28A8932 User Manual
Page 37
27
Using the On-Screen Menus
The projector
has six drop-down menus that allow you to make
image adjustments and change a variety of settings. Most of these
adjustments aren’t available directly from the keypad.
NOTE: Some menu items may be
grayed out at certain times. This
indicates the item is not applicable
to your setup (for example, video
standards do not apply to com-
puter sources) or the item is not
enabled until another selection is
made (for example, Manual Track-
ing is not available until Auto
Image is turned off).
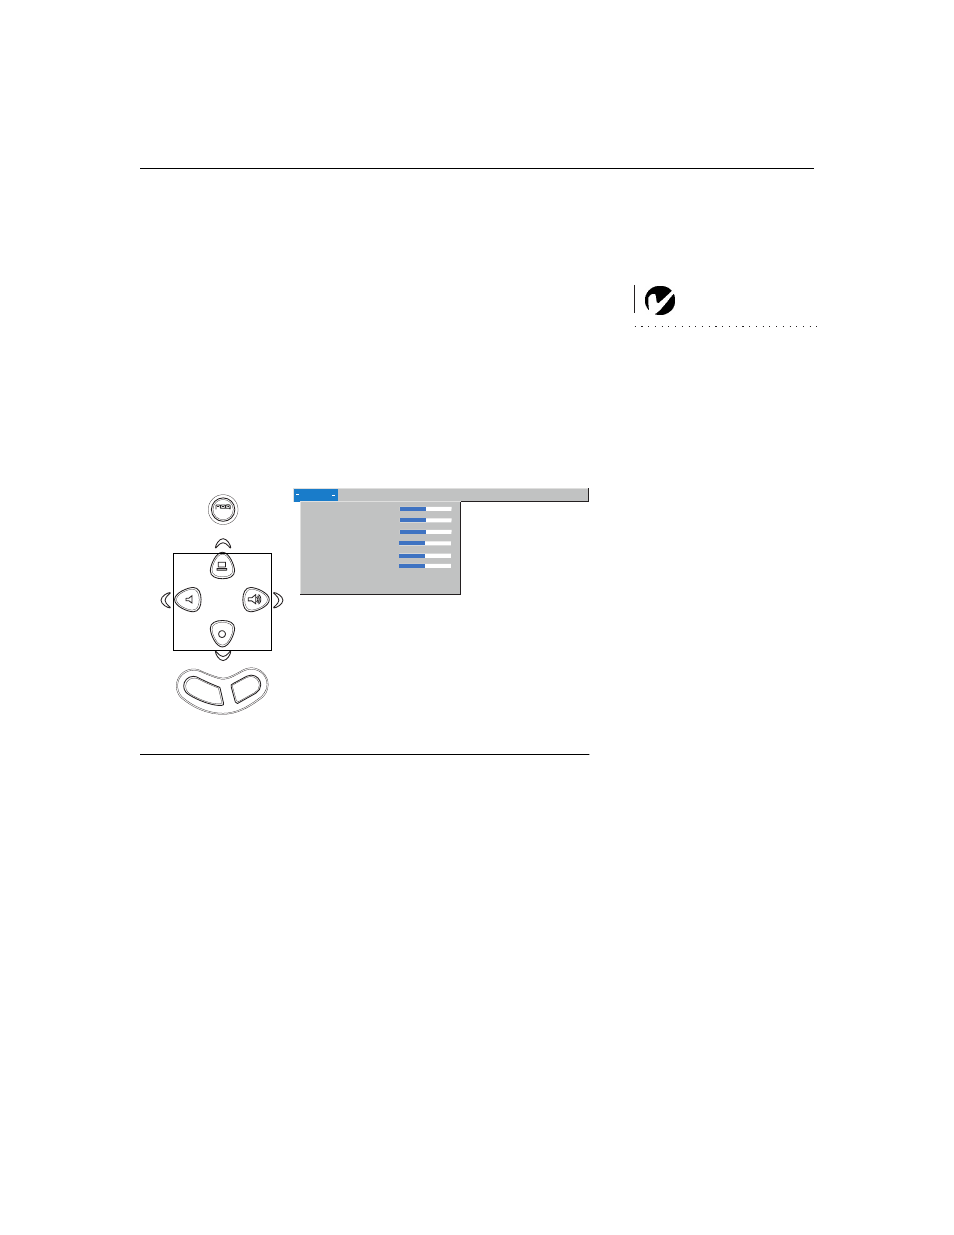
To open the on-screen menus, press the
menu
button on the
keypad or remote. This changes the volume, source, and standby
buttons on the keypad to menu navigation buttons. Press the
corresponding buttons to move the cursor up, down, left, or
right, or use the disk mouse on the remote. To select a menu,
move the cursor left or right to highlight the menu you want. The
drop-down menu appears.
F
IGURE
22
Keypad navigation buttons and drop-down menu
To change a menu setting, use the up and down navigation but-
tons on the keypad or the disk mouse on the remote to move the
cursor up and down to the item you want to change (the selected
item is highlighted), then use the left and right mouse buttons to
adjust a setting. Some submenus, such as Brightness, consist of a
slider bar you use to increase or decrease a value; some sub-
menus, such as Standby Time, consist of options you scroll
through to select the desired one. All changes are saved when
you close the menus.
To access another menu, use the left and right navigation buttons
to move to the desired menu.
source
volume -
volume +
standby
menu
use these buttons to navigate through
the menus
Display Audio Image Controls Language Status
>
>
Brightness
Contrast
Tint
Color
Color temperature
Sharpness
Blank screen
blue
Reset all