Configuration, Installation – Dataprobe K-AB-T50 User Manual
Page 2
Model KAB-T50
Page 2
In addition to lead switching, the unit has a front panel three position manual toggle switch. The toggle
selects either Position A, Position B or Automatic (external lead) control. In the A or B position, the
external control is locked out.
The Switch provides status indication with A and B LEDs on the front panel. Status information is also
provided with an extra set of Form C relay contacts. These contacts are available on the DB9 connector
on the standalone units or on the 50 pin Status Connector of the Rack Nest.
CONFIGURATION
Refer to Figure 1 Component Location.
External Control Signal
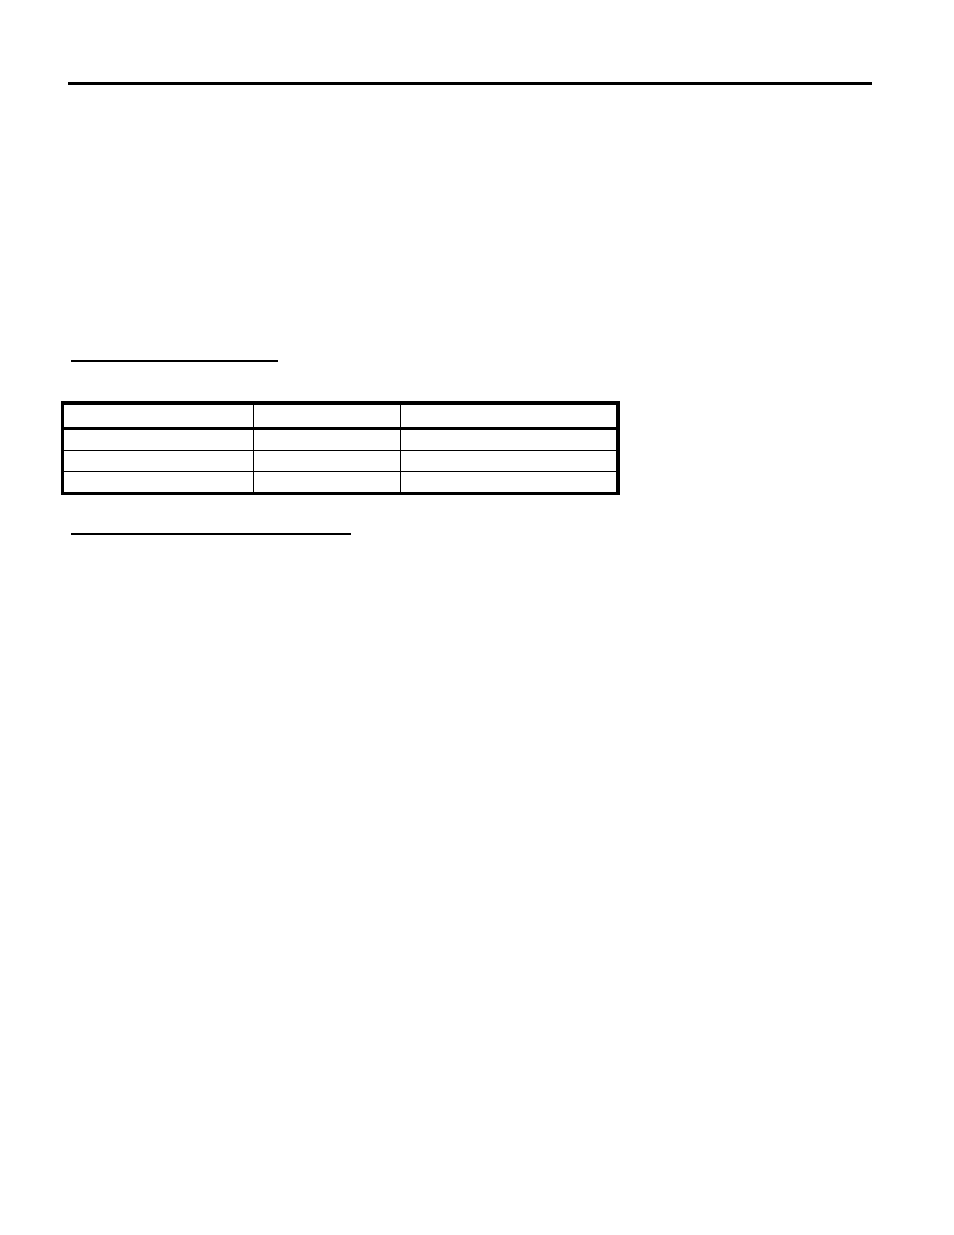
Selection of the type of external Control signal used is made using jumper groups E1 and E2.
* = Factory Default
Control Signal
E1
E2
Contact Closure
Jumper Out
Jumper in CONTACT *
RS-232 High or Low
Jumper Out
Jumper in EIA/TTL
TTL High or Low
Jumper In
Jumper in EIA/TTL
Pin 25 and 50 Switched or Tied
Telco pins 25 and 50 can either be switched or tied together for grounding applications. Selection is
made using jumper groups JP1, JP2, JP3, JP4.
Pin 25 Switched
JP1 and JP2 Jumpers Out *
Pin 25 Tied
JP1 and JP2 Jumpers In
Pin 50 Switched
JP3 and JP4 Jumpers Out *
Pin 50 Tied
JP3 and JP4 Jumpers In
INSTALLATION
Connection of the Common, Port A and Port B Telco connections are made on the rear of the Switch.
The Common port provides a Male Telco and the A and B ports are Female.
On Standalone units, connect the External control leads using the 9 pin D Subminiature connector, rear
panel. On rack models, connect the external control leads through the 50 pin CONTROL connector on
the rear of the chassis.
The following pins are used on the standalone and rack models.
K-AB-T50, Standalone. 9 pin D Subminiature Female, Rear Panel.