Daktronics Configuring the DM-100 Gen III for Gilbarco G-Site/Passport Interface User Manual
Handheld controller use and setup, Menu
Configuring the DM-100 Gen III for Gilbarco
G-Site/Passport Interface Quick Guide
Page 1 of 7
DD2294804 Rev 02
13 February 2014
PO Box 5128 201 Daktronics Drive, Brookings, SD 57006-5128
tel: 800-325-8766 fax: 605-697-4700
www.daktronics.com
Handheld Controller Use and Setup
To operate petroleum price displays, the handheld controller must first be programmed to the gas price function.
Use the
SET FUNCTION key on startup. The following table lists start-up procedures.
Note: These steps only need to be performed the first time the controller is powered up.
Menu
To access Menu Items:
1. Press the MENU key.
2. Press the Up and Down Arrow keys to
move through the list of menu items.
LED Test
1. Press the MENU key.
2. Press ENTER to open the LED Test menu item.
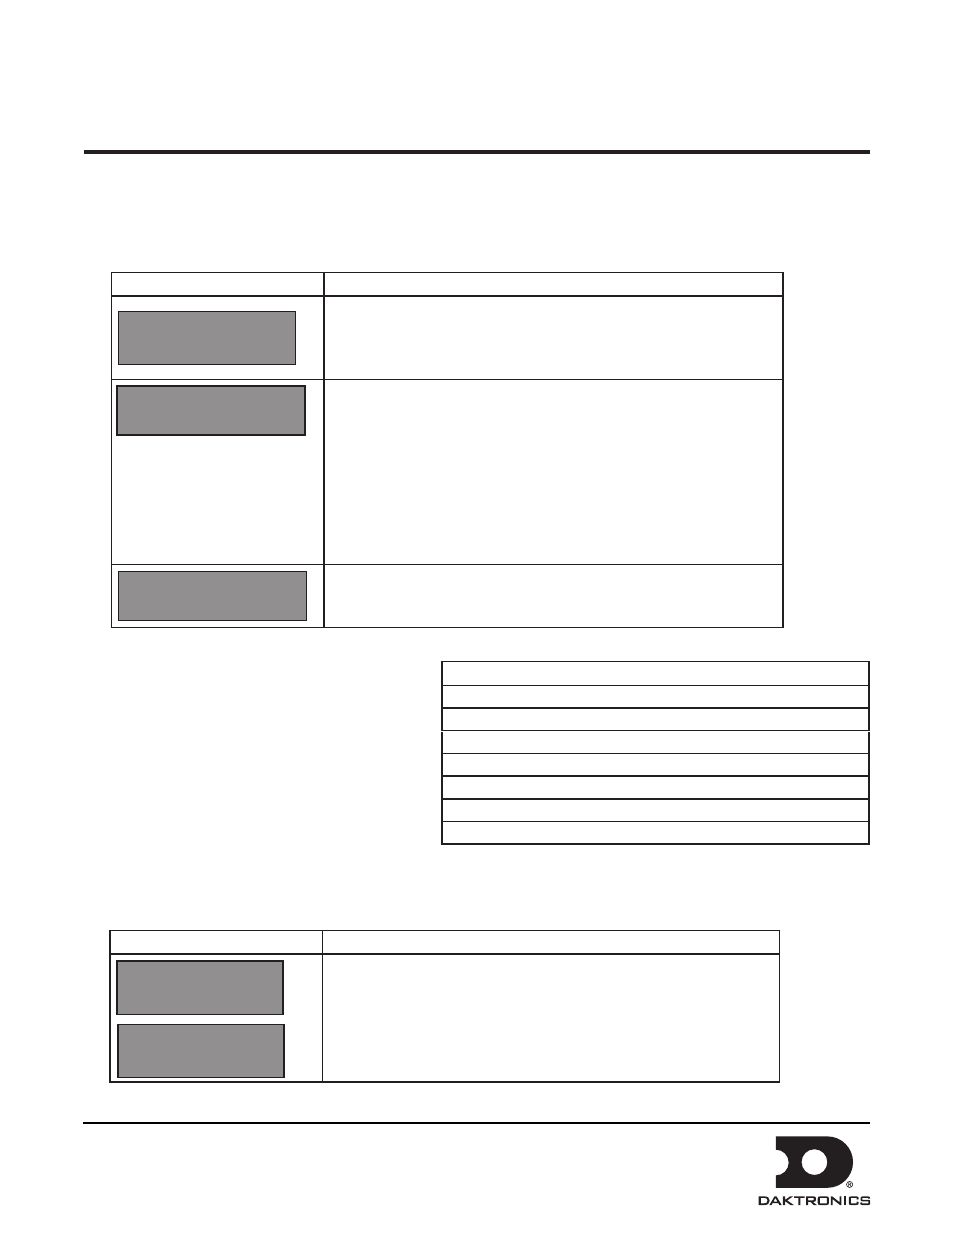
LCD Screen
Action
CURRENT FUNCTION
GAS PRICE
For indoor installation only: Plug the wall pack transformer into a 120
VAC power outlet, and connect it to the DM-100.
This display appears briefly.
This message appears next on the screen.
If GAS PRICE is shown on the bottom line of the LCD during startup,
do nothing. The controller automatically defaults to previous Gas Price
settings.
If a function other than GAS PRICE is shown on the bottom line of the
LCD during startup, press the
SET FUNCTION key while the second
LCD prompt is displayed.
SELECT FUNCTION
GAS PRICE ↑↓
Press the
Up and Down Arrow keys until the gas price option is shown.
Press the
ENTER key to accept.
CHANGE FUNCTION?
PRESS SET FUNCT
Menu Items
LED Test
Display Status
PoS Settings
Detect Displays
Configuration
Diagnostics
About
LCD Screen
Action
LED TEST?
ENTER TO TEST
Press
ENTER to enter test.
The display begins a segment march.
Press
CLEAR to exit test.
ENTER TO TEST
CLEAR TO EXIT