Beurer BY 99 User Manual
Page 29
29
• Now hold down the PAIR button on the rear of the camera until an acoustic signal is heard
and the transmission image from the camera that has been added appears on the screen.
Note
• Additional cameras are available in stores under item number 952.64.
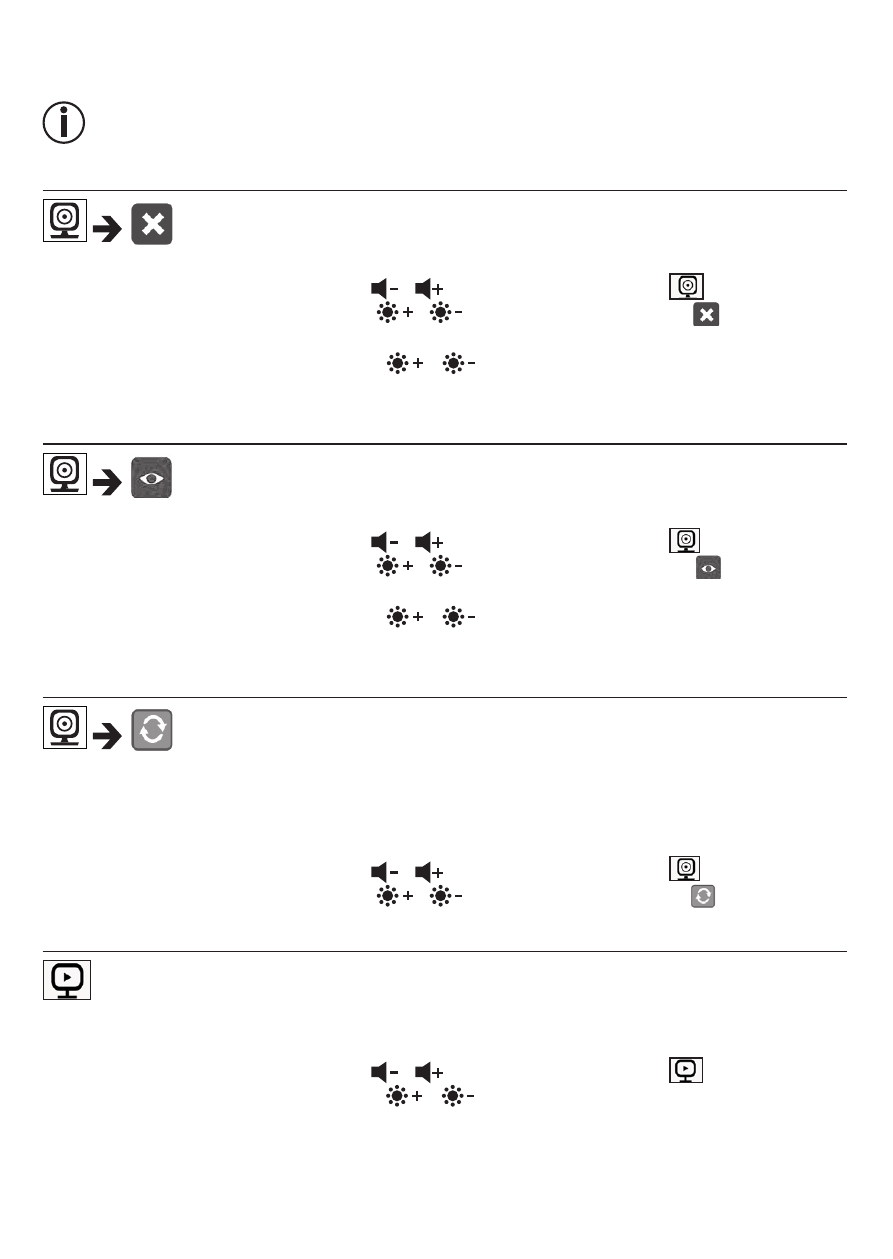
Delete camera
If you wish to delete the connection to a camera, proceed as follows:
• Use the left/right direction arrows ( /
) to select the menu item
.
• Use the up/down direction arrows (
/
) to select the menu item
.
• Confirm using the ( OK ) button. 1,2,3,4 appears on the screen.
• Use the up/down direction arrows (
/
) to select the number of the camera that
you wish to delete.
• Confirm using the ( OK ) button.
View camera
If you wish to select the transmission image from a camera, proceed as follows:
• Use the left/right direction arrows ( /
) to select the menu item
.
• Use the up/down direction arrows (
/
) to select the menu item
.
• Confirm using the ( OK ) button. 1,2,3,4 appears on the screen.
• Use the up/down direction arrows (
/
) to select the number of the camera that
you wish to view.
• Confirm using the ( OK ) button.
Alternating camera image
If you have multiple cameras registered, the “Alternating camera image” function is available.
When this function is activated, the transmission images from the registered cameras appear
on the screen in the form of a loop that changes every 12 seconds. To activate this function,
proceed as follows:
• Use the left/right direction arrows ( /
) to select the menu item
.
• Use the up/down direction arrows (
/
) to select the menu item
.
• Confirm using the ( OK ) button.
Energy-saving mode
The parent unit has an energy-saving mode. When you activate the energy-saving mode, the
screen switches off automatically after 5, 15 or 60 minutes, as you choose.
• Use the left/right direction arrows ( /
) to select the menu item
.
• Use the up/down direction arrows (
/
) to select the time period after which the
screen should switch off automatically (5 mins, 15 mins or 60 mins).
• Confirm using the ( OK ) button.