Paxton Superchargers Dodge Viper User Manual
Page 25
8-3
P/N: 4809644
©2005 Paxton Automotive
All Rights Reserved, Intl. Copr. Secured
13DEC04 v2.0 03-05Viper(4809644v2
.0)
4.
Run the ground wire to terminal #86 on
the water pump relay.
5.
The supplied yellow wire will be used
as the “trigger” wire and should be con-
nected to terminal #85 using a slide
connector. The other end of the wire
should be connected as described in
Section 7-e.
3.
Drill a hole and use the supplied sheet
metal screw to mount the water pump
relay and the ground wire in the loca-
tion shown in Fig. 8-f1 ('03-'04 vehi-
cles) or Fig. 8-f2 ('05 vehicles).
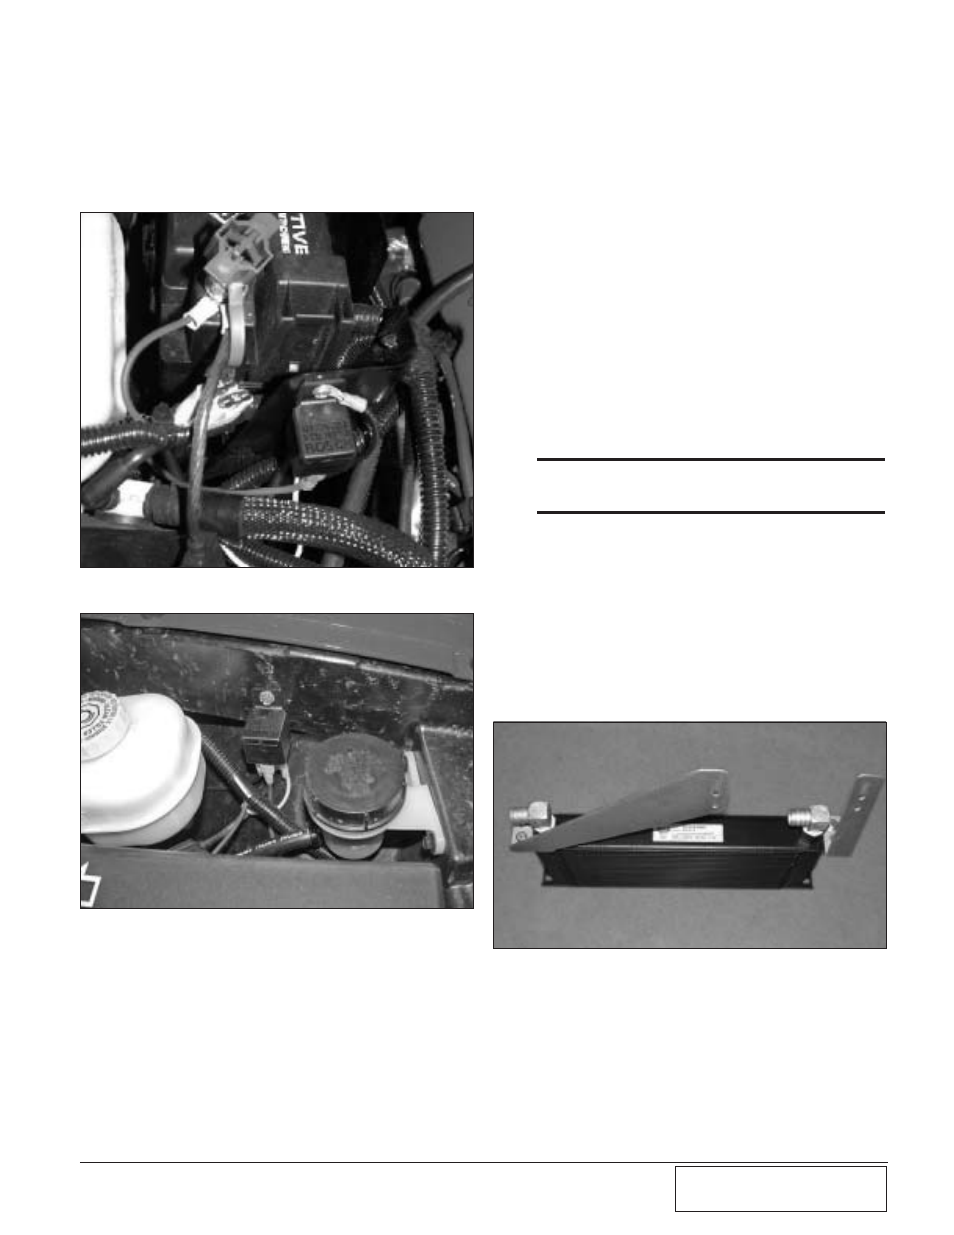
Fig. 8-f1 ('03-'04 vehicles)
Fig. 8-g
Fig. 8-f2 ('05 vehicles)
4.
Connect the short end of one of the
supplied 90º hoses to the passenger side
of the water cooler and install and tight-
en clamp. Connect a length of hose
long enough to reach the water pump to
the other fitting and tighten clamp.
6.
Connect the fuse holder using a yellow
slide connector to terminal #30 on the
CAC pump relay and to the fuse box
power terminal on the front of the fuse
box using the supplied yellow ring ter-
minal connector.
7.
Route the red wire from the water pump
to relay terminal #87. Cut off the water
pump plug and, using the supplied butt
connector, attach the red wire to the
positive wire on the water pump (green
wire on pump).
8.
Use the supplied ring terminal to con-
nect the water pump ground wire
(brown wire on pump) to the radiator
mounting screw directly under the
lower radiator hose.
9.
Install the supplied plastic wire loom
around the water pump power wires and
secure
*** NOTE ***
Double check that all wires are connected to the proper
relay lugs
D.
WATER COOLER INSTALL
1.
Remove the two screws securing the
power steering cooler to the hood
release mechanism.
2.
Using sealant, insert the 90° fittings in
the inlet and outlet of the water cooler
and point them towards the passenger
side of the vehicle.
3.
Install the supplied brackets onto the
water cooler as shown. (See Fig. 8-g.)