4 tsid output, 5 scan transponder, 4 tsid output: 4.5.5 scan transponder – AXING SKT 2-01 User Manual
Page 11
Programming
SKT-2-01
© AXING AG – state of the art: July 2012 – Reserving change in design and type
Page 11
MPEG22 SD monitor
Using this setting the SD-program is shown via
analogue output, which has been confirmed in
channel list by pressing the OK button.
4.5.4 TSId output:
This function is predominantly used with CA
modules or in the DVB-T mode.
If the available PIDs of the CA module or the
available output data rate in the DVB-T mode
are exceeded, the channels of a transponder
must be divided. During the search, some
receivers skip channels with duplicated TSIds.
A new TSId can be manually assigned to the
divided programs by means of the TSId output
function. As-delivered, the TSId output is set to
Auto, i.e., the receiving transponder passes on
the TSId 1 to 1.
If the device is adjusted manually, 1 is
assigned to the left channel strip and 2 is
assigned to the right channel strip.
This allows the TV set to accurately identify the
divided programs of a transponder during the
channel search.
Select menu item "TSId output" and press OK
to confirm.
To set the Id, press the VOL / VOL keys.
Assign 1 to the left channel strip and 2 to the
right channel strip.
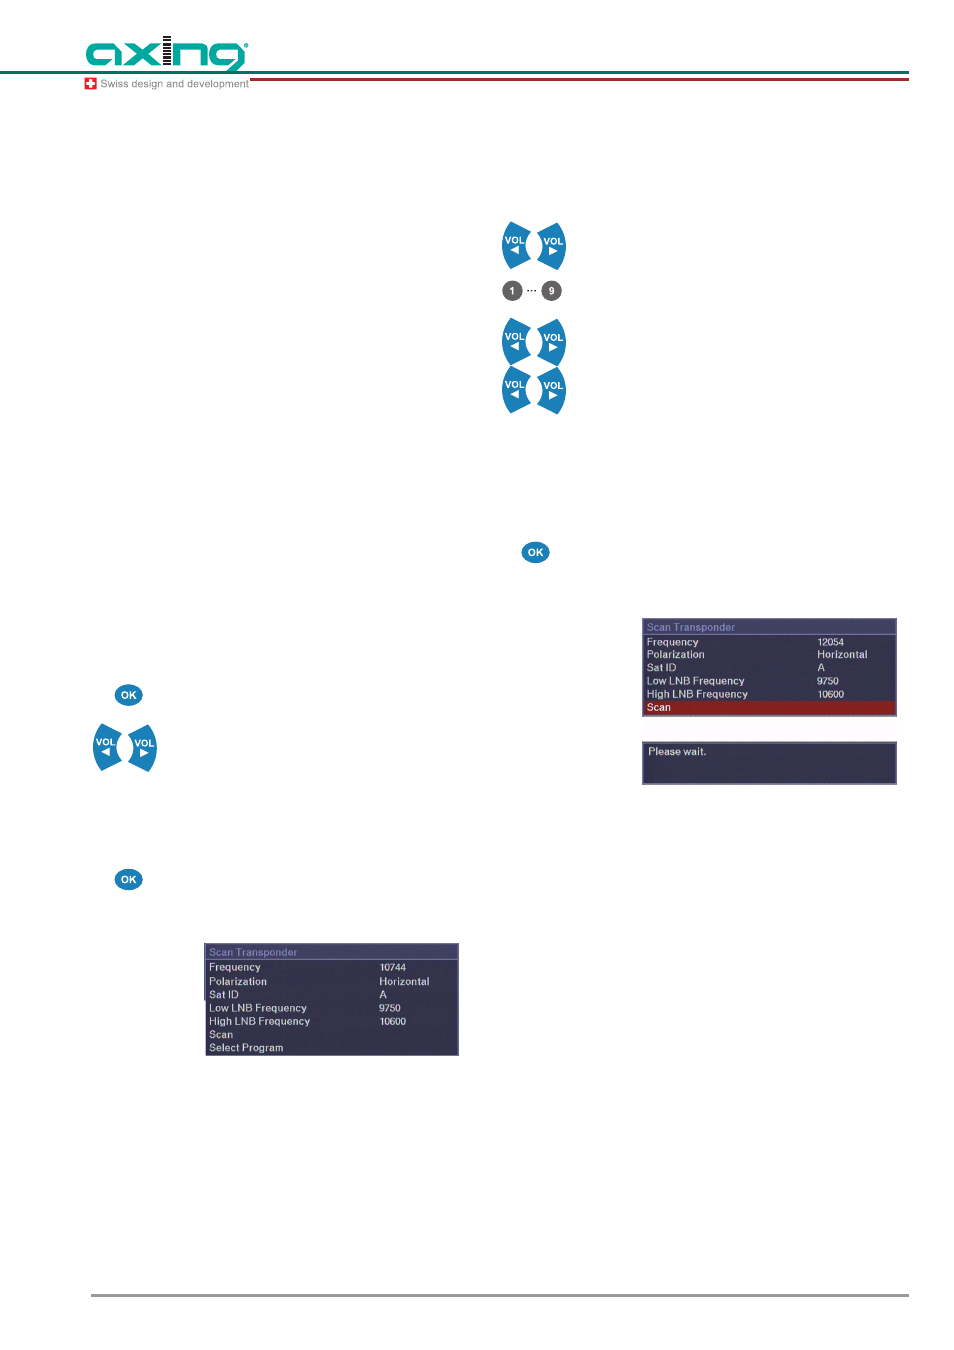
4.5.5 Scan Transponder
Select menu item “Scan Transponder” and
confirm with OK. All previous settings are
saved.
Fig. 17
Scan Transponder
There are two possibilities of starting the scan
of a transponder.
1. Manual entry
2. Menu item "Select Program Info"
Manual setting
You can find the transponder data in lists or
special websites (e. g. http://www.lyngsat.com/
europe.html )
Set the Frequency with the VOL / VOL
keys.
Or by means of the numerical keypad of the
remote control.
Set the Polarization to Horizontal or Vertikal
with the VOL / VOL keys.
Generally, leave the SAT ID basic setting set
to A; it must be changed only if various satellite
positions are available. Up to 4 satellite
positions can be selected.
LOF Low Band, LOF High Band, other
oscillator frequencies can be set, but the basic
settings are correct for all common LNB types
and must not be changed.
Scan, after entering frequency and
polarization, scanning is started by pressing
OK.
Fig. 18
Display during scanning a Transponder
After "please wait", "scan transponder" and
"transponder data found" appeared on display
the channel list will be opened (see 4.5.6
Dynamische SI on page 12.).
Select Program Info
Alternatively, channels can be selected from a
preset satellite listvia the menu item"Select
program info"