Test Products International 183A User Manual
Page 12
23
22
i.
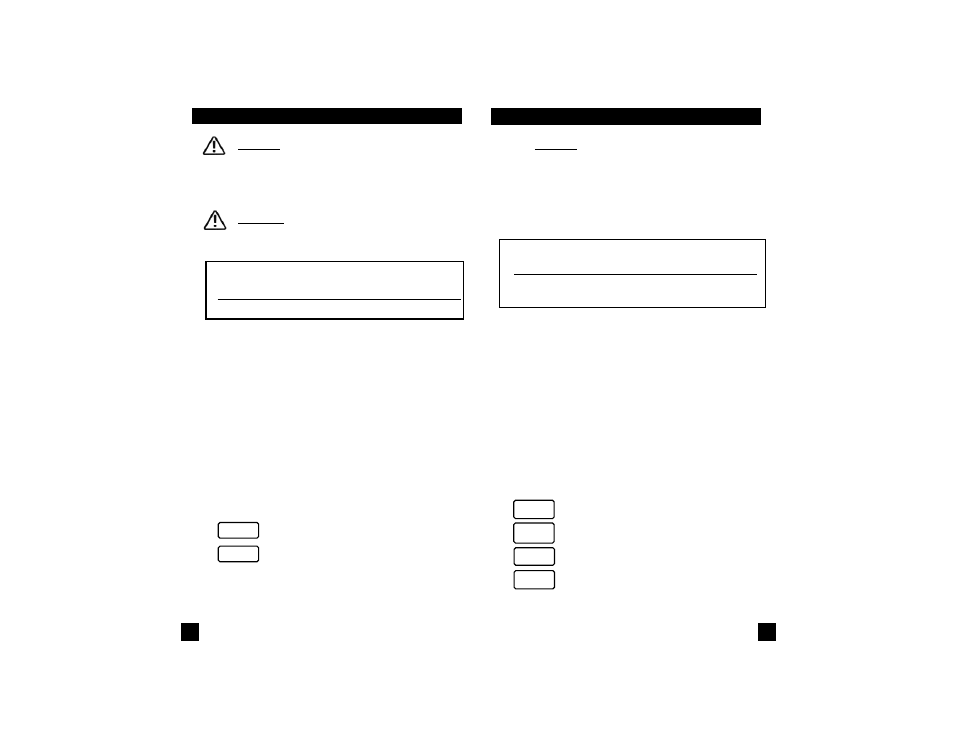
MEASURING FREQUENCY
CAUTION!
Do not attempt to make a frequency
measurement if a test lead is plugged in the
A or µmA input jack. Instrument damage
and/or personal injury may result.
WARNING!
Never attempt a frequency measurement
with a voltage source reater than 600V
Instrument set-up:
FUNCTION BLACK RED
MINIMUM
MAXIMUM
TEST LEAD
TEST LEAD
READING
READING
Hz
COM
V
WHz
0.001Hz
10MHz
Measurement Procedure:
1.
Disconnect power to the circuit to be measured.
2.
Plug the black test lead into the COM input jack.
3.
Plug the red test lead into the V
WHz input jack.
4.
Set the rotary switch to the Hz function.
5.
Connect the test leads to the circuit to be measured.
6.
Reconnect power to the circuit to be measured.
7.
Read the frequency on the 183A.
Optional Functions:
HOLD
Scroll between Hz and Duty %.
Freeze the reading on the LCD.
Hz/DUTY
j.
MEASURING TEMPERATURE
CAUTION!
Disconnect power to the circuit(s) to be
measured. Discharge the capacitorto be
measured completely before attempting to
measure.
Instrument set-up:
FUNCTION TEMP. TEMP. MINIMUM
MAXIMUM
INPUT ADPT.
INPUT ADPT.
READING
READING
TEMP
COM
µmATEMP 0.1°F
2462°F
0.1°C
1350°C
Measurement Procedure:
1.
Remove test leads from the 183A.
2.
Plug the “-” terminal of the temperature input adapter
into the COM input jack.
3.
Plug the “+” terminal of the temperature input adapter
into the µmATEMP input jack.
4.
Set the rotary switch to the TEMP function.
5.
Plug a K-type temperature probe into the temperature
input adpater observing the correct polarity.
6.
Read the temperature on the 183A.
Optional Functions:
Activate MIN/MAX record mode (page 24).
Activate REL mode (page 24).
Toggle between °C or °F.
HOLD the reading on the LCD.
REC
REL
HOLD
FUNCTION