Ii. method 1: self signed certificates, Continued) – SurgeX SX-AX20 User Manual
Page 3
SX-AX15 (20) Certificate
Utility User Manual
Page 3
II. Method 1: Self Signed Certificates
(continued)
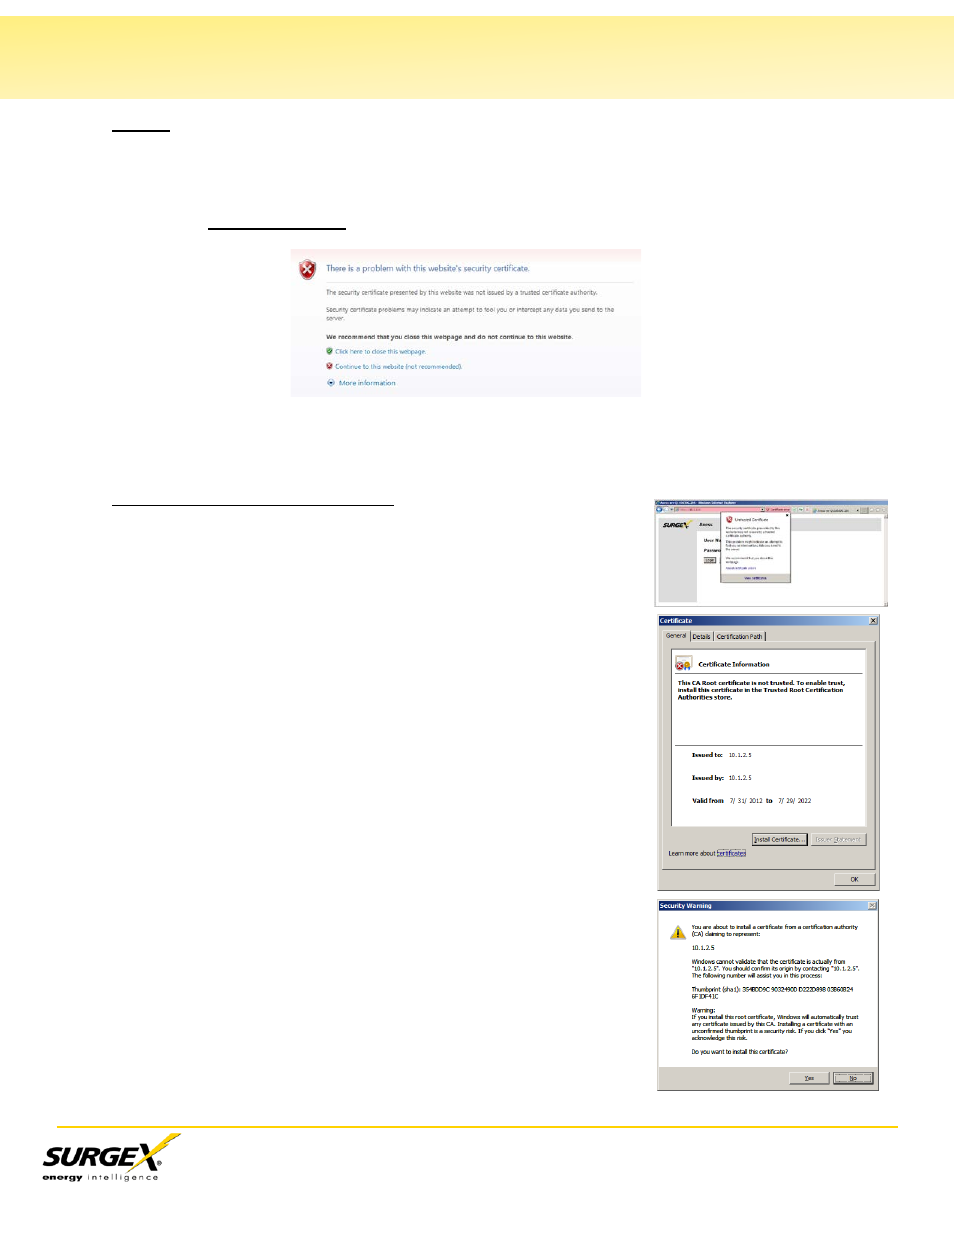
Step 3: Use the Certificate in a Browser
Internet Explorer
Upon connection to the Axess with the new certificate (Note: The address must now be
specified as https://ipaddress), the following warning will be displayed:
If you click “Continue to this website”: The certificate will be installed for this session only. Each
time you access this Axess, the same warning will be displayed.
To permanently install this certificate:
a. Click “Continue to this website”.
b. Click “Certificate Error” to the right of the address bar, and
click “View Certificates”.
c. Click “Install Certificate”.
d. The import wizard will begin. Click “Next”.
e. Select “Place all certificates in the following store”, and then
click “Browse”, select “Trusted Root Certification Authorities”,
and click “Ok”. Click “Next”, then click “Finish”.
f. Review and accept the Security Warning. Click “Yes” to install
the certificate permanently.