Installing a drive into the drive carrier – StorCase Technology InfoStation 12-Bay 4U Ultra320/SATA User Manual
Page 8
InfoStation 12-Bay RAID Installation Guide - B00
StorCase Technology, Inc.
Installation
3
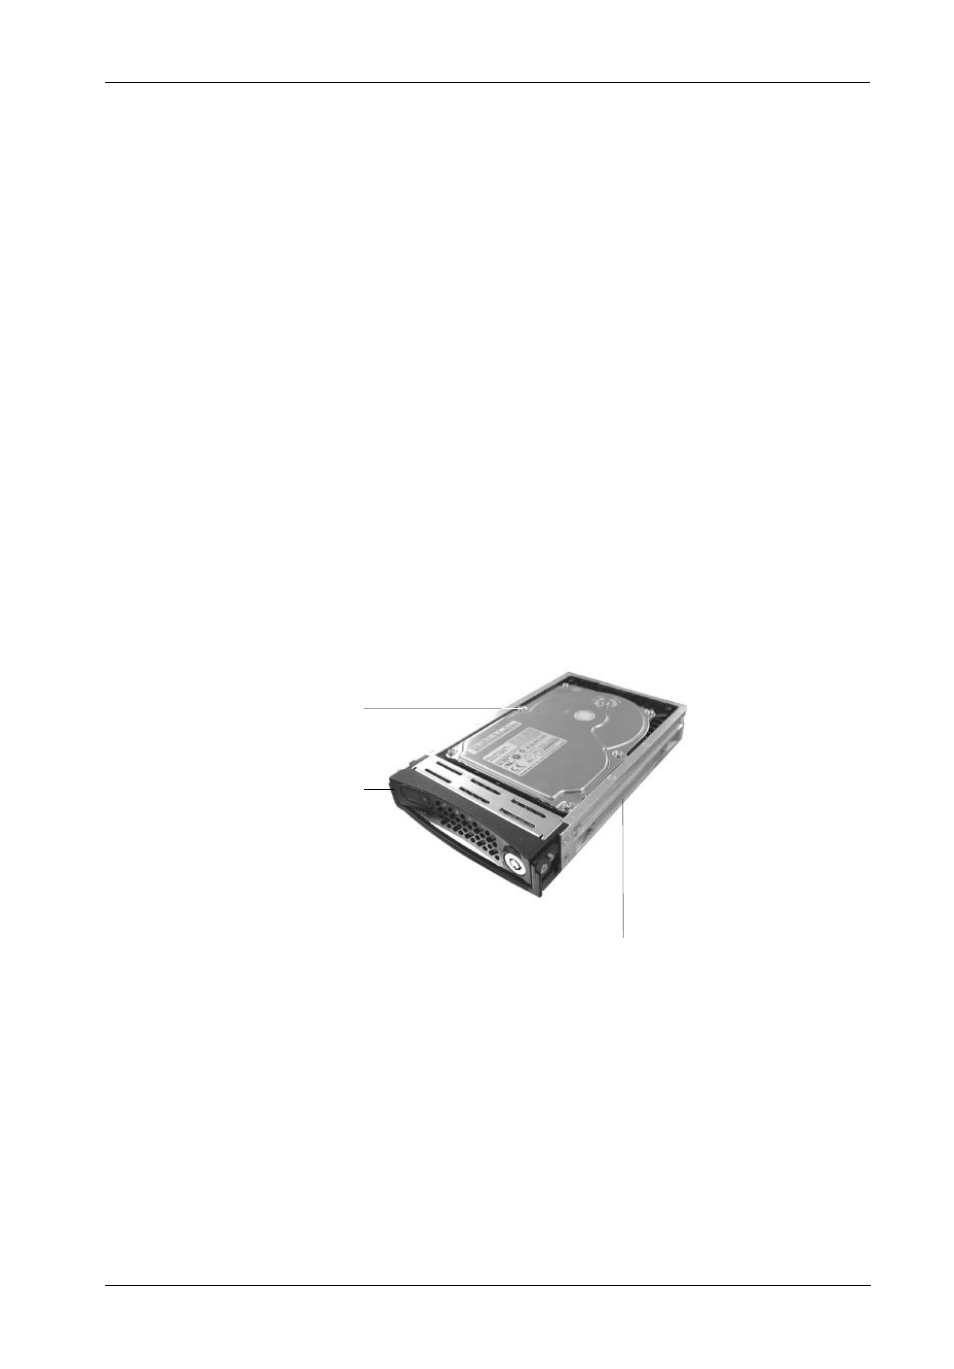
Figure 2: Drive Installation
Installing a Drive into the Drive Carrier
NOTE:
A #2 Phillips screwdriver will be required for this procedure.
1.Carefully insert the drive into the carrier.
Slide the drive towards the Drive Carrier
Board, so that the I/O connector on the drive mates with the connector on the Drive
Carrier Board. Drive(s) must be bottom-mounted into the drive carrier(s) using
four (4) Phillips Flat Hd. screws (Figure 2).
NOTE:
The Parallel ATA carrier (P/N S10B100) has a DC Power Cable that must
be connected to the drive prior to mating with the Drive Carrier Circuit
Board.
2.After the drive(s) have been installed in to the drive carrier(s), carefully insert the
carrier(s) back into the chassis (refer to section "Inserting a Drive into the Chassis"
for further information).
Drive
Carrier
Serial ATA Drive
(Not Included)
Bottom-mount with four (4)
Phillips Flat Hd. Screws
(Included)