DeVillbiss Air Power Company D26968 User Manual
Page 10
10- ENG
D26968
4.
Attach handle assemblies to frame
using four screws and flange nuts.
NOTE: Screw on outside of frame.
NOTE: Do not tighten until all screws
and flange nuts are assembled.
5.
Lift generator and remove 2x4.
6.
Lift other end of generator and place
two 2x4s between generator and
pallet as shown.
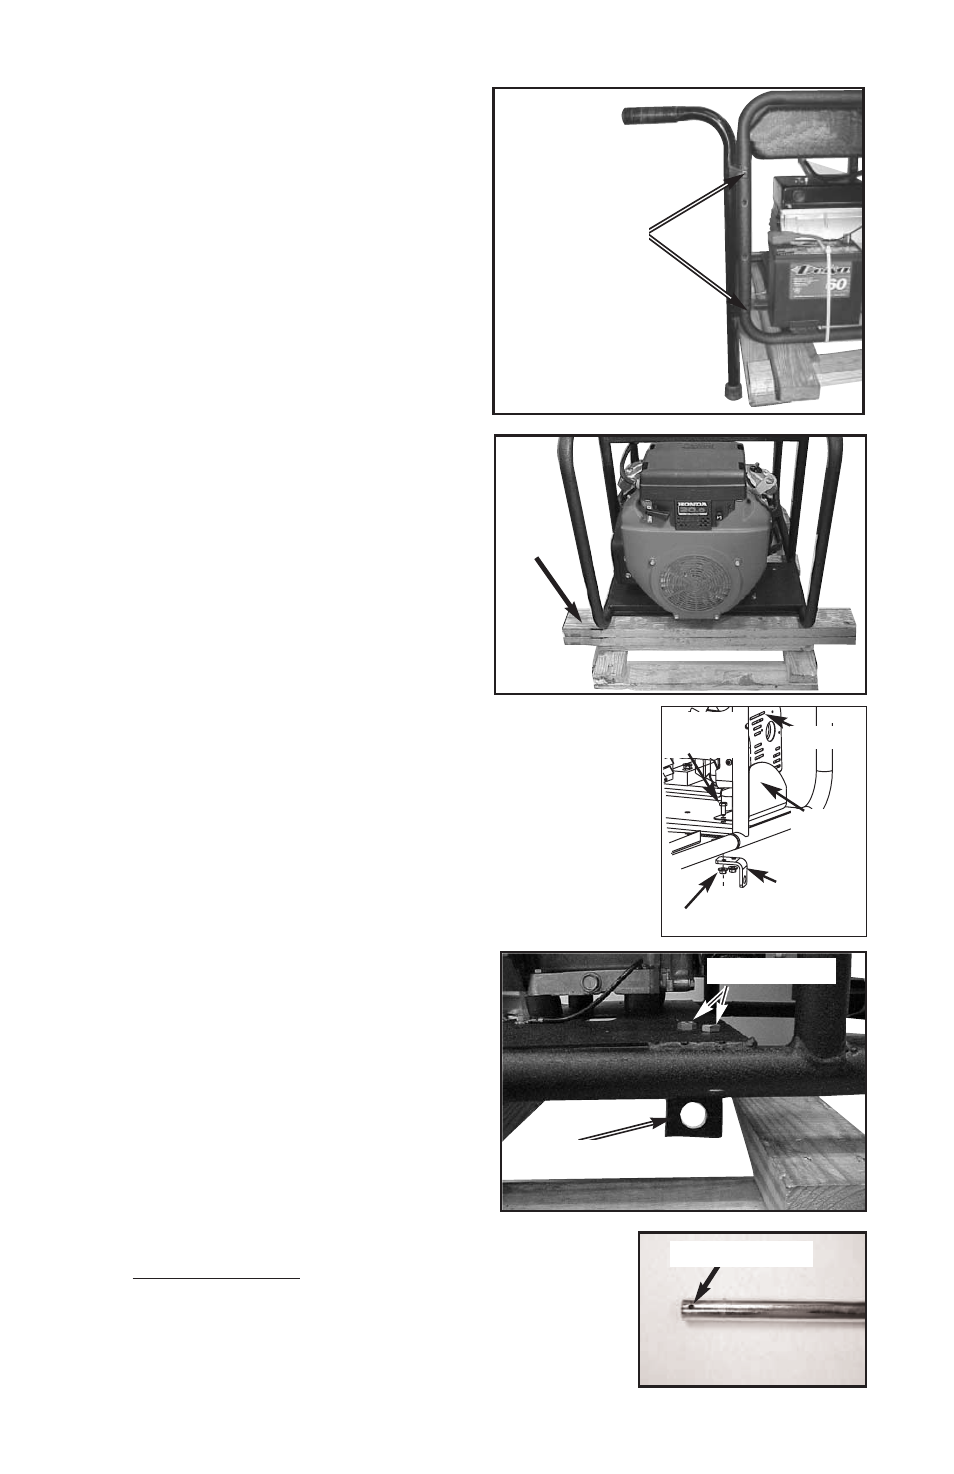
7.
On the muffler side of the engine, remove cap screws
and flange nuts holding the heat shield to the frame.
Reassemble cap screws, heat shield, wheel bracket,
and flange nuts and as shown. Tighten securely.
8.
On other side, assemble wheel
bracket using cap screws and flange
nuts supplied. Tighten securely.
NOTE: Brackets are placed under frame
with hole facing outward.
9.
Using a hammer tap axle cap onto end of axle,
without the hole.
10. Slide wheel onto axle with valve stem to the
outside.
11. Slide spacer onto axle against wheel.
Cap screws
Wheel Bracket
Hole in Axle
Muffler
Heat
Shield
Cap
Screw
Wheel
Bracket
Flange Nuts
Screws and
Flange Nuts
2x4