Operational guide – Hanna Instruments HI 9064 User Manual
Page 4
6
7
°C
°C
°F
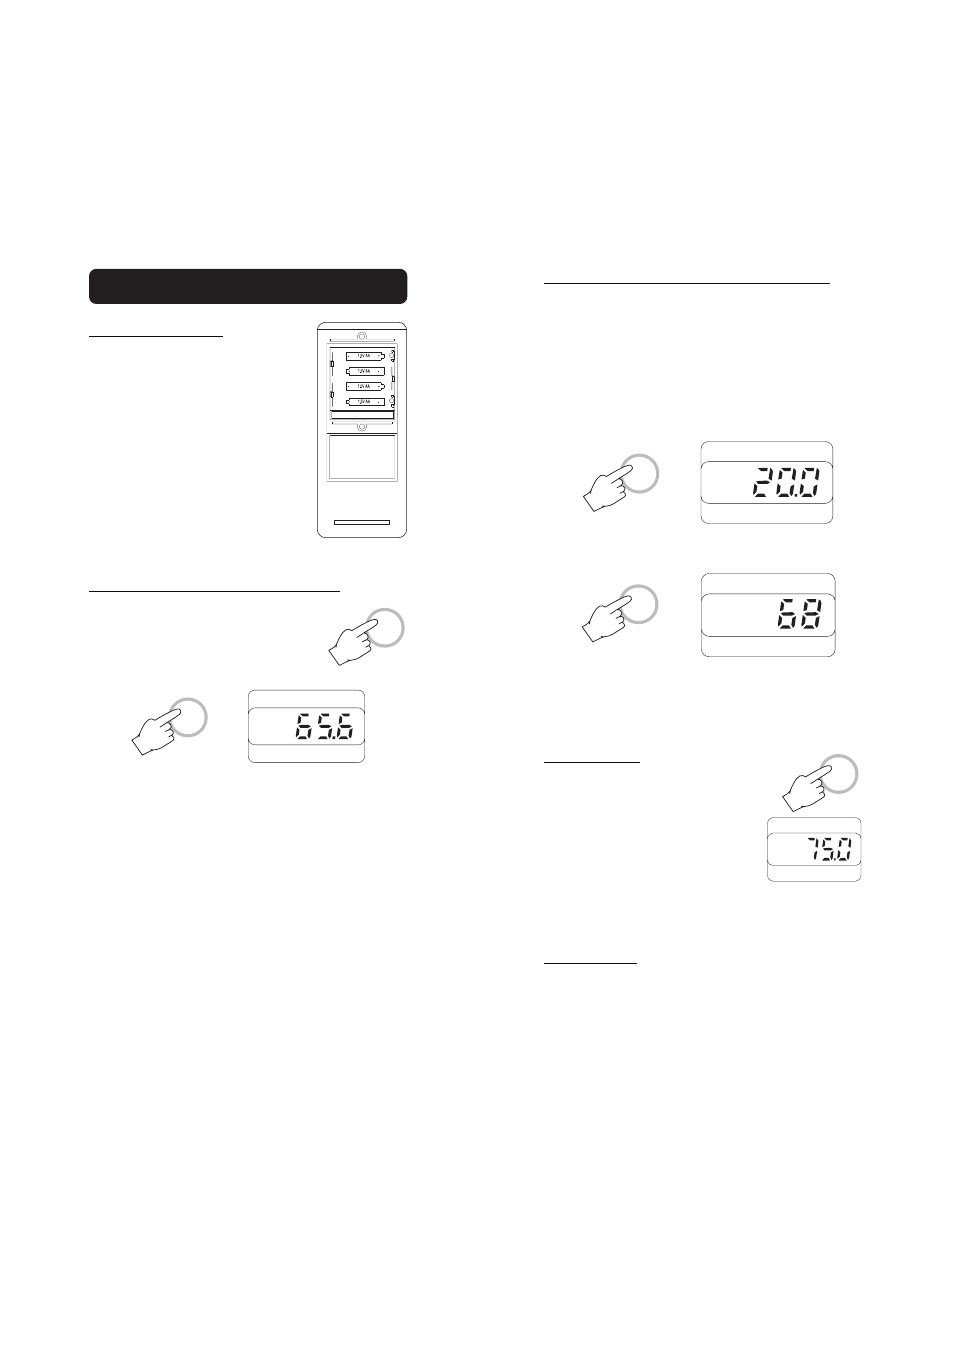
TEMPERATURE MEASUREMENTS (HI 9065 ONLY)
Connect the temperature probe (HI 765 series, see “Accessories”) to
the socket on the top of the meter and the unit will automatically
display the temperature reading.
Note: HI 9065 can be used with just one probe (RH or temperature)
at a time.
Press the “°C” key and the temperature value is displayed in degrees
Centigrade with the “°C” symbol.
The same reading in degrees Fahrenheit is shown if the “°F” key is
pressed.
For any problem in taking measurements, please contact your dealer
or the nearest HANNA Customer Service Department.
HOLD FUNCTION
The reading HOLD function is activated by
the HOLD key.
The measured value is frozen on the display
when this function key is pressed. "S" is
displayed to indicate that the reading is also
stored.
Press the same key again to retirn to normal mode.
DISPLAY CODES
°C temperature readings in degrees Centigrade (HI 9065 only)
H indicate RH (Relative Humidity) readings
S indicate that displayed reading has been stored
HOLD
S
INITIAL PREPARATION
Each meter is supplied complete with four 1.5V
AA batteries. Remove the back cover, unwrap
the batteries and install them while paying
attention to their polarity (see “Battery Re-
placement” section for details).
Connect the RH probe to the DIN socket on the
top of the meter and fasten the screw tightly.
Note: HI 9065 can be used with just one
probe (RH or temperature) at a time.
RH (RELATIVE HUMIDITY) MEASUREMENTS
Turn the meter on by pressing ON/OFF.
Press the RH key to display the RH% measure-
ment. The "H" symbol on the display indicates
RH measurement mode.
• For reliable measurements, the end of the humidity detector
should be exposed to a current of air moving at 0.5 m (20") per
second or more.
• In the absence of air movement, the response can be accelerated
by moving the probe.
• The probe sensor must never come into contact with water
or other liquids. If this should happen, or if condensation
causes drops to form on the surface of the humidity sensor, turn
off the instrument and wait until they have evaporated com-
pletely. To accelerate the evaporation process, expose the humidity
sensor to a current of air.
ON/OFF
RH
H
OPERATIONAL GUIDE