Hanna Instruments HI 88713 User Manual
Page 7
12
• Open the instrument lid, slightly rotate the
cuvette and take a new reading.
• Repeat the last step for the second cuvette until the reading is within 0.01 FNU of the value obtained for the first cuvette.
• Alternatively, press and hold the “Read” functional key, after the first value is displayed, open
the lid and start rotating the cuvette until the read value matches the first cuvette.
• Mark this position on the second cuvette with a water resistant pencil.
• Follow the same procedure for all the cuvettes you need.
Note: If the cuvette is indexed, use the index to position it in the instrument.
SAMPLING TECHNIQUE
When taking turbidity measurements it is very important to select a representative sample. For
consistent results, follow the next tips when sampling:
• Gently mix the water before taking the sample.
• If the sample is taken from a pipe, discard the first few liters.
• If measuring a non uniform source, collect samples from different places and mix them.
When measuring the collected sample, keep in mind the following:
• Samples should be analyzed immediately after collection because the turbidity can change in time.
• To avoid dilution of the sample it is better to rinse the cuvette with a quantity of sample and then
discard. Then you can fill the cuvette with sample.
• Pay attention that cold samples do not condense on the sample cell.
REMOVING AIR BUBBLES
Any air bubbles present in the sample will cause high turbidity readings. To obtain accurate
measurements, remove the air bubbles using one of these methods:
• Application of a partial vacuum;
• Addition of a surfactant, such as Triton X-100;
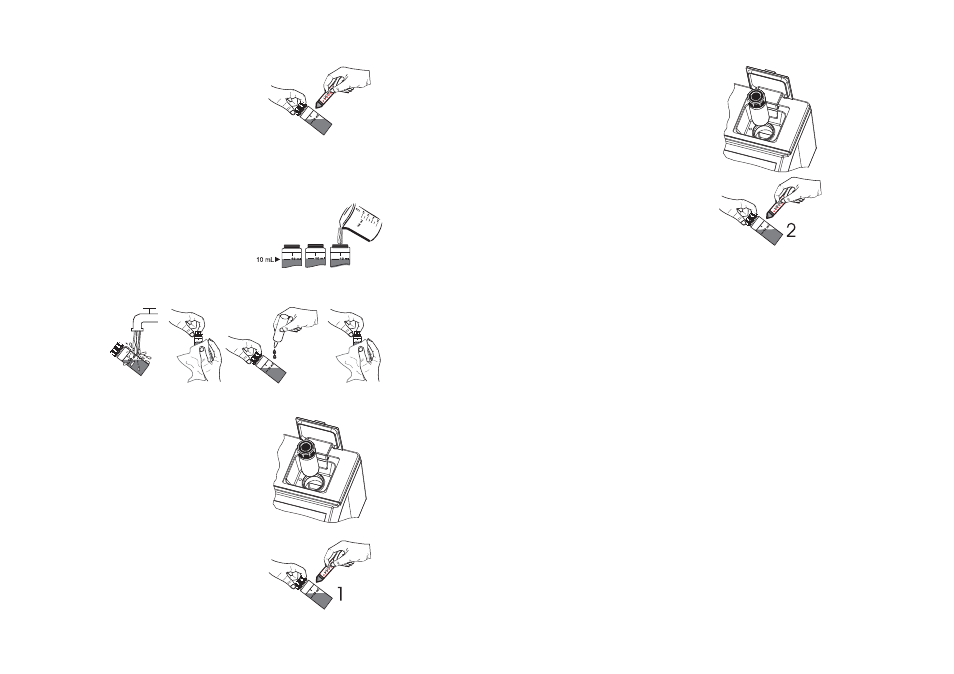
• Insert the second cuvette into the instrument and
take a reading.
• Mark this position on the white band at the top of
the cuvette with a water resistant pencil.
• Always use this position to align the cuvette
with the mark on the cuvette holder.
In order to match multiple cuvettes follow the next
steps:
• Fill multiple cuvettes with high quality water
(<0.1FNU) up to the 10 mL mark.
• Clean and oil the cuvettes as described before.
• Turn the instrument ON.
•
Insert the first cuvette into the instrument and
press “Read” functional key. Record the
reading.
•
Open the instrument lid, slightly rotate the
cuvette and take a new reading.
•
Repeat the previous step until you read the
lowest value.
•
Mark this position on the white band at the top
of the cuvette with a water resistant pencil.
MATCHING MULTIPLE CUVETTES
Precise measurements require the use of a single cuvette. If it is not possible, cuvette selection
and matching must be performed before taking measurements.
13