Hanna Instruments LP 2000-11 User Manual
Page 9
17
16
ENSURE ACCURATE CALIBRATION
T
he procedure below should be carefully followed during testing and
calibration:
• All glassware that comes into contact with standards should be kept
clean. Wash it with HI93703-50 cleaning solution and rinse it with
HI93703-0 or turbidity free water.
• Rinse the cuvet twice with 5 ml of the liquid to be tested. This procedure
removes the effect of any previous liquid and any dust or objects that
may be inside. Gently pour the liquid down the side of the vial to reduce
air bubbles (no mixing is required when HI 93703-0 and HI93703-
10 AMCO-AEPA-1 standards are used).
• Before inserting the cuvet into the instrument, wipe it with HI 93703-
70 or a soft, lint-free tissue. Handle vials so that no fingerprints can
get on the areas where light passes (approx. bottom 2 cm/1") .
STANDARD SUSPENSION
Presently, there are only two recognized primary standards: AMCO-AEPA-
1 and formazine.
Hanna supplies LP2000-11 with the AMCO-AEPA-1 which has a much
longer shelf life at all concentrations (approx. six months, if free from
contamination). In addition, no special handling or disposal is required
and a much higher stability of suspended particles has been observed.
On the other hand, formazine is a toxic substance, generated by a
carcinogen, with poor stability (particles flocculate and settle quickly). Low
concentrations change value within a few days or hours after dilution.
The consistency of LP2000-11 readings by using both standards has been
separately established by Advanced Polymer Systems and Hanna
Instruments.
Additional documentation about the formazine standard and more
complex calibration procedures is available upon request.
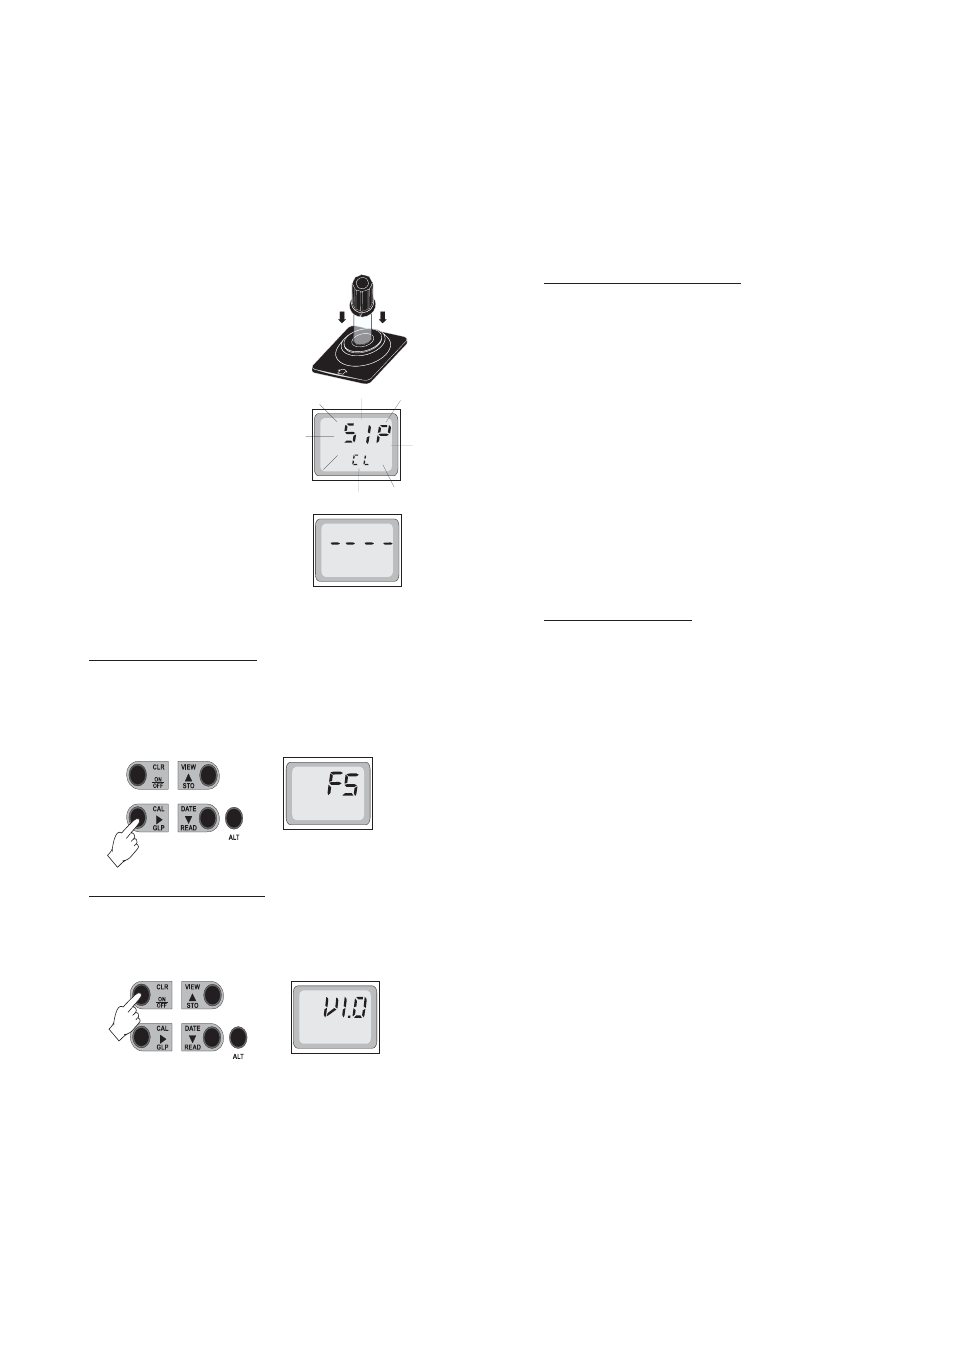
To perform a three point calibration, place the
500 FTU standard solution in the cuvet
holder.
• Press CAL; SIP and CL will start blinking.
• After approximately 30 seconds the LCD will
display "----".
Now the instrument is calibrated and ready
for use.
Note: If "ERR1" is displayed, the calibration data is maintained.
VIEWING CALIBRATION DATE
T
o display the last calibration time and date, press the GLP button. If
display shows "FS", the instrument has factory calibration settings loaded
and no date will be displayed.
VIEWING FIRMWARE VERSION
To display the firmware version, turn the meter on, then press and hold
the ON/OFF key for approximately 10 seconds.