Hanna Instruments HI 9026V User Manual
Page 6
10
11
CALIBRATION
HI 9026 is factory calibrated for ORP and temperature ranges. If
recalibration is needed, please contact your dealer or the nearest
Hanna Service Center.
pH CALIBRATION
It is recommended to calibrate the instrument frequently, especially if high
accuracy is required.
The pH range should be recalibrated whenever the pH electrode is replaced,
when the calibration time-out is expired (if feature is enabled), and at least
once a month.
The meter offers a choice of 7 memorized buffers (1.68, 4.01, 6.86, 7.01, 9.18,
10.01 and 12.45 pH) and also allows the user to enter two more pH values for
calibration, C1 and C2 (see “Custom Buffer Selection” section on page 12 for
details).
• Pour small quantities of selected buffer solutions into clean beakers. For accurate
calibration use two beakers for each buffer solution, the first one for rinsing the
electrode and the second one for calibration.
• Remove the protective cap and rinse the electrode with some of the buffer
solution to be used for the first calibration point.
Two-point calibration
• Enter the calibration mode by pressing the CAL key, then select the first
desired buffer with the arrow keys (standard memorized values) and/or the
CUSTOM BUF key (custom values).
• Submerge the electrode approximately 4 cm (1½") into the solution, place
the temperature probe as close as possible to the electrode and stir gently.
• The LCD will flash "NOT READY" for 12 sec-
onds, then: if the reading is not close to the
selected buffer, "WRONG
" and "WRONG
" will blink alternatively;
if it is close to the selected buffer the meter
will advise the user with an acoustic signal (if
enabled) when the measure becomes stable
and the display will change to "READY" and
blinking "CFM".
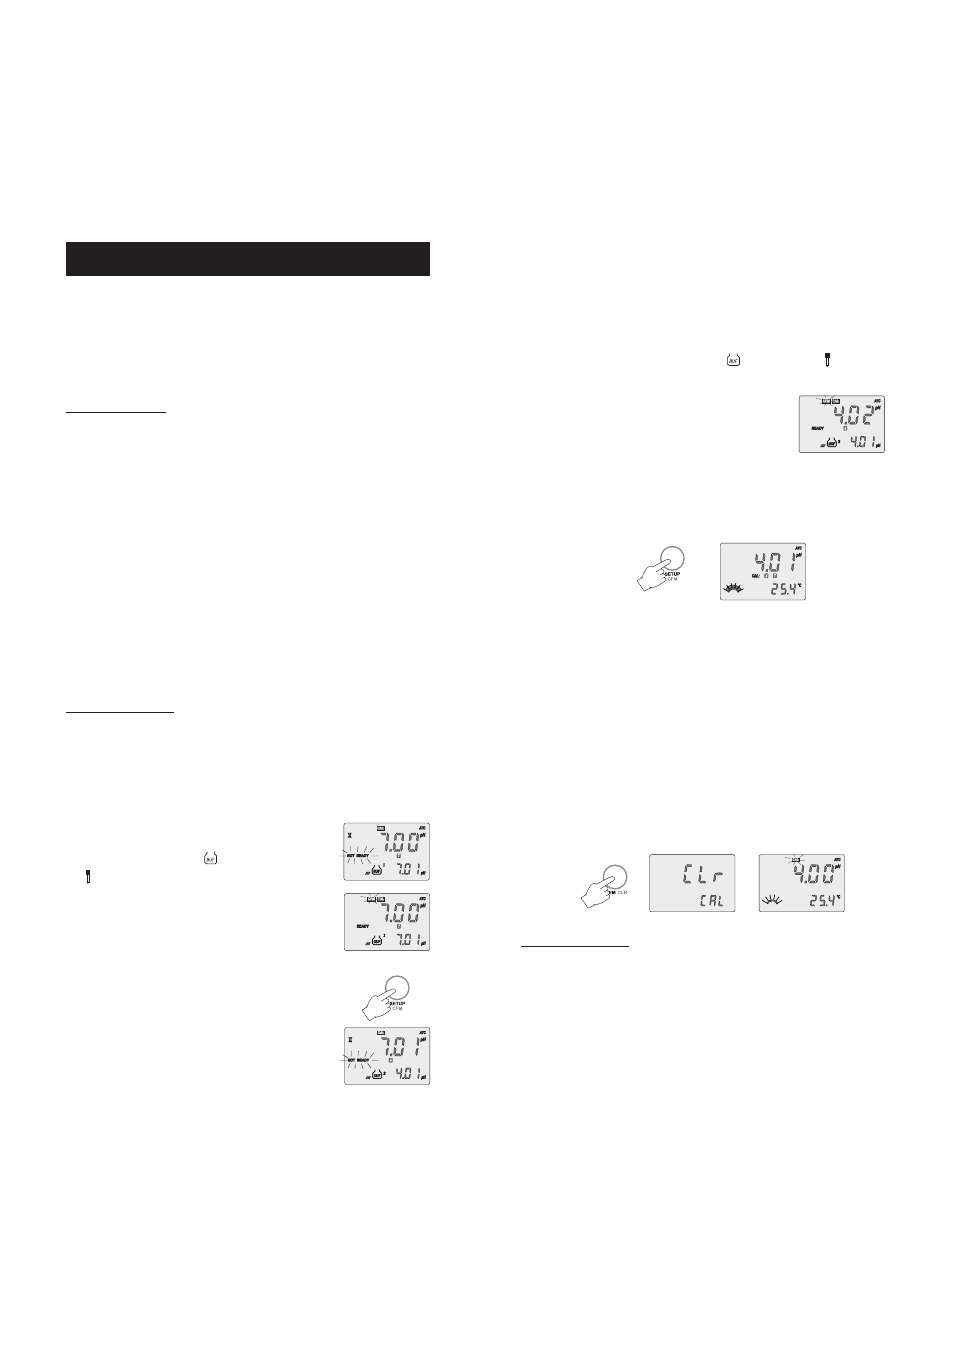
• Press CFM to confirm the calibration: the
meter stores the first calibration point; the
primary LCD will show the first buffer value,
while the secondary LCD will show the second
buffer to be used for calibration (pH 4.01).
If you’re going to calibrate with a different buffer, select the desired value
by pressing the arrow keys.
• Submerge the electrode approximately 4 cm (1½") into the second buffer
solution, place the temperature probe as close as possible to the electrode
and stir gently.
• The LCD will flash "NOT READY" for 12 seconds, then: if the reading is not
close to the selected buffer, "WRONG
" and "WRONG " will blink
alternatively;
if it is close to the selected buffer the meter will
advise the user with an acoustic signal (if
enabled) when the measure becomes stable
and the display will change to "READY" and
blinking "CFM".
• Press the CFM key: the value is stored in memory and the meter returns to
the normal mode. The tags corresponding to the buffers used for calibration
will light up together with the “condition” bargraph.
Note: The meter automatically skips the buffer used for the first calibration point to
avoid erroneous procedure. A difference of at least 1.5 pH unit is required
between the two buffers used for the offset and slope calibration: once
calibrated at either pH 7.01 or 6.86, the instrument automatically ignores
the other value for the second point (same for pH 10.01 and 9.18).
Note: During calibration, the secondary LCD shows the selected buffer value;
press RANGE to display the buffer temperature.
Note: To clear a previous calibration and return to the default values, press
CLR at any time after entering the calibration mode. The LCD will show
“CLr CAL” for one second, and then returns to normal measurement
mode. The LCD will show an empty bargraph and a blinking CAL tag to
warn the user that the meter is not calibrated.
One-point calibration
For optimum accuracy it is always recommended to perform a two-point
calibration, but for a faster operation it is also possible to carry out a single-
point procedure.
Buffers at pH 7.01 or pH 6.86 (NIST) are the most appropriate for this
purpose, even though meters can be calibrated with any of the memorized
calibration values.