Operational guide – Hanna Instruments HI 98401 User Manual
Page 6
6
OPERATIONAL GUIDE
INITIAL PREPARATION:
The meter is supplied with 4 pieces of 1.5V AA-type alkaline batteries.
Remove the battery cover on the back of the meter and insert the
batteries while paying attention to their polarity.
Attach the fluoride electrode (#3 on
page 4), the reference electrode (#2)
and the temperature probe (#1) to their
respective connectors on top of the meter.
Press the ON/OFF key to turn the meter on.
Note: The temperature probe can also be used on its own to measure
the temperature independently.
Note: If the temperature probe is not con-
nected, the lower display will indicate
25.0°C with the “°C” symbol blinking.
MEASUREMENT OF FLUORIDE ION CONCENTRATION
Note: Please ensure the meter is calibrated prior to proceeding any
further. In order to obtain accurate results, calibrate the meter
at a temperature no more than ±3°C away from the sample
to be measured subsequently.
Note: If the fluoride electrode is new, or it has not been used for a
few days, it must be soaked in a solution of HI 70702 (10 ppm
of F
-
) for at least 3 hours prior to measurement.
• Pour about 10-20 mL of the sample in a clean beaker and add the
same quantity of HI 7023 (TISAB) solution to the beaker. Mix the
solution for a few minutes.
• Rinse the electrodes with deionized water and dry them attentively
with a non-abrasive cloth.
• Immerse the fluoride and the reference electrode as well as the
temperature probe to a depth of at least 1 cm
(½”) in the prepared sample. Make sure that
the electrodes are not touching the bottom of
the beaker. Position the temperature probe close
to the tip of the other electrodes.
Temperature
probe
F Electrod Ref.
11
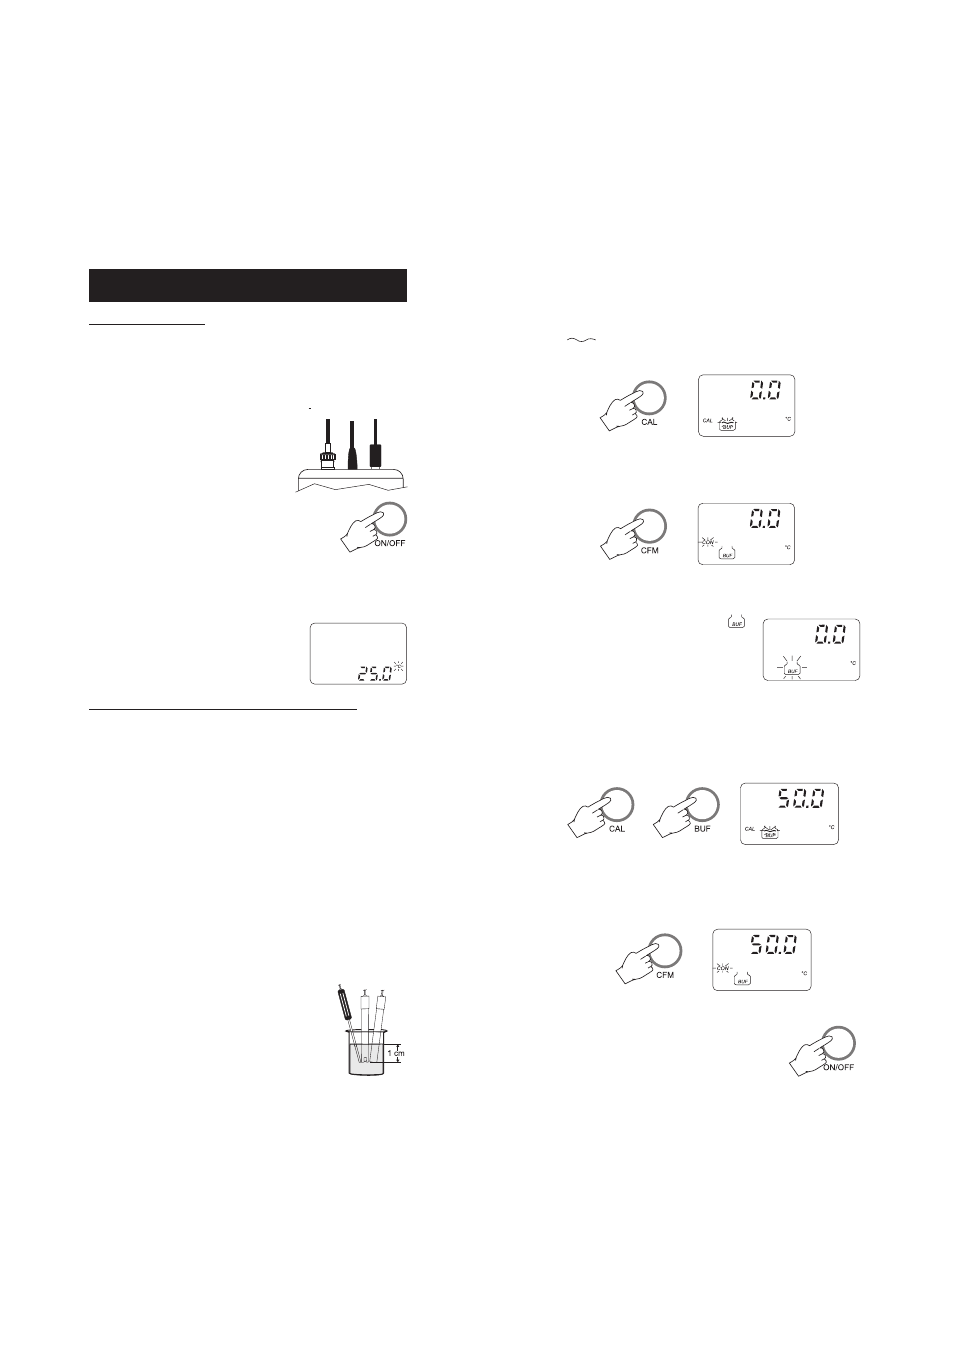
• The measured temperature is shown on the upper display.
• Immerse the temperature probe in a bath at 0.0°C.
• Press CAL.
CAL and BUF will appear on the display with the
"
" symbol blinking. The upper part of the display shows the
calibration point (0.0 °C).
• When
CON appears on the display it means that the value has
been recognized and the reading is stable. Press CFM to confirm.
Nota: If the reading of the instrument is too far from the expected
value (in this case 0.0°C), the "
"
symbol starts blinking to advise of an
error. In this case verify if the tem-
perature of the bath is correct (for best
results, use a stirrer to agitate a solu-
tion of ice and water), and if the probe is functioning properly.
• Press CAL and then press BUF to visualize the second calibration
point (50.0 °C).
• Immerse the temperature probe in a bath at 50.0°C.
• When
CON appears it means that the value has been recognized
and the reading is stable. Press CFM to confirm.
• Switch the meter off and back on again to return to normal
measurement mode.