Mounting and installation – Glow-worm Clearly Heat Pumps Envirosorb3 User Manual
Page 10
0020154078_00 - 02/13 - Glow-worm
10
MOUNTING AND INSTALLATION
∙ Use the transport strap (1) to move the appliance.
Installation pipework must be designed and installed to
ensure venting of air from the system is possible.
∙ Only lift the appliance from the rear and the side
containing the hydraulic connectors.
∙ Attach the appliance to the two-wheeled trolley with a
strap.
∙ Protect surfaces in contact with the trolley to avoid
scratching or damaging the appliance.
∙ Use a suffi ciently solid ramp to lower the appliance from
the pallet.
4.1.1.2 Unwrapping
13mm
C
A
B
D
E
2
3
4
1
Key
1 Bag of documents
2 Accessory
box
3 Heat
Pump
4 Transport
strap
∙ Remove the screws from the transport pallet at the front
and rear of the unit (E).
∙ Remove the bag of documents (B) and the accessory box
(A).
∙ Detach the transport strap (C).
∙ Carefully remove the packaging and protections without
damaging the parts of the appliance (D).
4.1.1.3 Checking the equipment delivered
∙ Check the contents of the packages.
The appliance is delivered with a bag of documents and a box
of accessories which contains the following items:
- 1 condensate drain assembly (adaptor + elbow + clip)
- 1 bag of seals
- 4 anti-vibration blocks
- 1 bleeding tube
4.1.2
Observing distances and mounting
clearances
i
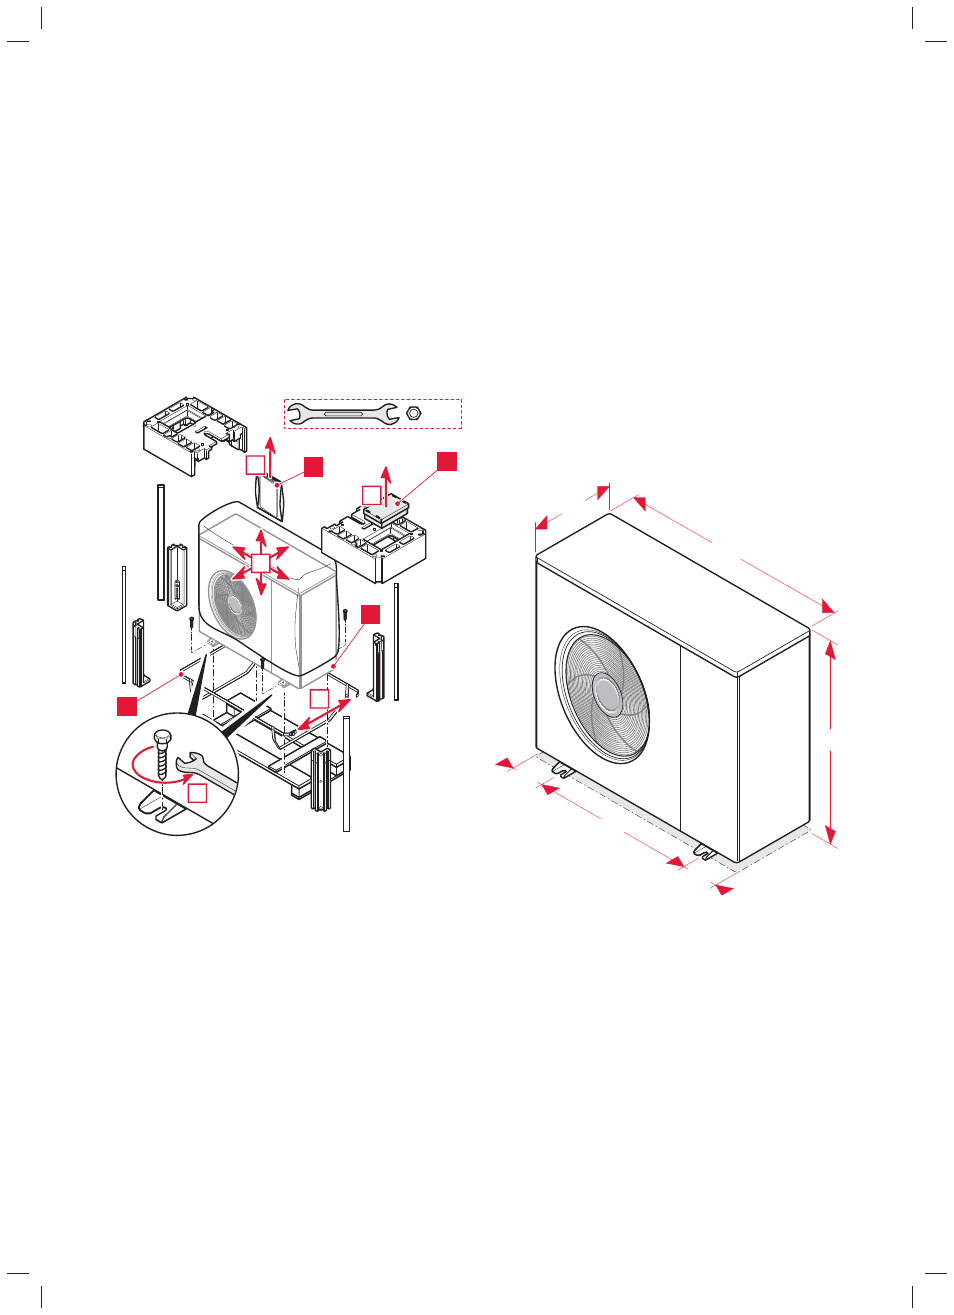
All the drawings dimensions are shown in mm.
4.1.2.1 Product
dimensions
162,6
162,6
778
1103
415
942