FeiYu Tech FY-X4 User Manual
Page 4
GuiLin FeiYu Electronic Technology Co., Ltd
GuiLin FeiYu Electronic Technology Co., Ltd http://www.feiyudz.cn E-mail: [email protected]
Page 3
Go through the same procedure for the remaining three frames.
Inspect the assemblies to be sure that all the motors and the landing gears are seated properly.
When assembled properly, the Feiyu Tech Logo’s will be facing upright and the Welding points will all be
lined up.
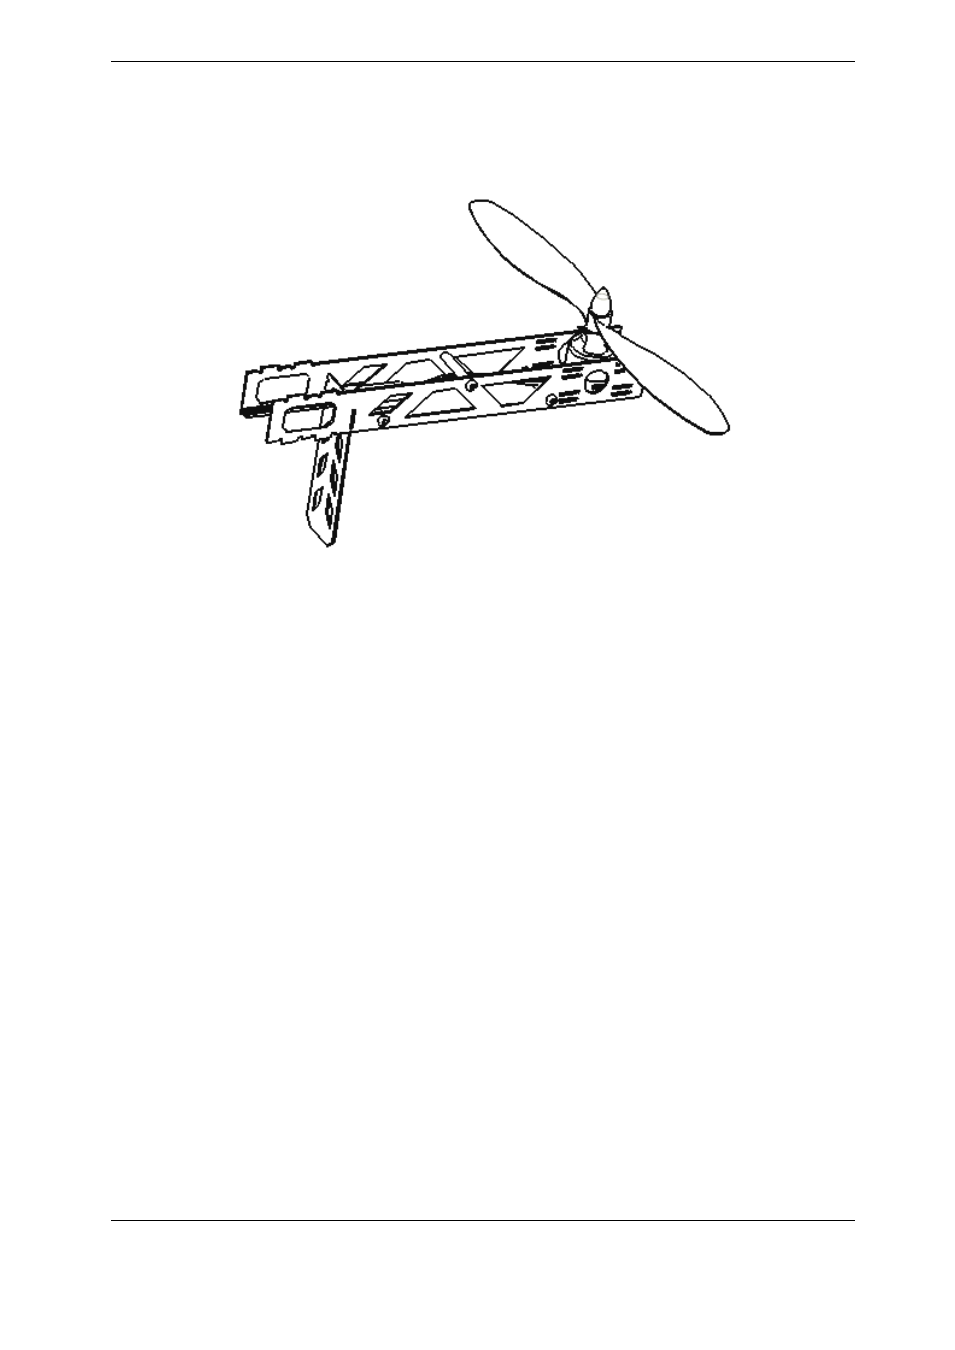
Step 2:Building the Fuselage and attaching and Welding the Frames to
the Fuselage.
Unpack the three Frame assemblies. You will notice that they are marked with an “A” on one side and a
“B” on the other. The important one is the one with the Electronics mounted on it. Take eight m3x25mm
pillars and secure them with the button head screws . Make sure that the electronics are facing up and the
led plug is on the bottom. Take another fuselage plate in one hand and with the other take a frame
assembly, place the assembly with the weld points pointing down and insert it in the slots provided on the
electronics fuselage.
Take four button head screws and the fuselage plate and align the plate with the holes for the pillars, making
sure that the other die cut holes line up properly. Lightly screw the three button head screws into the pillars,
now take the remaining Frames and place them in the slots provided.
Once all frames are inserted into the top and bottom Fuselage plates, tighten the four button head screws and
insert the remaining four screws and tighten them as before.
Inspect the Frames and make sure that the weld points are seated snugly in their locations. If necessary,
loosen the screw(s) to properly fit the pieces.