ENMET OX-2000 User Manual
Page 15
TX2000 / OX2000
ENMET Corporation
11
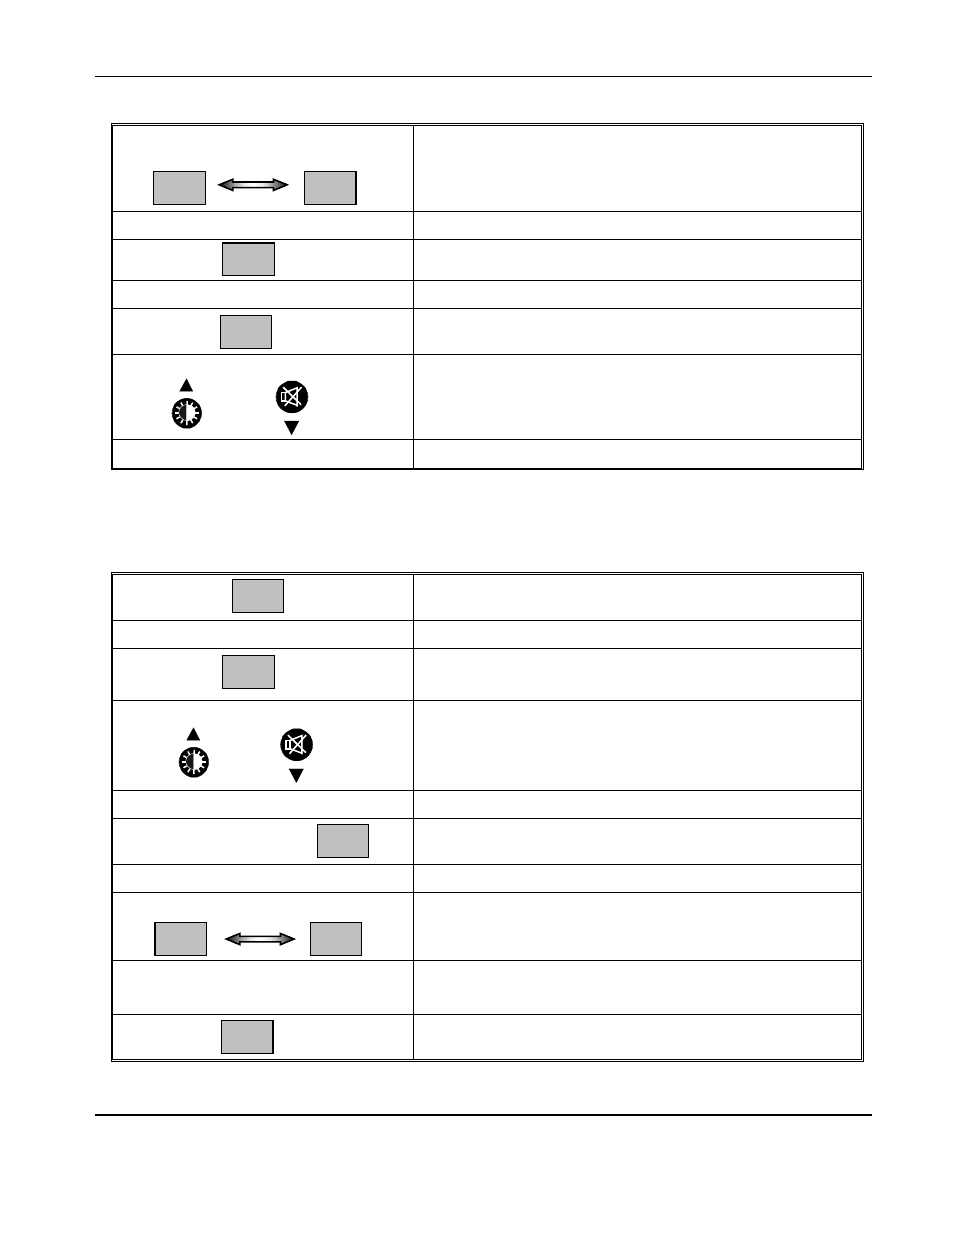
4.3.1A TX2000 Calibration Menu
Enter the Calibration Menu. First make zero adjustment.
1. Press the BACKLIGHT switch to toggle
from programming to calibration menu:
Switch to display the calibration menu
2. Press ENTER switch:
Enter the calibration menu
3
Display : zero adjustment
4. Press ENTER switch:
To enter the zero adjustment procedure
5.
Display the current value "zero".
6. Press UP or DOWN switches:
To adjust value to “zero” if necessary
7. Press ENTER switch.
To set the zero adjustment
Then make sensitivity adjustment.
• Attach the calibration cover over the sensor.
• Connect the hose from the calibration kit and inject the calibration gas ( >10% range of the gas detected
otherwise only the zero will be confirmed), maintaining a flow rate of 30 l/h.
• Then continue scrolling the calibration menu:
1.
Display the adjustment of sensitivity
2. Press ENTER switch:
To enter the sensitivity adjustment procedure
3.
Example:
The display indicates proper calibration gas. Apply the gas:
♦ Wait for the signal to stabilize.
4. Press UP or DOWN switches:
To adjust calibration gas correct value
5. Press ENTER switch:
To enter the adjustment of sensitivity
6. Display:
Display "request for confirmation"
6. Press ENTER switch.
Acceptance of request for confirmation
7. Press ALARM switch to toggle between
yes and no:
Display confirmation : NO
Display "yes or no" of confirmation
(with each depression of the button)
Display confirmation: YES
8. Press ENTER switch.
Enter the confirmation chosen
NO: The measurements are not entered
YES: The measurements are entered
9.
Return to normal display of current measurement
Note: When the calibration procedure has been completed, do not forget to remove the calibration
cap from instrument. Failure to do so will cause the instrument to be inaccurate.
PrG
– 0 –
CAL
– S –
100
CnF
No
Yes