Operating your dishwasher 15 use and care manual, Filling the rinse aid dispenser, Adjusting the rinse aid dispenser – Dacor 65537 User Manual
Page 15
Operating Your Dishwasher
15
Use and Care Manual
Filling the Rinse Aid Dispenser
Rinse aid is important to the drying process of the dishware. It also reduces
spotting. Dacor recommends that you keep the rinse aid dispenser full at all
times.
The rinse aid dispenser must be properly adjusted. Too little rinse aid will
allow spotting and drying problems. Too much rinse aid will cause foaming
and streaking.
A rinse aid containing citric acid may be used to remove the white or gray
film caused by very hard water.
The RINSE AID light on the control panel turns on when it is time for you
to refill the rinse aid dispenser.
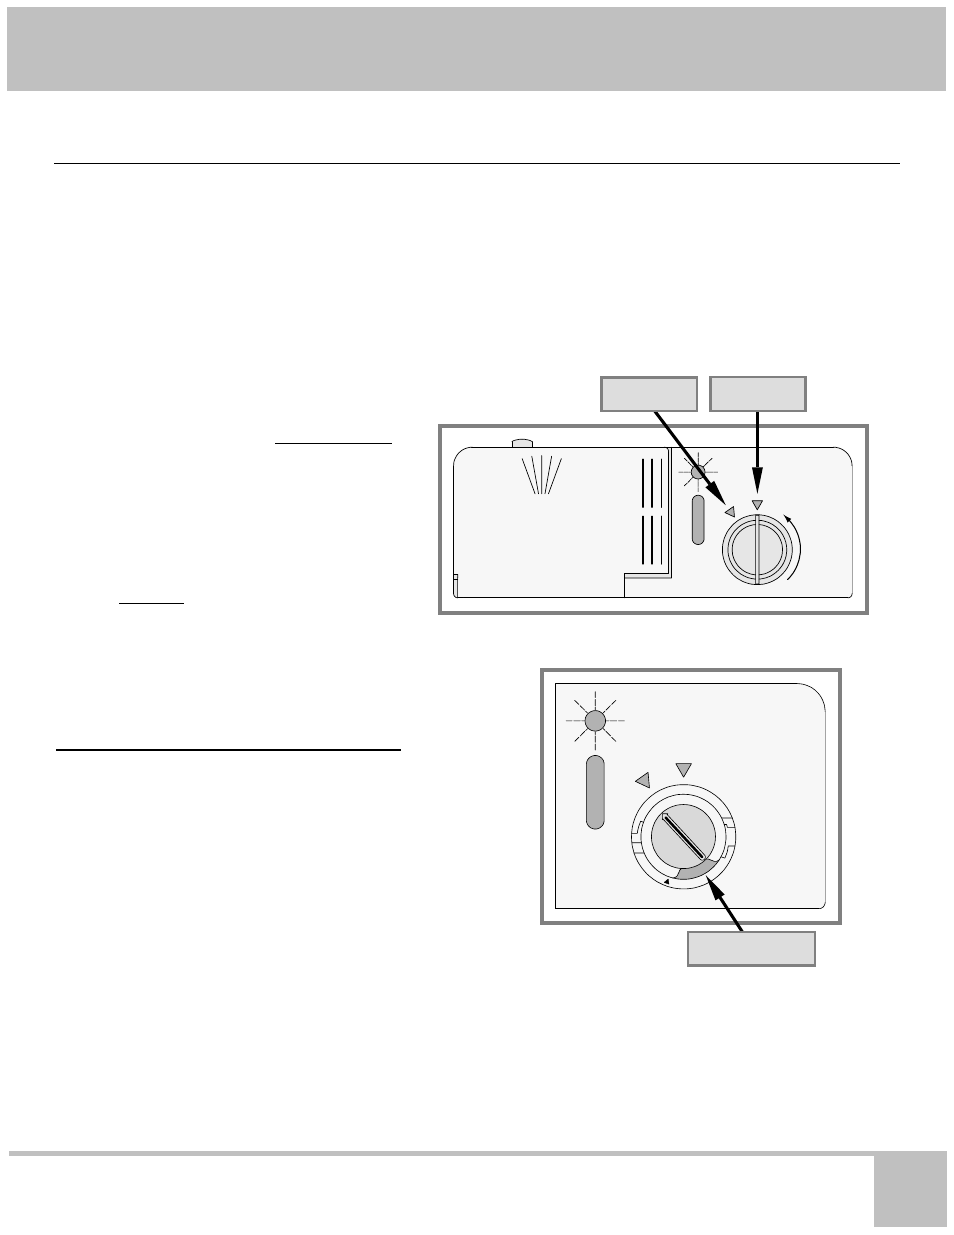
To refill the rinse aid dispenser:
1. Turn the rinse aid cap counterclockwise to
the open position and lift it out.
2. Carefully pour the rinse aid into the filler
hole until the rinse aid level is even with the
bottom of the hole. Do not overfill.
3. Wipe up any spillage.
4. Replace the rinse aid cap and turn it
clockwise to the closed position.
Adjusting the Rinse Aid Dispenser
The rinse aid setting is located under the rinse aid cap. It is set at
the factory to 4.
To change the setting:
1. Remove the rinse aid cap.
2. If you have spotty or improperly dried dishes, move the
rinse aid setting to the next higher number. If you have
streaks on your dishes, move the rinse aid setting to the
next lower number. The harder the water, the more rinse
aid required for acceptable results.
3. Replace the cap.
4. Check the dishes after the next wash load. Continue adjusting the rinse
aid dispenser up or down according to the guidelines above until you
have spot free, streak free, dry dishes.
If you have very soft water and still experience streaking when the dispenser is
set to 1, you can dilute the rinse aid with water before pouring it into the
dispenser to get acceptable results.
Closed
Open
6
3
4
5
2
1
M A X
Filler Hole