DuraVent DuraStack Installation User Manual
Page 28
NOTE:.DIAGRAMS.&.ILLUSTRATIONS.ARE.NOT.TO.SCALE.
28
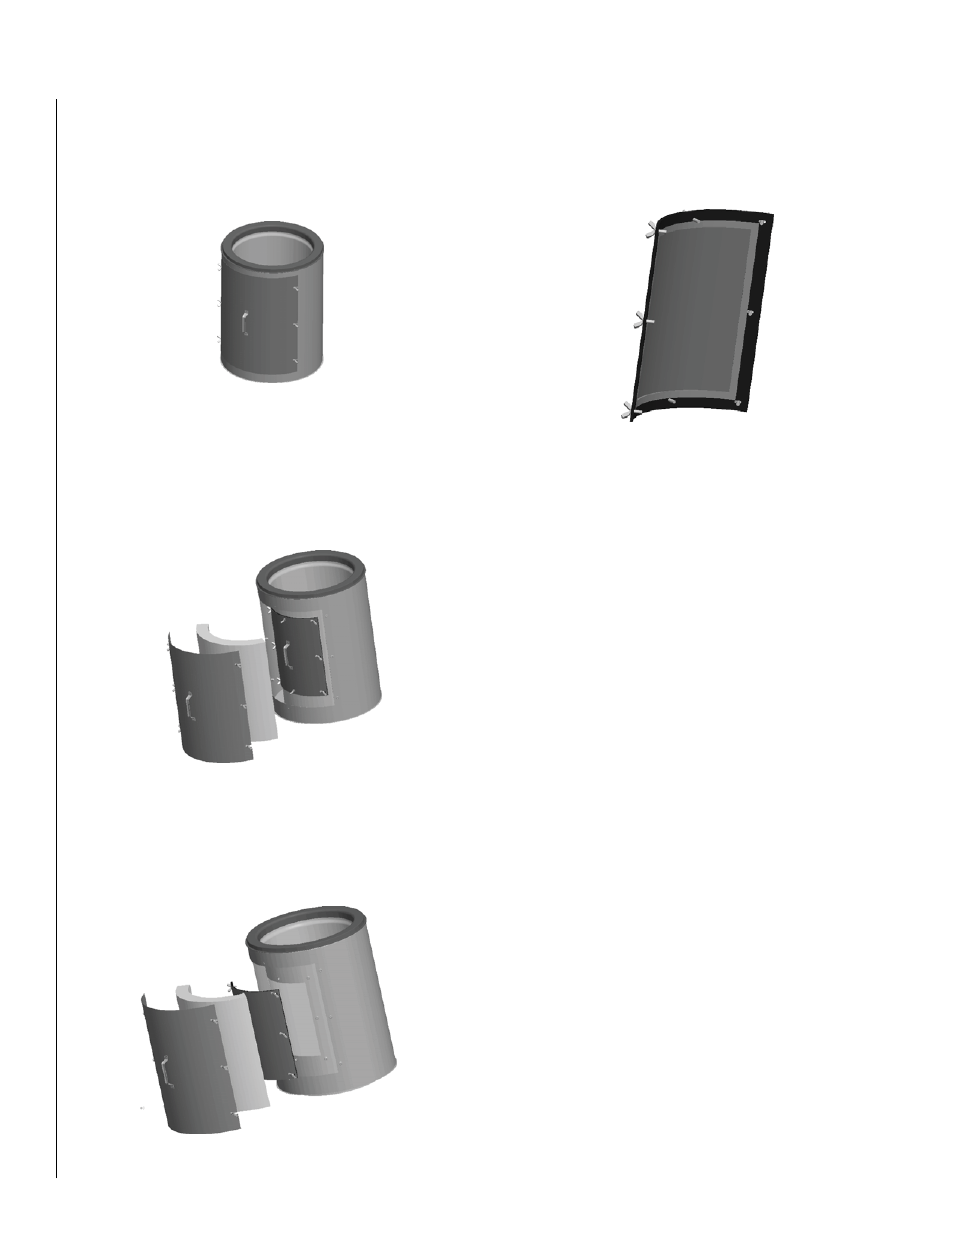
NO TOOL ACCESS DOOR - REMOVAL FOR INSPECTION OR CLEANING
1.. .Unscrew.the.six.(6).wing.screws.with.your.hands.and.set.them.in.a.
safe.place.during.the.inspection.(see figure 73).
2.. .Remove.the.outer.door.from.the.outer.wall.of.the.duct.and.set.it.in.
a.safe.place.during.the.inspection.(see figure 74).
3.. .Remove. the. insulation. pad. and. set. it. in. a. safe. place. during. the.
inspection.(see figure 74).
4.. .Unscrew.the.eight.(8).wing.screws.and.set.it.in.a.safe.place.(see
figure 75).
5.. Remove.the.Inner.cover.and.set.it.in.a.safe.place.(see figure 75).
6.. .Inspect.the.ceramic.gasket.(white).and.the.silicone.gasket.(gray).
attached.on.the.inside.of.the.Inner.door.for.any.damage.(see figure
76)...If.any.damages,.you.must.order.one.or.both.gaskets.
Replacement.of.the.access.door:
1.. Replace.the.Inner.door.on.the.duct.over.the.access.hole.
2.. To.make.sure.the.door.is.well.placed,.put.back.only.the.top.and.lower.
central.wing.screw.and.tighten.both..
3.. Make.sure.that.the.door.is.well.placed.
4.. Put.back.the.other.six.(6).wing.screws.and.tighten.adequately.
5.. Replace.the.INSULATION.PAD.over.the.inner.door.
6.. Replace.the.outer.door.
7.. Put.back.the.six.(6).wing.screws.and.tighten.them.with.your.hands.
Figure 73
Figure 74
Figure 75
Figure 76