ADLINK PXIe-3975 User Manual
Pxie-3975, Advance technologies; automate the world
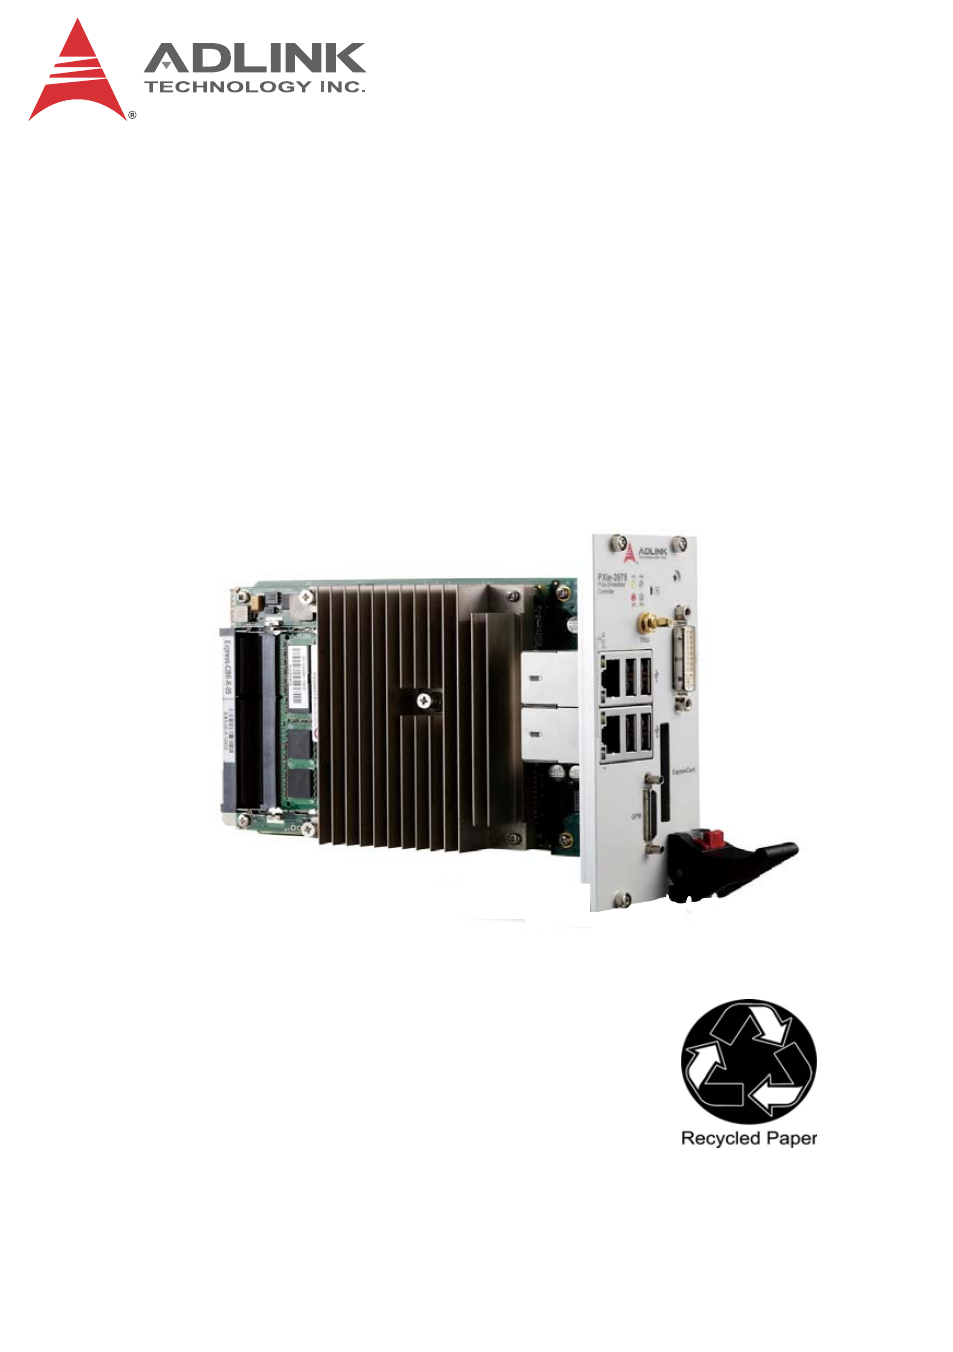
Table of contents
Document Outline
- PXIe-3975
- Preface
- Table of Contents
- List of Figures
- List of Tables
- 1 Introduction
- 2 Getting Started
- 2.1 Package Contents
- 2.2 Operating System Installation
- 2.3 Hardware Instructions
- 2.3.1 Faceplate Connectors & Indicators
- 2.3.2 PXI Trigger Connector
- 2.3.3 DVI-I Connector
- 2.3.4 GPIB Connector
- 2.3.5 Reset Button
- 2.3.6 LED Indicators
- 2.3.7 USB 2.0 Ports
- 2.3.8 Gigabit Ethernet Ports
- 2.3.9 ExpressCard/34
- 2.3.10 Onboard Connections and Settings
- 2.3.11 Installation Environment
- 2.3.12 Installing the PXIe-3975
- 2.3.13 Replacing the Hard Drive
- 2.3.14 Replacing the Battery Backup
- 2.3.15 Clearing CMOS Jumper (JP1)
- 3 Driver Installation
- 4 BIOS Setup
- Appendix A - PXI Trigger I/O Function Reference
- A.1 Data Types
- A.2 Function Library
- A.2.1 TRIG_Init
- A.2.2 TRIG_Close
- A.2.3 TRIG_SetSoftTrg
- A.2.4 TRIG_Trigger_Route
- A.2.5 TRIG_Trigger_Clear
- A.2.6 TRIG_GetSoftTrg
- A.2.7 TRIG_Trigger_Route_Query
- A.2.8 TRIG_GetDriverRevision
- A.2.9 CONTROLLER_GetHwRevision
- A.2.10 CONTROLLER_GetManufacturer
- A.2.11 CONTROLLER_GetModel
- A.2.12 CONTROLLER_GetSerialNumber
- Appendix B - Watchdog Timer
- Important Safety Instructions
- Getting Service