Basic operations, Selection of auoio/video source, Recording an audio source – Aiwa AV-X120 User Manual
Page 10: 1 select the program source, 1 select the program source to be recorded, 3 start the selected program source, Note, 2 start the selected program source, 3 adjust the sound, About the video source to the monitor or tv
Attention! The text in this document has been recognized automatically. To view the original document, you can use the "Original mode".
BASIC OPERATIONS
SELECTION OF AUOIO/VIDEO
SOURCE
RECORDING AN AUDIO SOURCE
CZ)
m
o
f ' "'1.......ij
@C3
=>
Gm (
§)
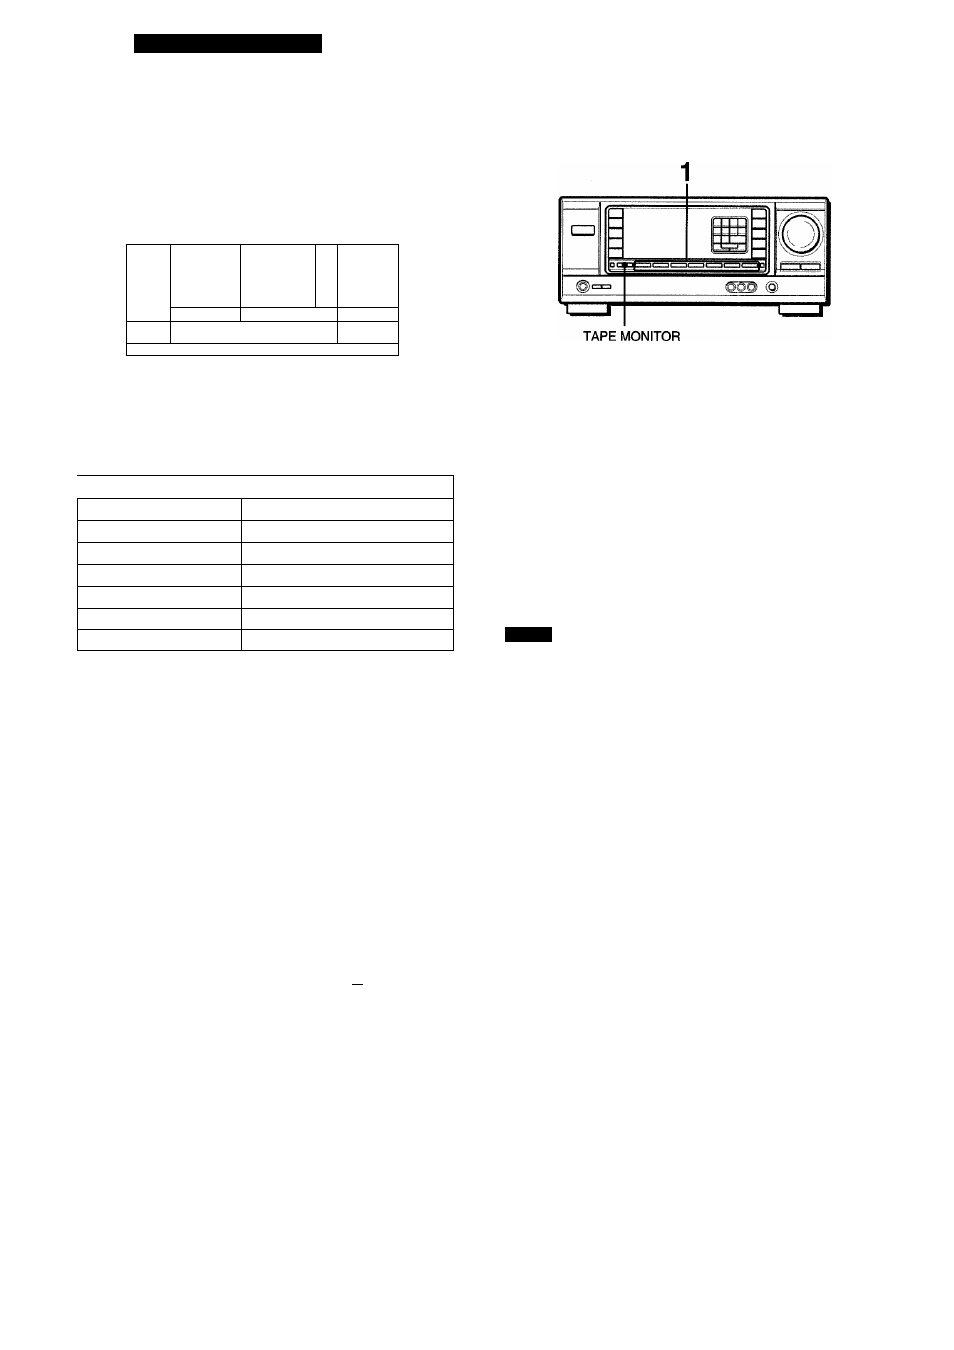
1 Select the program source.
Press one of the FUNCTION buttons or the TAPE MONITOR
button.
To listen to or watch
The button pressed
Tape
TAPE MONITOR
Radio
TUNER
Record
PHONO
Television, etc.
AUX/TV«>
Compact disc
CD
Video (VCR or LD)
VIDEO 1, VIDEO 2"), VIDEO 3
MD
VIDEO 2^'
For selecting AUX/TV, or VIDEO 2/LD/MD, see “To change
a displayed name for the AUX/TV button and VIDEO 2
button” of “BEFORE OPERATION” (see page 6).
1 Select the program source to be recorded.
Press one of the FUNCTION buttons.
2 Set the tape deck or MD recorder to the recording
mode.
3 Start the selected program source.
To monitor recorded sound during recording (when the
connected tape deck is a three-head system)
Press the TAPE MONITOR button. “TAPE ON” appears on the
display for four seconds, and then the source name selected in
step 1 comes back on. To cancel the tape monitor, press it again
so that “TAPE oFF” appears.
NOTE
Any sound control except the BBE system has no effect on
recording (see page 7).
When using a turntable with a built-in equalizer amplifier, set the
switch of the equalizer amplifier to off. See the instructions of
the turntable for further information.
2 Start the selected program source.
3 Adjust the sound.
About the video source to the monitor or TV
DANCE
LIVE
HALL
ANENA
Selected VIDEO source
llllll ROCK
— pQp
f
;
(...u
; /
;/
■
ElMc
B6M
V1; VIDEO 1, V2: VIDEO 2, V3: VIDEO 3
The selected video source is indicated on the display and the
video signal through the MONITOR VIDEO OUT jack is output
on the TV.
9
ENGLISH