Buhl 9014EDC User Manual
Page 5
Attention! The text in this document has been recognized automatically. To view the original document, you can use the "Original mode".
REPLACEMENT OF PROJECTION LAMP
Tor pra^ion «rith light booetets, depiaM «prlng latch «aouhnc th« light
booMr ■ssefflbly and INI the apowd prci)ecBor lamp. Remove detective
lamp. ReMuB lerr*) ^ hoUng lamp with eKhar a cloth or ptaatlc envatopa (cli
not touch tamp wMi bare bande). Inaerl lamp pha into lamp socket. Secure
lamp boowar aseembly and oMea pro)actor.
EASY TO CLEAN
FftESNEL:
1.
Prassietcbeeatbotheidesoleover, im off cover and turn upaMe down. Rotate
two tabs aacurfng fteanat Ian* and remove lens.
г Carefully cleen fiaenel lenewNh e demp. eoft doth. Alcohol or other aolvenis
MUST NOT be ueed. Tlie bottom eurfaM ol stage glass aiao tnouM be
cleaned Irt me same manner at this Ikne.
3.
Return Iraanal lene Irvo frame usirtg the reverse procedure noted ki step 1.
4.
Presnal • IIP'marked In comer-lathe aide lacing up Icmardprotecdar heed.
Staff« a/Ms:
Clear wtih a dajnp, аоП doth.
Clean lena and mirror with lens cleaner, elcohol or damp r.lolh.
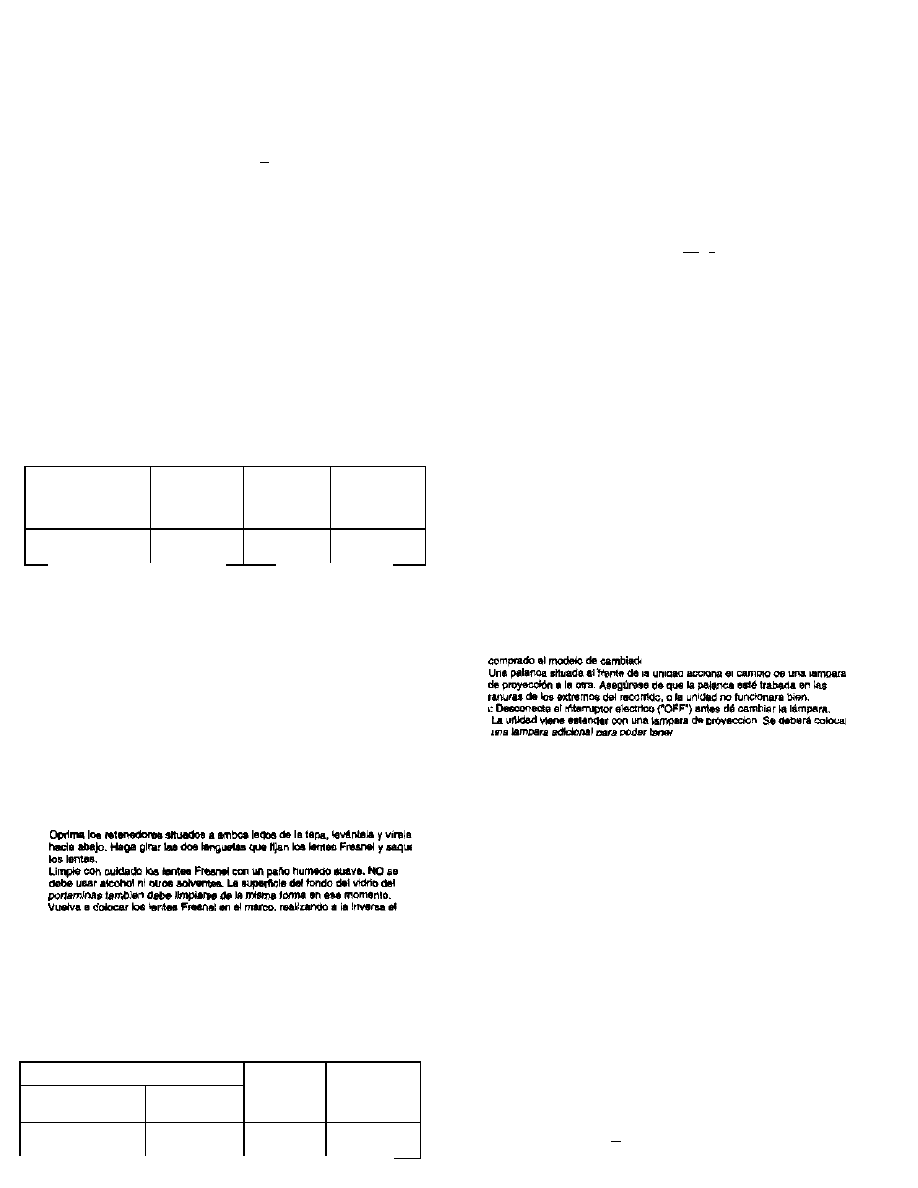
SCHEMATIC DIAGRAM
■“В—1
THíiBiK(.7
■А.р\
~В—1
и
^
П BOD*
^рвотестс*
LAMP CHANGER VERSION '
BASIC VERSION
ill you nave purchased lamp changer modd, ptoase no» the bllowingr
t. AleverhKaIedlnthafion(ofirMurTffecluate*cneew№Nrtgofonepra|eedori
larpp lo another. Make aute Ihe lever le lalchaa Into and aim ol Irevel path, or
unit will not function properly.
NOTE:Tum power awlteh OFF prior lo lamp changing.
2
.
The unll cornea etandard with one protection tatnp. An eddUcmilamp must be
installed lor lamp changino capabnity-
SIMPLE TO OPERATE
1.
Ptace me projeetor on a firm, level surface at a convenient operating height
(Do not cover the vents at both sides of pmtactor.)
2
.
iinsert power cord into a grounded etactricai outlet and actuate power switch.
3.
Fiaee a irenaparency on the stage and turn focus knob slowly until Image is In
locue. Screert Imege elevation Is changed by moving the icp portion ol the
heed mirror upward or downward as teculrad.
(See eddHlor«l пома on locuelfig In TrcubleehooUng Hktis),
AUTOMATIC THERMAL SWITCH
The unit wiN auiotnaOtwily shut on when It reaches maximum tenverature. It (an
ouUel le cbstnxted. or (an Is riot working ргореЛу. will happen. The thenrtal
ewftch will reset autometlcalty when the unit has cooled down.
OPENING PROJECTOR
Alwaya first dlsconneet power cord from wall socket. Then, gently doprese boih
cmrer laiehee and lift cover.
CLOSING PROJECTOR
Lower 4d, puanlng do«m until aide latches are locked. At this point, trw unit is eloeed
COOUNQ THE PROJECTOR
Unpkjg power cord. Open lop lid. The heal will disslpaie wiiMn a few minutes bo
irol move the ипП until cool. Ones cool, you cart move, store, etc.
INSTRUCTIONS FOR OPTIONAL LAMP CHANGER
COMO CAMBIAR LA LAMPARA DE PROYECCION
1. Dosconecte ft corddn del tomacomente de la pared. enfhar el proyector
antes de abrirlo. Luego, tóre at eor||unlo de Is cubierta superior del proyector
oprimiendo loe retaneoores sttuadoe a ambo« lados de esta,
i. En si casode ioeproyectoree quettanen ampiMcadoresde Iu2. be)esi
retenedor de reso^ que (Ha ai ampUflcador de Im y levente lá lampara de
proyección. Saque lá lampara datactuosa y reámptacsla aujatandota con On
paño o oon una (ünda pfaaHce (no ioqua la lampara sin protegerá» la» manca).
Inaerle ioa pasadores da tá larnpara en la torna de la lampara. Fi)e el conjunto
ampltncador de lampara y cierre el proyector
FACIL DE LIMPIAR
4. El'ltód«wíÍIlB^Í*M-^UP"°^
debe cttioearse mirando hacia le cabéis de proyección.
Vidrio dtl Porlalamina»:
Llmpielo con un paho húmodo y auave.
Urrple los tontea y el espefo con un limpiader de lenlea, atc^i o un peho húmedo.
DIAGRAMA ESQUEMATICO
|w«eog^wo¿|
Mposicioix
fttuKU A
'-“J,
T.««* A
пй»
VERSION CON CAMBIAÍXDR DE LAMPARA
VERSION EtASlOA
INSTRUCCIONES PARA (/TTLIZAR EL CAMBIADOR OE
LAMPARAS OPCIONAL
ЗГ de lámpara, tenga en cuanta lo siguiente;
la capacxtad de Intercambiar
FACIL DE OPERAR
1.
Coloque «I proyector an una aupanieia time y nheiada. a una altura de
Operación adecuada. (No cubra loe reepiradarce situados a ambos ledos del
proyector).
2.
Inserte el coidon eiaartco an un Urnacorrlsnte con conexión a' tierra y
encienda el Interruptor.
3.
Coioque una traneparanda art ai ponaldminas y luga girar ta psnTla de
enfo^ lentamente hesii que ia Imagen queda anteceda. La elevación de le
imagen en ta pantalla se cambia moviendo la pordon superior del eepe|o da is
cabéis hada arrba o abtqo. según sea rtecessrto.
(Vea las notas adUortaise «obra el tama enfoque en la sección Sugerencias
sobre la LocaSzadon de Fallas.)
INTERRUPTOR TERMICO AUTOMATICO
La urMad eá apagara sutomáticameilte cuando alcance lá temperetura máxime.
Eso dourtire st ae obstruye la salida dal vsntllador o al ventitador rm eala trabajando
dan. El Interruptor térmica restablecerá auiomellcameriie in conexión cuando la
unidad se haya enfriado.
COMO ABRIR EL PROYECTOR
COMO CERRAR EL PROYECTOR
COMO ENFRIAR EL PROYECTOR
Desenchufe el cordon sieeWto
mlhulos No mueva ta unided hi