MTD 111-070A User Manual
Page 13
Attention! The text in this document has been recognized automatically. To view the original document, you can use the "Original mode".
The blade can be tested for balance by balancing
it on a round shaft screwdriver. Remove metal
from the heavy side until it balances evenly. See
figure 18.
NOTE
It is recommended that the blade
always be removed from the adapter
for the best test of balance.
FIGURE 18.
C. Reassembly
Before reassembling the blade and the blade
adapter
to
the
unit,
lubricate
the
engine
crankshaft and the inner surface of the blade
adapter with light oil. Lubricating the bolt holes,
bolts and inner surface of the nuts with light oil is
also recommended. A 4 oz. plastic bottle of light
oil lubricant is available. Order part number
737-0170. Engine oil may also be used.
When replacing the blade, be sure to install the
blade with the side of the blade marked “Bottom”
(or with part number) facing the ground when the
mower is in the operating position. Make certain
key is in place on the crankshaft.
Blade Mounting Torque
3/8" Dia. Bolt 375 in. lb. min., 450 in. lb. max.
5/16" Dia. Bolt 150 in. lb. min., 250 in. lb. max.
To insure safe operation of your unit, ALL nuts
and bolts must be checked periodically for correct
tightness.
DECK
The underside of mower deck should be cleaned
after each period of use as grass clippings, leaves,
dirt and other matter will accumulate. This ac
cumulation of grass clippings, etc., is undesirable
as it will invite rust and corrosion and may cause
an uneven discharge of grass clippings at the next
cutting.
The deck may be cleaned by tilting the mower for
ward or on its side and scraping clean with a
suitable tool or by washing with a stream of water
from a garden hose.
A
and
CAUTION
Do not direct the stream of water at
a hot engine as damage to the
engine may result.
ENGINEOIL
Check
oil
level
before
starting
engine
after every 5 hours of operation.
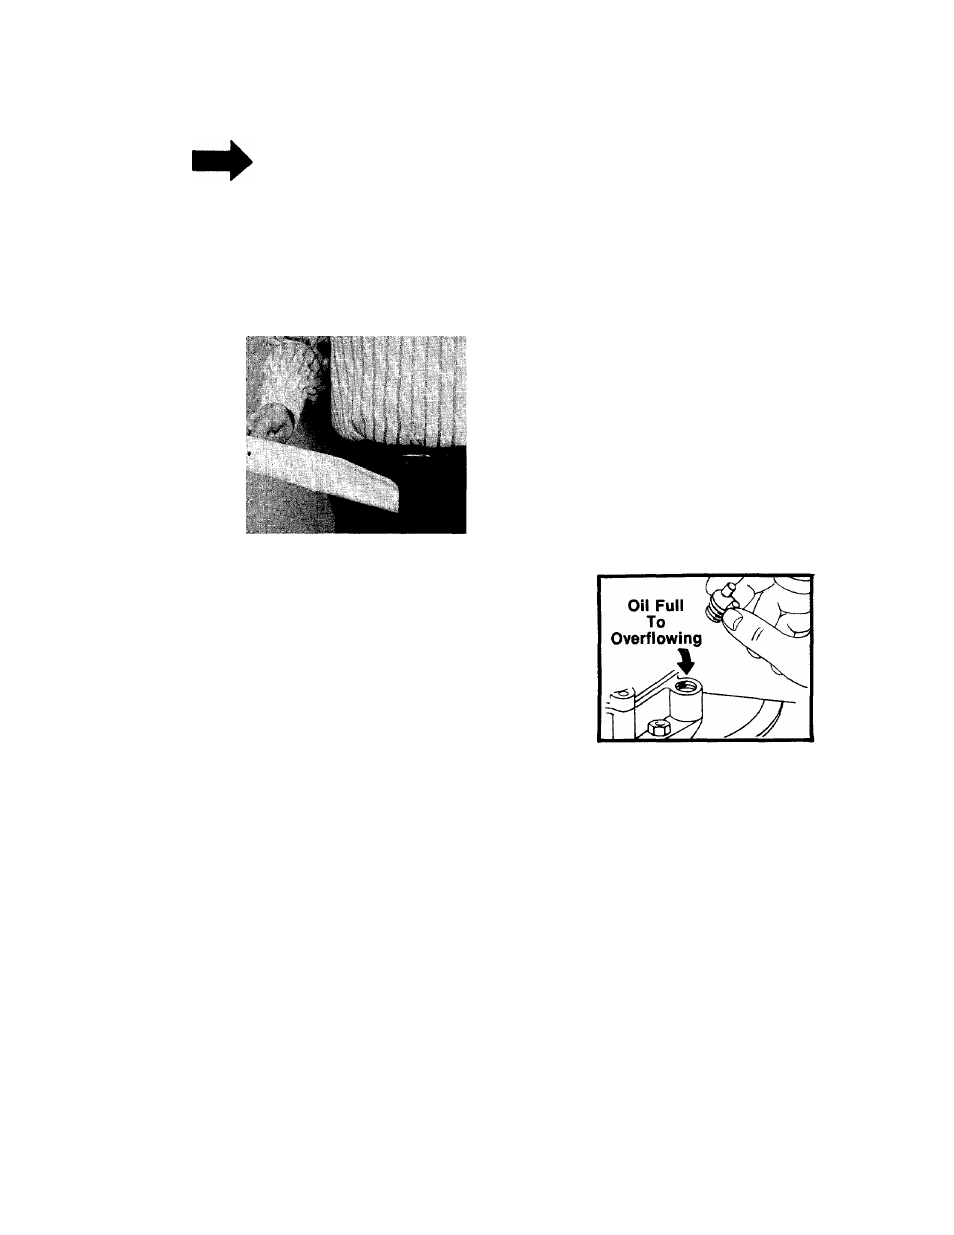
ADD oil as necessary to keep level FULL TO
POINT OF OVERFLOWING.
Before removing oil fill plug, clean area around
plug to prevent dirt from entering oil fill hole.
Engine should be in a level position when check
ing oil.
Change oil after first 5 hours of operation.
Thereafter change every 25 hours. Change oil
while engine is warm. Oil may be drained thru
drain on bottom of engine. To drain completely,
always place engine level when draining thru the
bottom. Oil capacity 1-1/4 pints. See figure 19.
FIGURE 19.
AIR CLEANER
Clean air cleaner and re-oil element every 25
hours under normal conditions. Clean every few
hours under extremely dusty conditions. Poor
engine performance and flooding usually in
dicates that the air cleaner should be serviced.
See figure 20.
1. Remove screw.
2. Remove air cleaner carefully to prevent dirt
from entering carburetor.
3. Take air cleaner apart and clean.
a. WASH foam element in kerosene or a liq
uid detergent and water to remove dirt.
DRY foam completely by wrapping and
squeezing in a cloth.
SOAK foam with engine oil. Squeeze to
distribute and remove excess oil.
4. Reassemble parts and fasten to carburetor.
b.
c.
13