Carburetor adjustments (see figure 19) – MTD 241-640A User Manual
Page 10
Attention! The text in this document has been recognized automatically. To view the original document, you can use the "Original mode".
A
CAUTION
Disconnect high tension wire at spark
plug to prevent accidental starting
of engine. Unscrew oil drain plug
located on side at bottom of engine
See figure 17.
NOTE
Always tip engine towards oil drain
hole. Be sure oil drains completely.
Replace oil drain plug and refill with oil as directed
on page 6 or engine nameplate.
2. Check oil every five (5) operating hours or each
time equipment is used.
CARBURETOR ADJUSTMENTS (See figure 19)
Do not make unnecessary adjustment. Factory
settings are correct for most application. If
adjustments are needed, proceed as follows:
1. Close power adjusting needle (figure 19)
I
turning to right (clockwise). Close finger tigh.
only. Forcing will cause damage.
2. Open one turn (counterclockwise).
3.
Close idle adjusting needle (figure 19) by turning
to right (clockwise). Close finger tight only.
Forcing will cause damage.
4. Open one and one-half (1-1/2) turns (counter
clockwise).
5. Start engine. Follow starting instructions page 6.
6.
With throttle open (carburetory control at RUN
or FAST position) adjust power adjusting needle
one-eighth (1/8) turn at a time forward to back
ward until engine runs smoothly. If engine tends
to stall under load enrich mixture slightly
(counterclockwise).
3. Cleaning engine—This is an aircooled engine which
operates most efficiently when the cooling fins
are clean.
Clean cylinder fins and underside of tank or housing
thoroughly of all accumulated grass and debris.
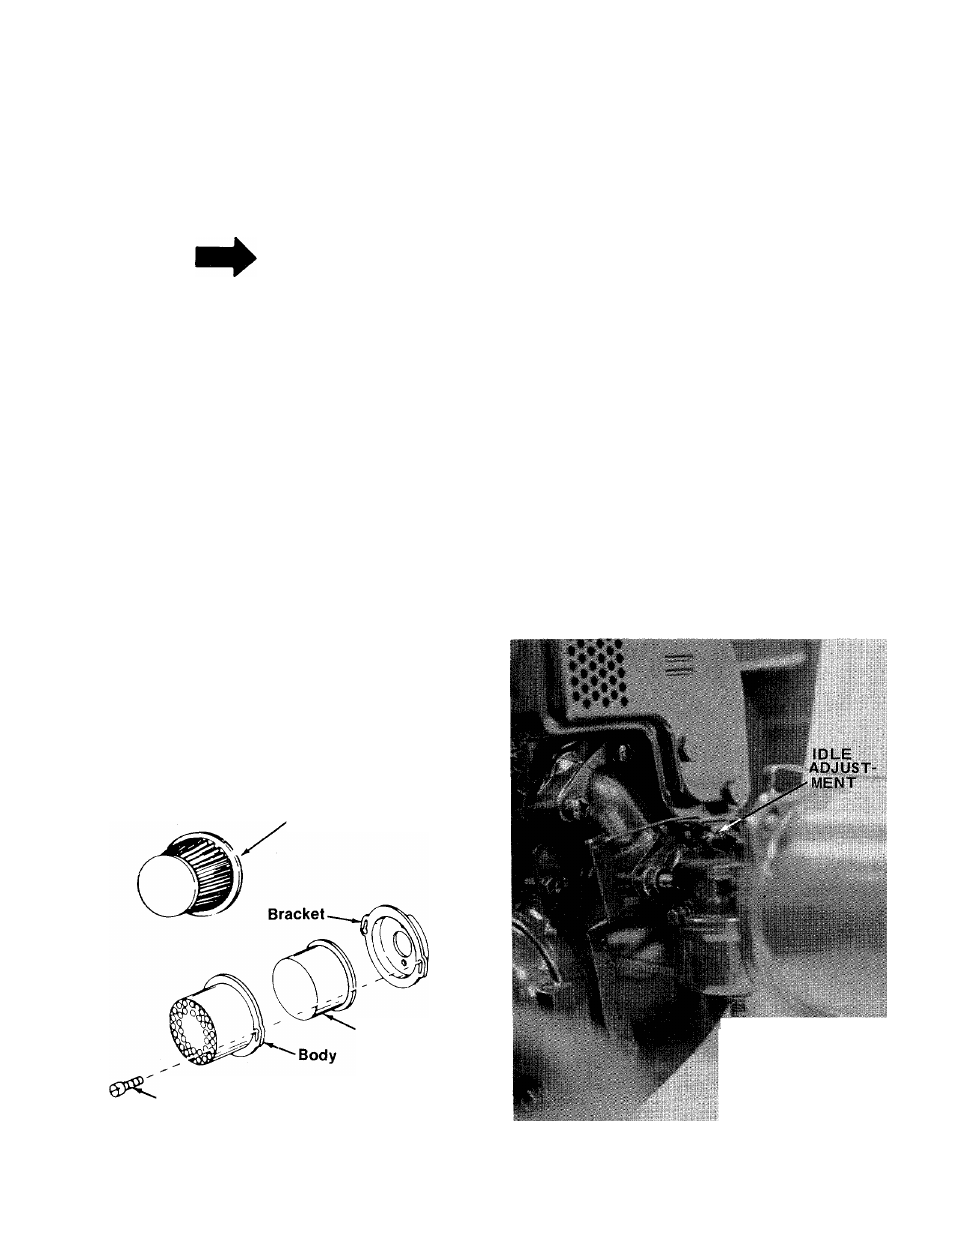
4. Air Cleaner. (See figure 18).
Paper Type Element. Remove every 10 hours or
oftener if under dusty conditions. Tap to remove
loose dirt and/or blow from inside out with low
pressure air. Replace if torn or perforated or
when plugged to maintain proper carburetor
setting (50 hours). DO NOT WASH IN ANY
LIQUID A
nd
do
notoil
.
Paper Element
Element
-Attaching Screw
7.
Hold throttle lever closed or move carburetor
.control to IDLE or SLOW position and adjust
idle adjusting needle until engine runs smoothly
proceeding in step six (6) above.
8.
Allow several seconds between each adjustment
when performing either step six (6) or seven (7)
to allow engine to react to new setting.
pi)WER ADJUSTING
NEEDLE
FIGURE 18
FIGURE 19
10