Figure 21, Transporting the tiller, Cultivating – MTD 219-320-000 User Manual
Page 11: Figure 22
Attention! The text in this document has been recognized automatically. To view the original document, you can use the "Original mode".
5
m
3
gn
■VWv.'W-'
lip
i.vvSijSS
4
4
.
Tilling widtn can be reduced from 26 inches to 24
inches by removing the clevis pins and hairpin clips and
sliding the outer tines in one inch, and replacing the
clevis pins and hairpin clips.
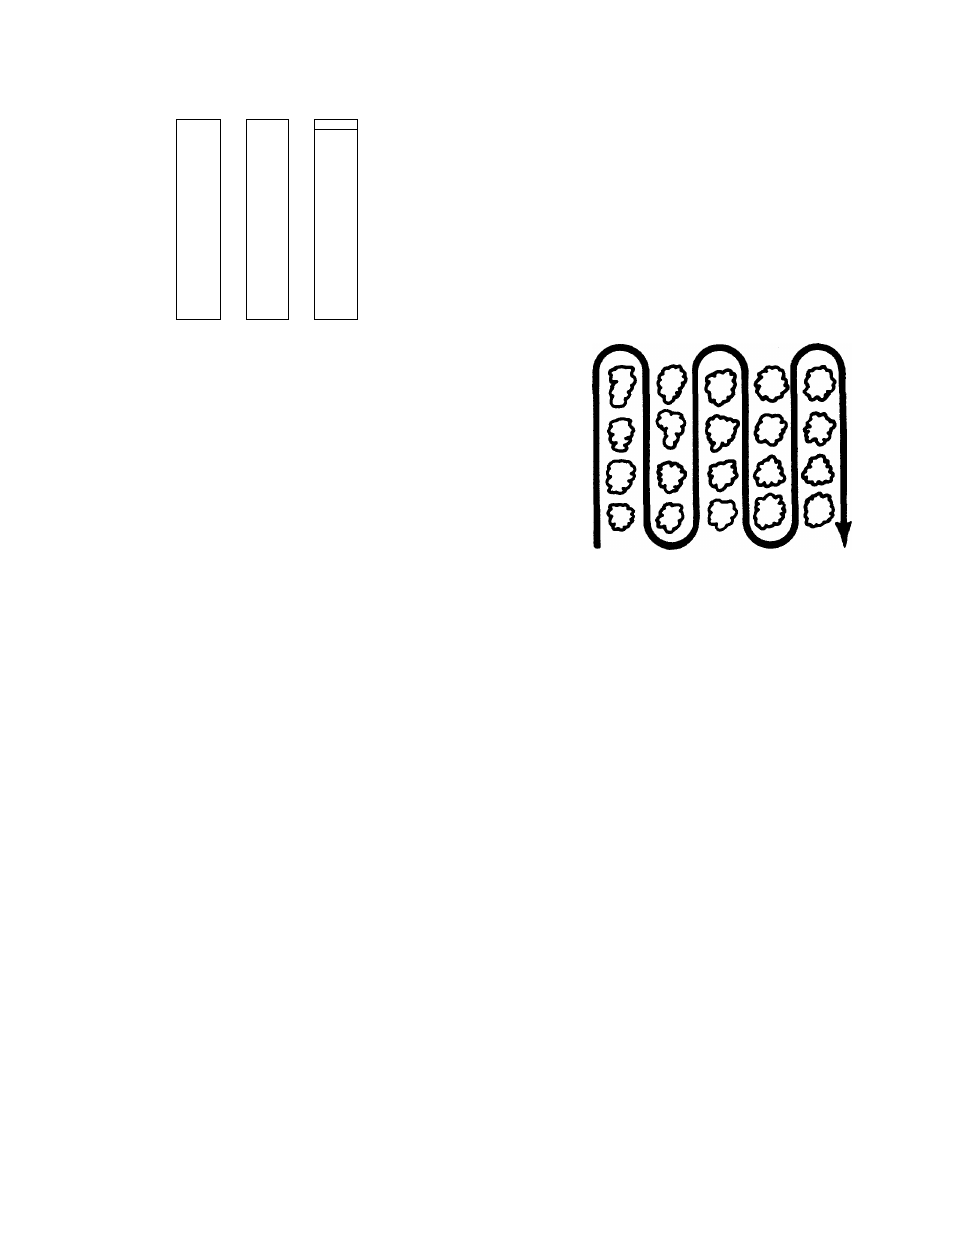
When laying out plant rows, be sure to allow enough
width to permit cultivation between the rows. In grow
ing corn or similar crops, check-row planting will per
mit cross cultivation and practically eliminate hand
hoeing. See figure 22.
FIGURE 21.
3. Handle Pressure: Further control of tilling depth
and travel speed can be obtained by variation of
pressure on the handles. A downward pressure on
the handles will reduce the working depth and in
crease the forward speed. An upward pressure on
the handles will increase the working depth and
reduce the forward speed. The type of soil and
working conditions will determine the actual set
ting of the depth stake and the handle pressure
required.
4. Throttle Control: The throttle control lever adjusts
the engine speed and stops the engine. With the
throttle control knob pushed completely forward,
the carburetor is in START position. Pulling the
throttle control back slightly adjusts the engine
speed to FAST. Pulling the throttle back further
reduces the engine speed to SLOW. Pull the throt
tle completely back to stop the engine.
Use maximum engine speed for deep tilling. Move
the throttle control to SLOW when transporting the
tiller.
TRANSPORTING THE TILLER
To transport the tiller to or from the garden, raise the
depth stake to its highest position. See figure 20. With
the throttle control in SLOW position, the unit will move
under its own power, without damaging grass areas as
long as it is allowed to move freely. If the operator holds
back, it will start to dig.
CULTIVATING
For cultivating, a two to three inch depth is desirable.
Setting the wheels and depth stake so that the wheels
are about two inches above the ground while the tiller
is resting on the tines and depth stake will allow the
machine to work at cultivating depth. The throttle
should be set to control forward movement to a slow
walking speed. With standard tines, the working width
of the machine is 26 inches. For cultivation, this may
be reduced to 13 inches by removing the outer tines.
FIGURE 22.
The tiller has many uses other than tilling and
cultivating a garden. One of these is the preparation
of lawn area for seeding. The tiller will prepare a deep
seed bed which will be free of hard unfilled spots, allow
ing a better stand of grass to grow. The tiller is very
useful for loosening hard soil for excavation with a
shovel. NO tedious hand pickwork will be necessary.
Your tiller may be used for mixing compost in the pile,
or for mixing it with the soil in your garden. This should
be done after the soil has been broken to the full work
ing depth. The compost should be worked in to a depth
of six to eight inches. This may be done by working the
length of the garden, and then by making separate
passes across its width. The addition of decayed
organic matter will substantially increase the fertility of
your garden. For proper decaying action, fertilizer
should be applied and worked in with the mulch
materials. Breaking up leaves and straw and mixing it
with several inches of soil causes the soil to hold
moisture longer and allows proper aeration of the plant
root system. This also retards the growth of weeds.
The U.S. Department of Agriculture and various state
and local agencies offer published booklets and expert
advice on all phases of gardening. They should be con
sulted regarding soil information, planting dates,and the
most satisfactory varieties of crop for your particular
area.
11