Off season storage, Handle storage – MTD 112-162A User Manual
Page 9
Attention! The text in this document has been recognized automatically. To view the original document, you can use the "Original mode".
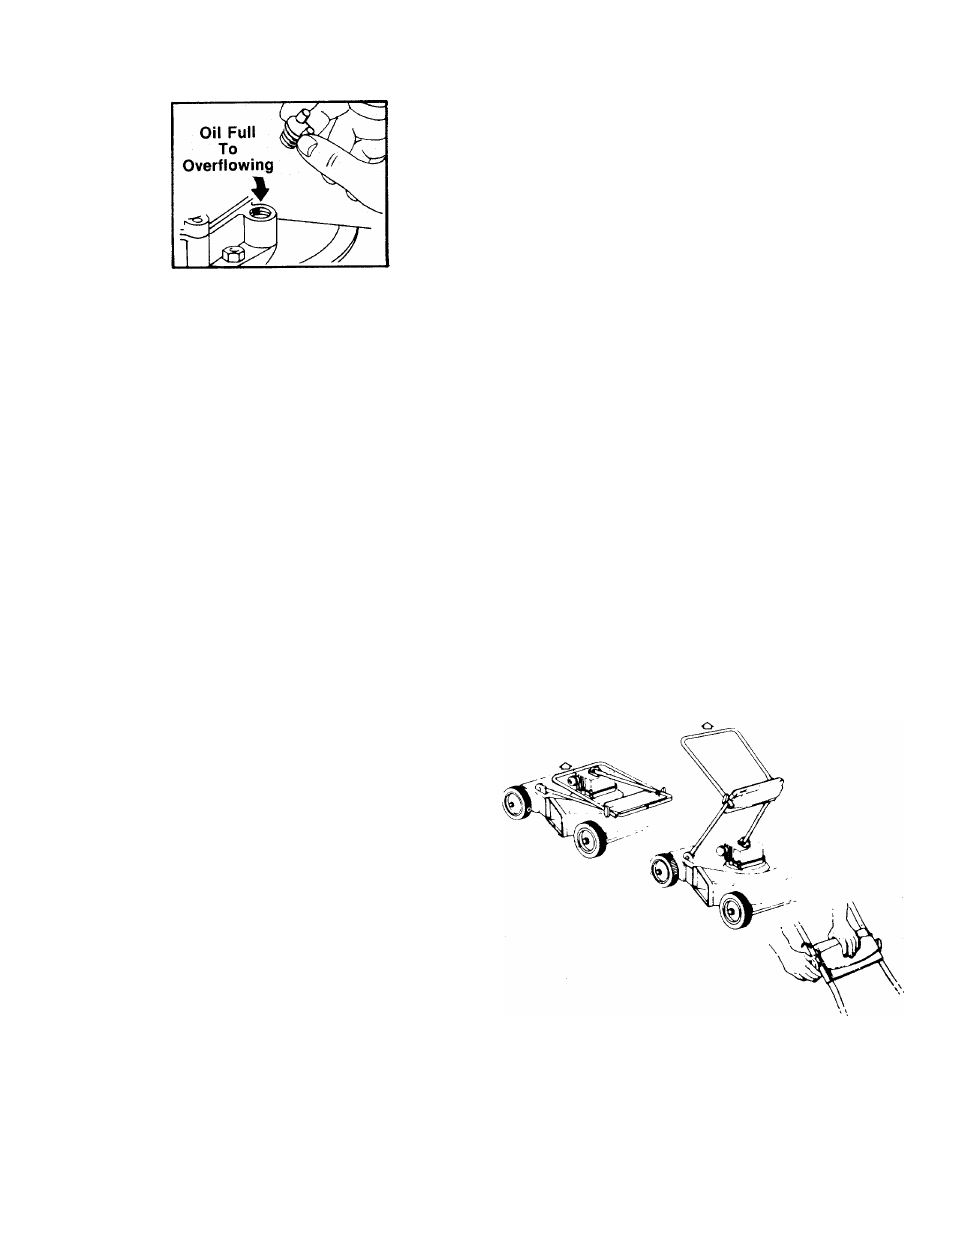
FIGURE 10.
AIR CLEANER
Service air cleaner every 25 hours under normal
conditions. Clean every few hours under extreme
ly dusty conditions. Poor engine performance and
flooding usually indicates that the air cleaner
should be serviced. To service the air cleaner,
refer to the separate engine manual packed with
your mower.
SPARK PLUG
The spark plug should be cleaned and the gap
reset once a season. Spark plug replacement is
recommended at the start of each mowing
season; check engine manual for correct plug
type and gap specification.
OFF SEASON STORAGE
The following steps should be taken to prepare
lawn mower for storage.
1. Clean and lubricate mower thoroughly as
described in the lubrication instructions.
2. Refer to engine manual for correct engine
storage instructions.
3. Coat mower’s cutting blade with chassis
grease to prevent rusting.
4. Place blocks under deck to raise tires clear of
floor.
5. Store mower in a dry, clean area.
HANDLE STORAGE
The handle may be placed in an upright position
for storage.
Move the hairpin cotters to the outer hole on weld
pins. See figure 2. Press inward on the bottom of
the lower handle and push forward. The handle
will lock in this position.
Reverse the above procedure to place the handle
in the operating position.
The handle may also be folded away completely
for storage.
1. Remove hairpin cotters from inner hole on
weld pins on handle mount brackets. Place in
outer hole.
2. Loosen the two hand knobs on each side of
the handle.
3. Pull inward on the bottom of each side of the
lower handle and push forward.
4. Fold the upper handle back and down as
shown.
To Take the Handle Out of Storage Position.
1. Lift the upper handle up and towards the rear
as shown.
2. Pull the handle back until it locks into the
operator’s position.
3. Tighten the two hand knobs securely.
4. Move the hairpin cotters to the inner hole on
the weld pins.