Troy-Bilt 12001C User Manual
Page 15
Attention! The text in this document has been recognized automatically. To view the original document, you can use the "Original mode".
Some Special Techniques
Your handy tiller can do some impressive
tricks for you after you’ve had a fair bit of prac
tice with it. Here are a few;
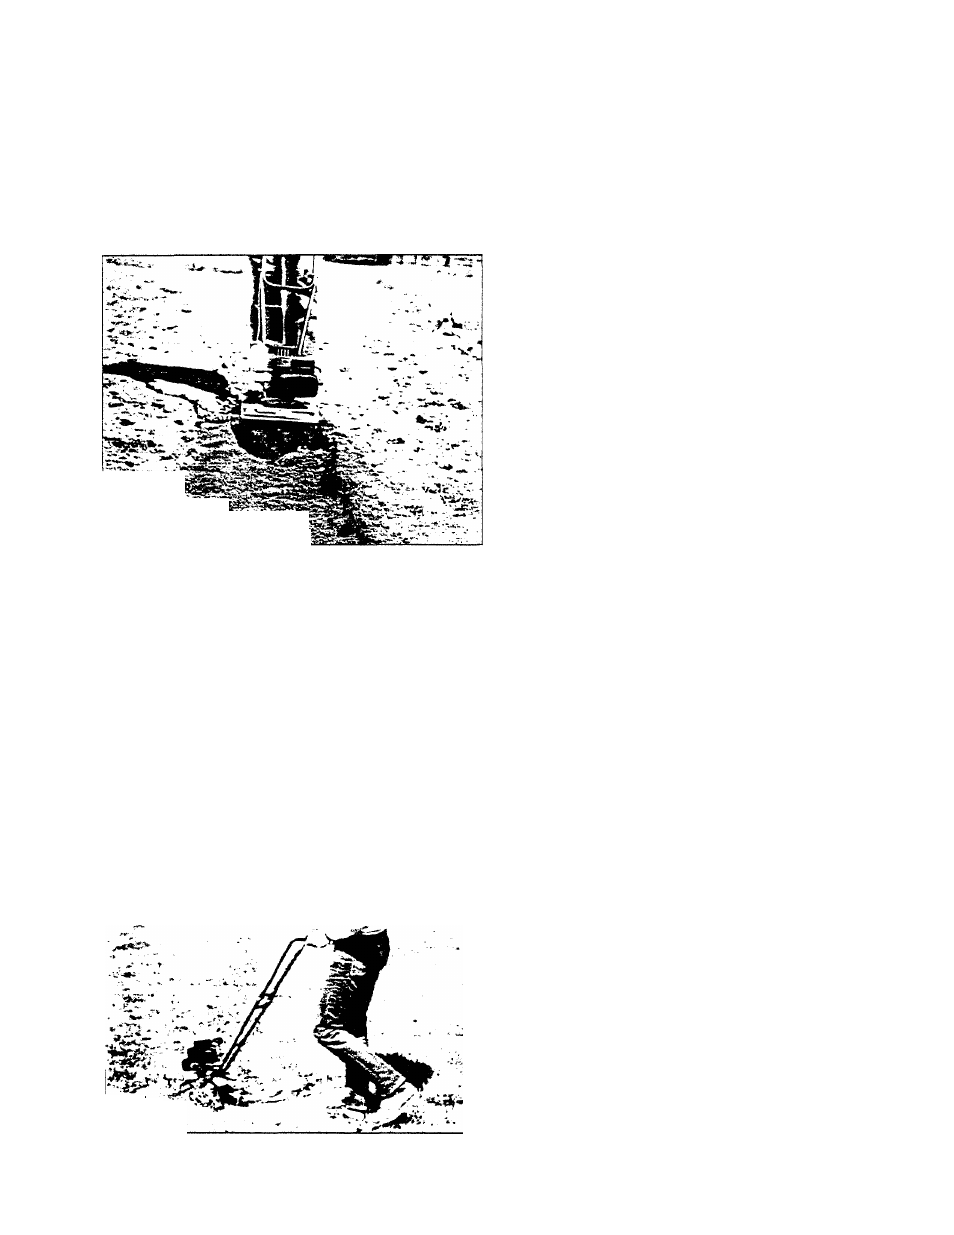
• To make a furrow, remove the two outer tine
gangs and replace them with the short tine spac
ers. Also remove the depth stake. Use a high
engine throttle setting and puil the machine
slowly straight backward, allowing earth to spill
out on each side. You’ll have a fine furrow.
Photo 11B
• For hills and raised beds, keep all the tines in
place and pull the machine backward at a tilt, so
you “hiir up the earth on one side.
• You don’t have to carry your tiller across the
lawn to a work area. If you prefer, you can start
the engine and “walk” the machine lightly over
the grass. Keep the engine speed as low as
possible— just high enough to keep the tines ro
tating at your walking pace, or the tines will try to
dig into the lawn.
Tilling Sod
• Set the depth stake with its point facing forward
and adjust it deeply enough so the machine will
Photo 11C
pull itself along at a steady pace.
If you set the stake too deep, the machine
won’t pull itself at all; if too shallow, it will want to
move ahead too quickly. Keep in mind that one
depth stake height adjustment either way can
make a big difference. Take a little time and ex
periment. Different soils and tilling depths re
quire different stake adjustments.
• Occasionally, “sweeping” the tiller from side to
side is helpful when the going is tough. This lets
the tines undercut roots and stones, leaving a
completely tilled path. This can also be accom
plished with multiple passes (normally required
when breaking sod with a powered tiller).
Tilling Seedbeds
Your tiller will also do a nice job of digging up
a small plot of soil for planting. This is usually
easier than tilling sod. Once again, set the stake
with the point facing forward and take time to get
the depth adjusted correctly.
• Here’s a trick to smooth the bed for seeding
after it’s well-tilled: Hold the machine level and
pull it quickly backward over the ground like a
large hoe. The slower you work and the higher
the engine speed, the more earth you’ll move, so
just use a quick motion and you’ll reduce the
need for raking.
Tilling in Stony Soil
Your tiller was specifically designed to have a
very small center tine gap, allowing it to weed
more effectively and to mix the soil more thor
oughly.
However, when tilling deeply in stony soil,
you’ll find that stones can frequently lodge be
tween the tines and tiller hood, stopping tine mo
tion.
If a rock jam occurs, shut off the engine
and disconnect the spark plug wire.
Take off
the tine gangs to free the lodged stone, if this
doesn’t remove the jam, pry out the rock by
using a block of wood and a hammer. (Wear
safety glasses if you need to do this.) Don’t try
to rotate the tines backward, and don’t wear out
the clutch trying to drive the jammed tines for
ward using engine power. Once loose, toss the
stone away from the garden area.
A Special Tine Pattern For Stony Soils
If you encounter frequent rock jams in the
tines when working in very stony soils, here’s a
simple change in the tine pattern that will gener
ally minimize the problem.
Wearing heavy gloves, remount the four tine
gangs in the following order: move the inner-left
tine gang to the inner-right position, and the
inner-right gang to the inner-left position. Keep
the outer tine gangs as is. Remember— the
curved tine edges enter the soil first!
15