SINGER W1499 User Manual
Page 29
Attention! The text in this document has been recognized automatically. To view the original document, you can use the "Original mode".
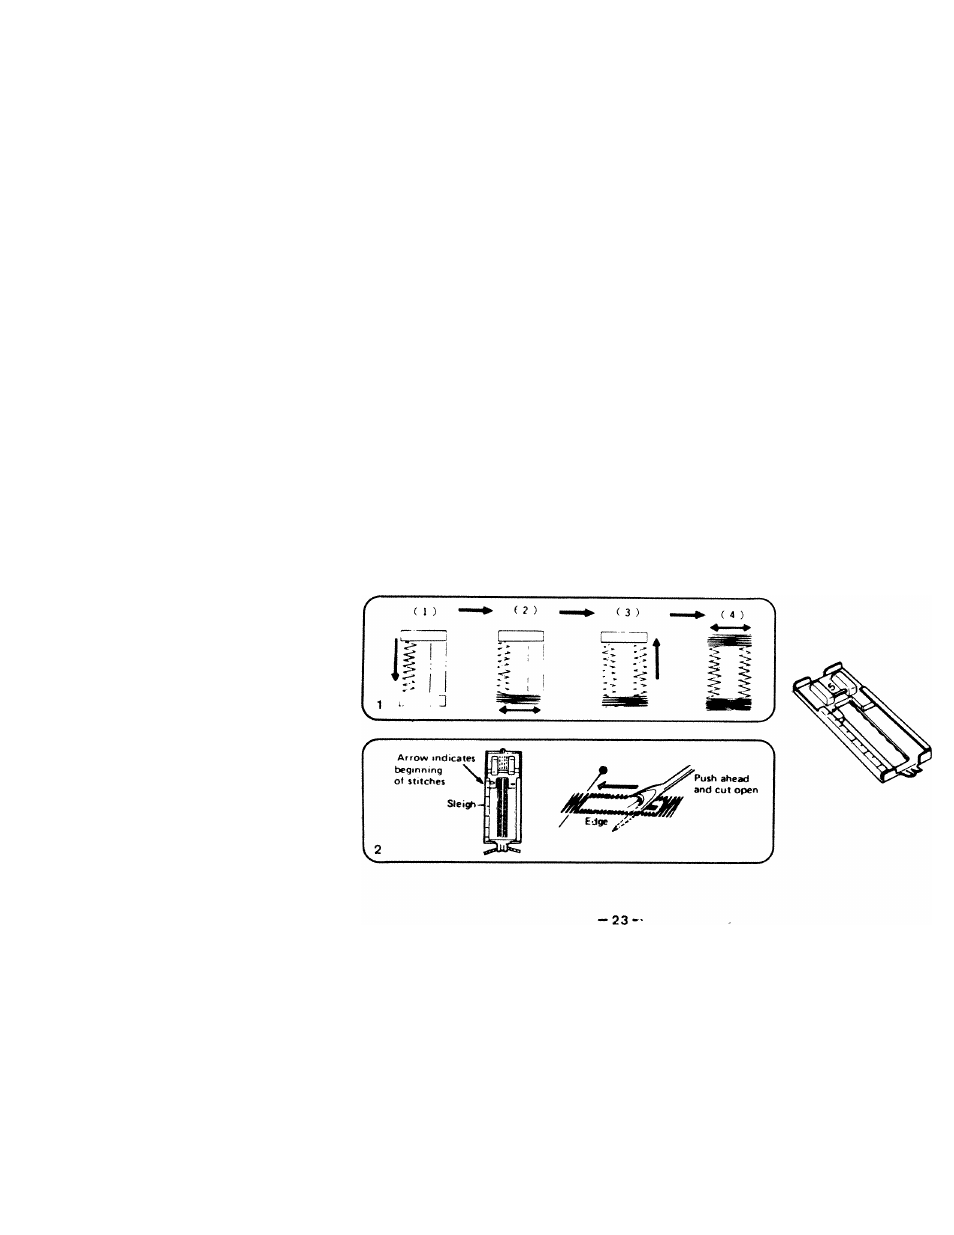
BUTTON HOLE SEWING
Fit the button hole foot.
Set the stitch length dial within the green marking to achieve the correct density
(closeness) of satin stitch. (1) Sew in the sequence illustrated (1) selecting
patterns 18, 19, 20 and 19 again.
USER TIPS
Always sew a sample buttonhole on some spare fabric as settings will change
according to the fabric used. For very thin, stretchy or other difficult fabrics,
try using interfacing (vilene) or tissue or other paper underneath the fabric to aid
machine feeding.
Always use the Buttonhole foot using its calibrated markings to measure the
buttonhole length. On suitable fabric, a corded buttonhole can be sewn taking
care that the zig-zag stitches of the buttonhole oversew the cord. (2)
Carefully cut between the sides (beads) of the buttonhole with the seam ripper
using a pin through the end bar tack (2) to prevent the seam ripper going too far.
The top tension may be reduced to achieve a better looking buttonhole.