SINGER W1044 User Manual
Page 16
Attention! The text in this document has been recognized automatically. To view the original document, you can use the "Original mode".
1. Set zig-zag width between markings 1 and 2.
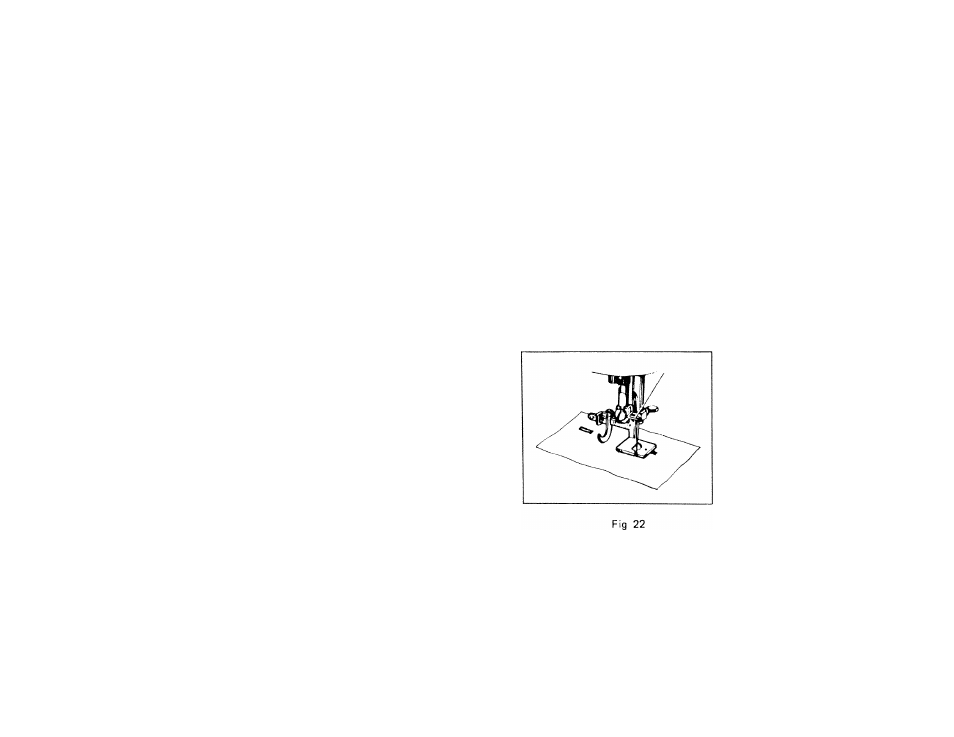
2. Raise the presser foot and turn the balance wheel towards you to bring needle to its highest position. Replace
regular presser foot with special buttonhole foot shown on Fig. 22. Tighten thumb screw.
3. Set stitch length to obtain closely spaced forward stitches. Best length of stitch for buttonholes is when
indicator is placed between markings
0
and
1
on dial. Adjust length of stitch, if necessary, to get best possible
appearance of buttonhole.
4. Slightly tighten needle thread tension, turning thread tension to the right. If appearance of buttonhole should
not prove satisfactory, slightly vary tension until the desired results are obtained.
18. HOW TO MAKE BUTTONHOLES
NOTE: It is suggested that you make one or two sample buttonholes
on a clipping of fabric, same as your garment, to test adjustments
of machine and to make corrections, if needed. Also mark with
pencil or chalk the position and exact length of buttonhole on
garment. Adjust gauge on bottonhole presser foot ¡Fig 22) to
correspond to the desired length of the buttonhole. To determine
this adjustment, measure size of button and add approximately
3/16" to 1/4". The distance from the needle or the machine to
the front of the gauge should equal this measurement. The actual
sewing of the buttonhole should be done in this sequence.