Stitch selection, Adjusting stitch width, Adjusting stitch length – SINGER 484.1544180 (Sold at Sears) User Manual
Page 18: Adjusting stitch width adjusting stitch length
Attention! The text in this document has been recognized automatically. To view the original document, you can use the "Original mode".
3. STITCH SELECTION
Select the right stitch for each sewing project along with proper length, width and balance.
A test sample using the chosen fabric and thread is recommended.
Adjusting Stitch Width
Before moving any controls, make sure needle is
out of the fabric.
^
Movement of the stitch width control towards
the right from its straight stitch position at the
extreme left will produce progressively wider
stitch patterns.
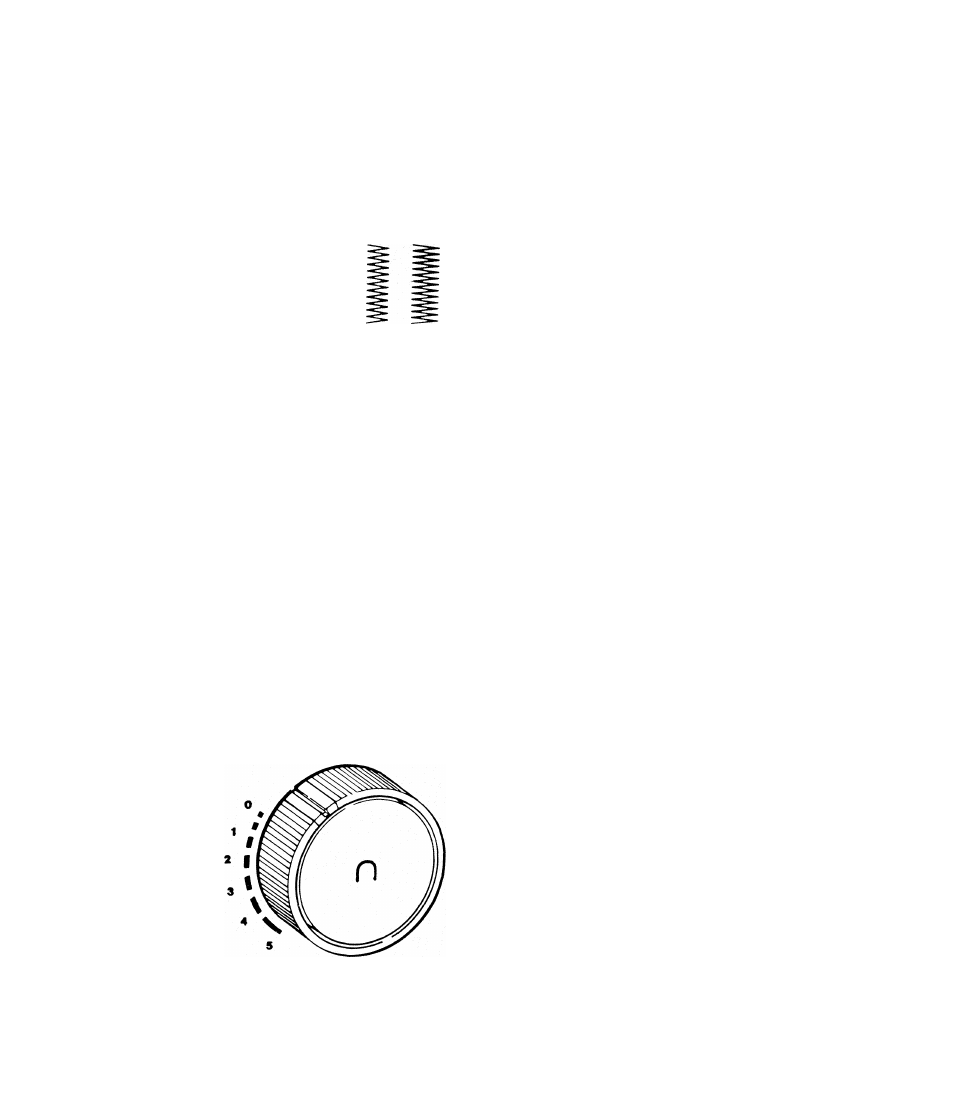
Adjusting Stitch Length
^
By turning the dial on the front of machine,
the length of the stitch can be varied.
^
For most stitching the line on the dial should
be set between 1 and 5 with 5 producing the
longest stitch.
^ For very short stitches, fine adjustment should
be made by setting mark on dial between 0
and 1.
The numbers on this control are for reference
only and do not relate directly to the actual
length of stitch being sewn.
16