SINGER W8931 User Manual
Page 20
Attention! The text in this document has been recognized automatically. To view the original document, you can use the "Original mode".
20
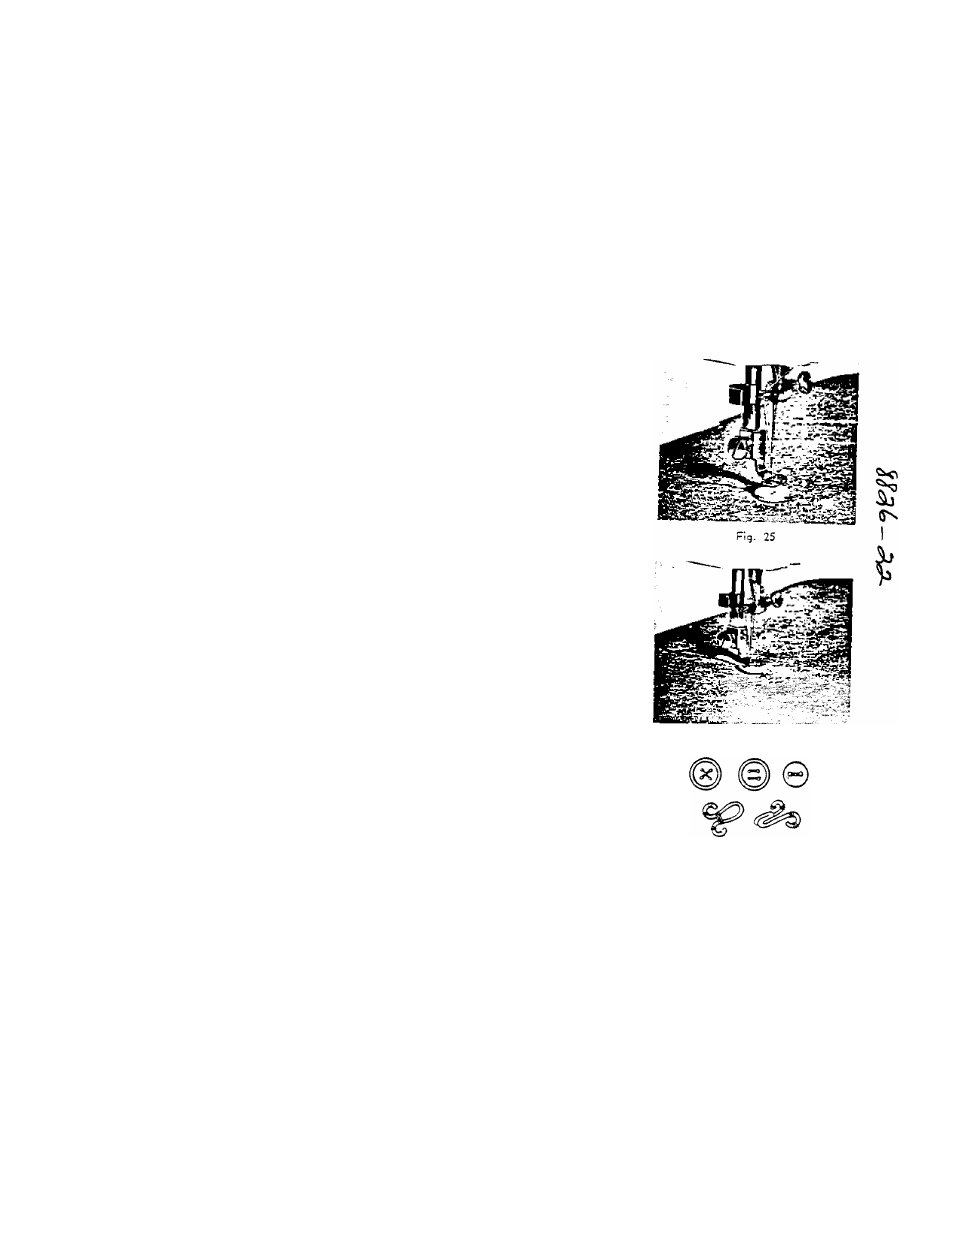
SEWING ON BUTTONS
5.
F^‘'l7)i’T,TFS°2r'‘
*“*
2, PusB drop feed button "DOWN” all tie way.
tbe button so that
Wir\e
4. Move zigzag stitch width stop until the needle comes down
exactly over
the
right hand hole in the button,
ium «and wheel slowly by hand to be sure the needle
“dl? S°S=Msir;°
“Odl»- correct
When needle goes into the center of each hole, run the
SiloSS ^tlf
stitches,
stopping with the needle in the left hole.
w?rfth°i+*n®
prevent ravelling, set the stitch
dtt at 0, and take a few stitches in the same hole. If you
wsh you may place a rounded toothpick over the button
^e^een the two holes, and sew button to fabric in regular
fomfngTsh^Vl'lie?“''
above method to sew on buttons with four holes,
snaps, etc. If a four hole button is to be sewn
Now^fift Tr!
iox
the two hole button. '
sligitly and move fabric to permit
t?
5?e
fibric
wiXS""^
Boles.
Hooks,
snaps,
etc.,
are
sewn
hn^s
“ ^
procedure as for sewing two hole
“ig. 26
Fig. 27