Four-step buttonholing (cont d.), Step 4: side stitching, Changing stitch density – SINGER 7106 User Manual
Page 35
Attention! The text in this document has been recognized automatically. To view the original document, you can use the "Original mode".
FOUR-STEP BUTTONHOLING (Cont d.)
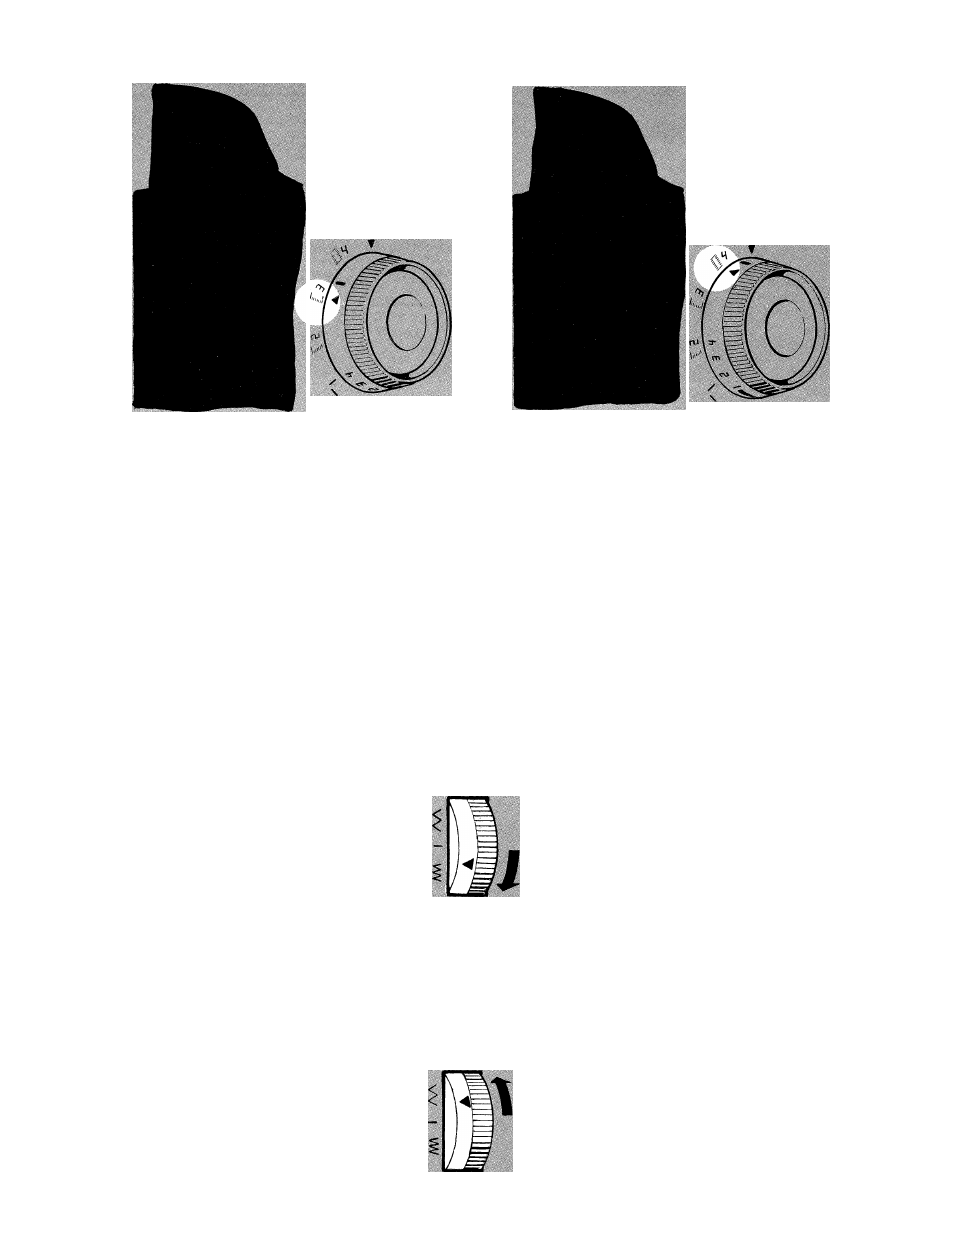
Step 3: Bar Tack
Raise the needle above the fabric.
Turn buttonhole dial clockwise to step
3. Take at least four stitches ending
at point
D.
Step 4: Side Stitching
Raise the needle above the fabric.
Turn buttonhole dial clockwise to step
4.
Stitch until the side stitching meets
the bar tack at point
E.
CHANGING STITCH DENSITY
Stitch density on left and right sides of the buttonhole may be balanced by using the
stitch balance dial. Use the stitch balance dial to obtain similar stitch appearance on
either side of the buttonhole.
To change the density on either side of the buttonhole follow the procedure below.
Return the balance dial to its neutral position after buttonhole sewing is completed.
IF
THEN DO THIS
RESULT
Stitches on the
le ft
side are
too far apart
Similar stitch
appearance on
either side of
the buttonhole
IF
THEN DO THIS
RESULT
Stitches on the
rig h t
side are
too far apart
Similar stitch
appearance on
either side of
the buttonhole
33