Chapter 6. buttonholes and buttons, Buttonholes, Four-step buttonholing – SINGER 7106 User Manual
Page 34: Step 1: bar tack, Step 2: side stitching, Chapter 6, Buttonholes and buttons
Attention! The text in this document has been recognized automatically. To view the original document, you can use the "Original mode".
Chapter 6. Buttonholes and Buttons
buttonholes
• Pattern Group Selector: /
•
Stitch Balance Dial; Neutral position
• Buttonhole Foot
Always make a test buttonhole on a sample in
your fabric. Be sure to duplicate thickness of
garment and include interfacing.
If the two lines of stitching in your sample are
of unequal density refer to the next page.
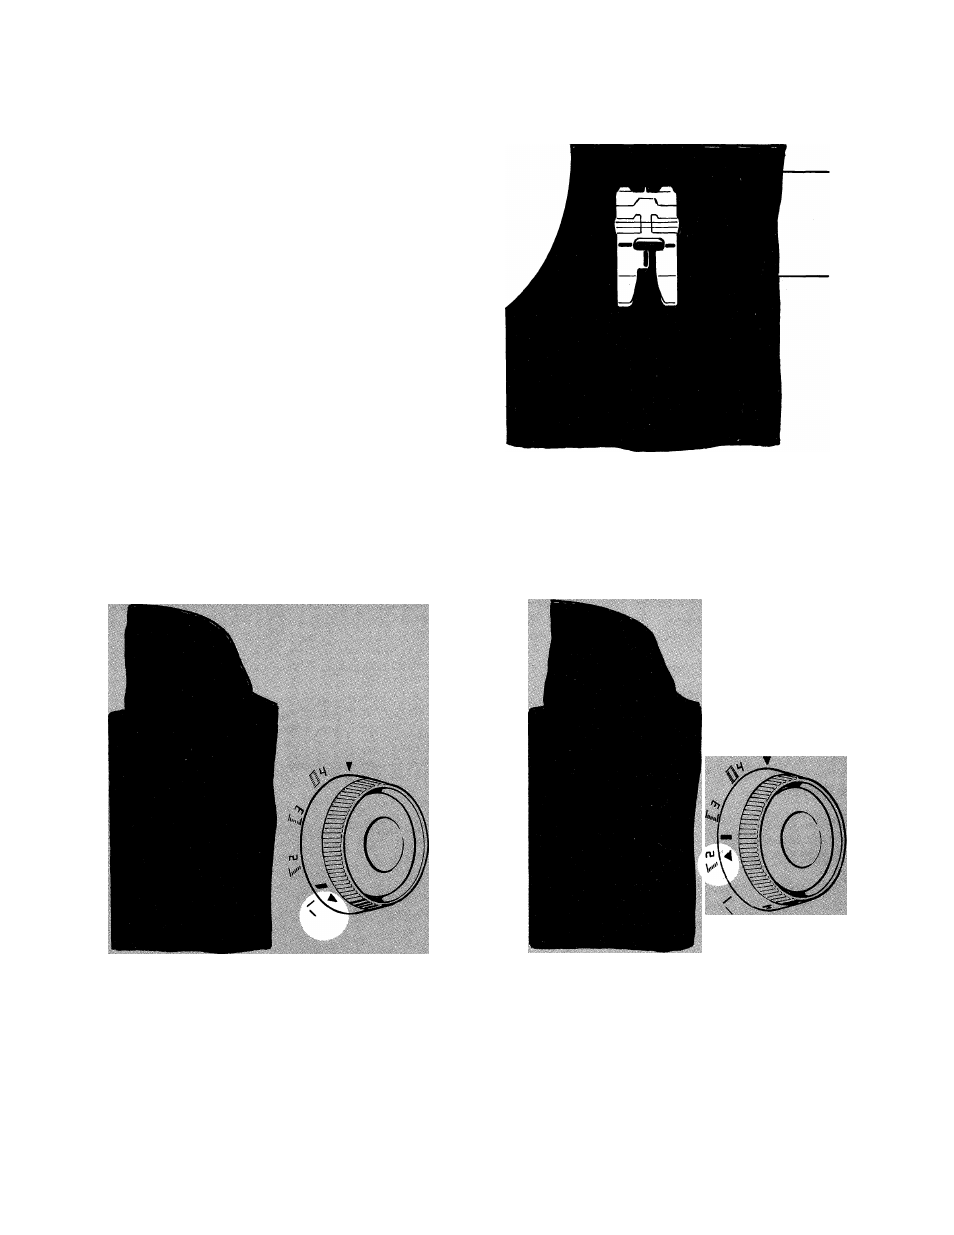
Place work under buttonhole foot, align centre
marking of buttonhole
A
with red line on foot,
and align end marking of buttonhole
B
with
horizontal line on foot. Do not lower the needle.
B
FOUR-STEP BUTTONHOLING
Step 1: Bar Tack
Turn buttonhole dial clockwise to step
1.
Position needle In fabric at point
A.
Lower the foot and stitch the first bar
tack taking at least four stitches end
ing at point
B.
Step 2: Side Stitching
Raise needle above fabric by turning
hand wheel toward you.
Turn buttonhole dial clockwise to step
2. Stitch to the end of buttonhole at
32