Multi-stitch zig-zag, Multi stitch zig-zag – SINGER 9134 User Manual
Page 29
Attention! The text in this document has been recognized automatically. To view the original document, you can use the "Original mode".
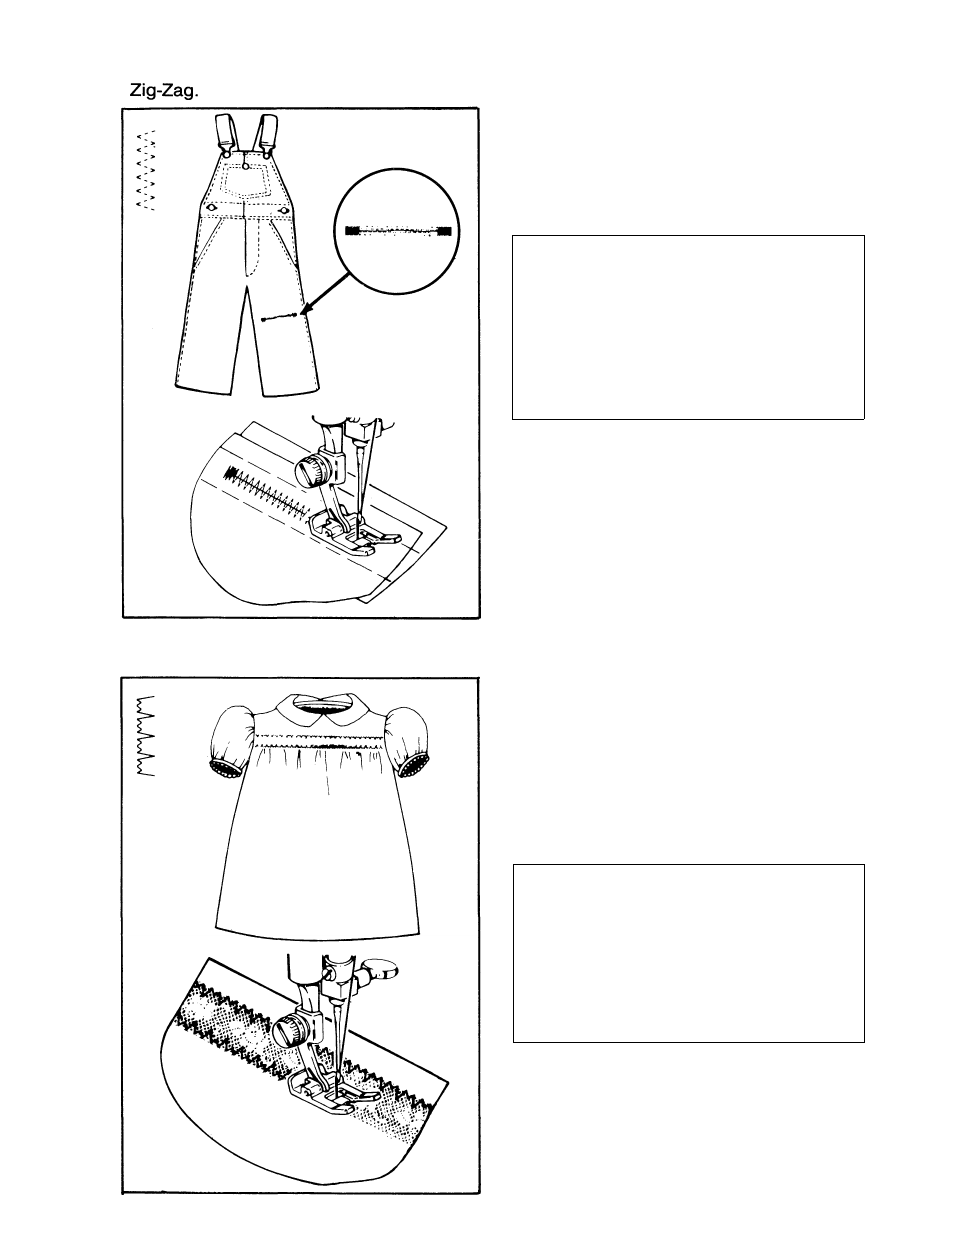
MULTI-STITCH ZIG-ZAG
Mending, overcasting, joining or reinforcing can all be done using the Multi-Stitch
MENDING A TEAR
• Trim ragged edges of tear.
• Cut a lining of fabric for reinforcement.
• Bring the edges of tear together and
baste lining to wrong side of fabric.
RECOMMENDED SETTINGS
Stitch Selection:
Multi-Stitch
Zig-Zag
Stitch Width:
^ \
1 or lower
Stitch Length:
Foot:
Special Purpose (J)
Needle Plate:
General Purpose (A)
• Place tear, right side up, under presser
foot.
• Stitch over the line of the tear, short
ening stitch length at each end for
reinforcement.
• Trim thread ends close to fabric.
• If needed, sew over tear again.
• Trim away lining close to stitching.
STITCH
This stitch can be used for stretch seams and decorative stitching
LACE TRIM
Lace trim may be added to blouses, lin
gerie and children’s wear.
• Cut lace to desired size.
• Pin lace to right side of fabric where
desired.
•
RECOMMENDED SETTINGS
Stitch Selection:
“M” Stitch
Stitch Width:
1 i
2 or lower
Special Purpose(J)
General Purpose(A)
Stitch Length:
Foot:
Needle Plate:
• Carefully stitch along both edges of lace,
as shown.
• Trim away the fabric under the lace near
stitching lines.
27