Shirring, To adjust ruffler for the s to i stitch, To adjust ruffler back for regular ruffling – SINGER W12 User Manual
Page 17
Attention! The text in this document has been recognized automatically. To view the original document, you can use the "Original mode".
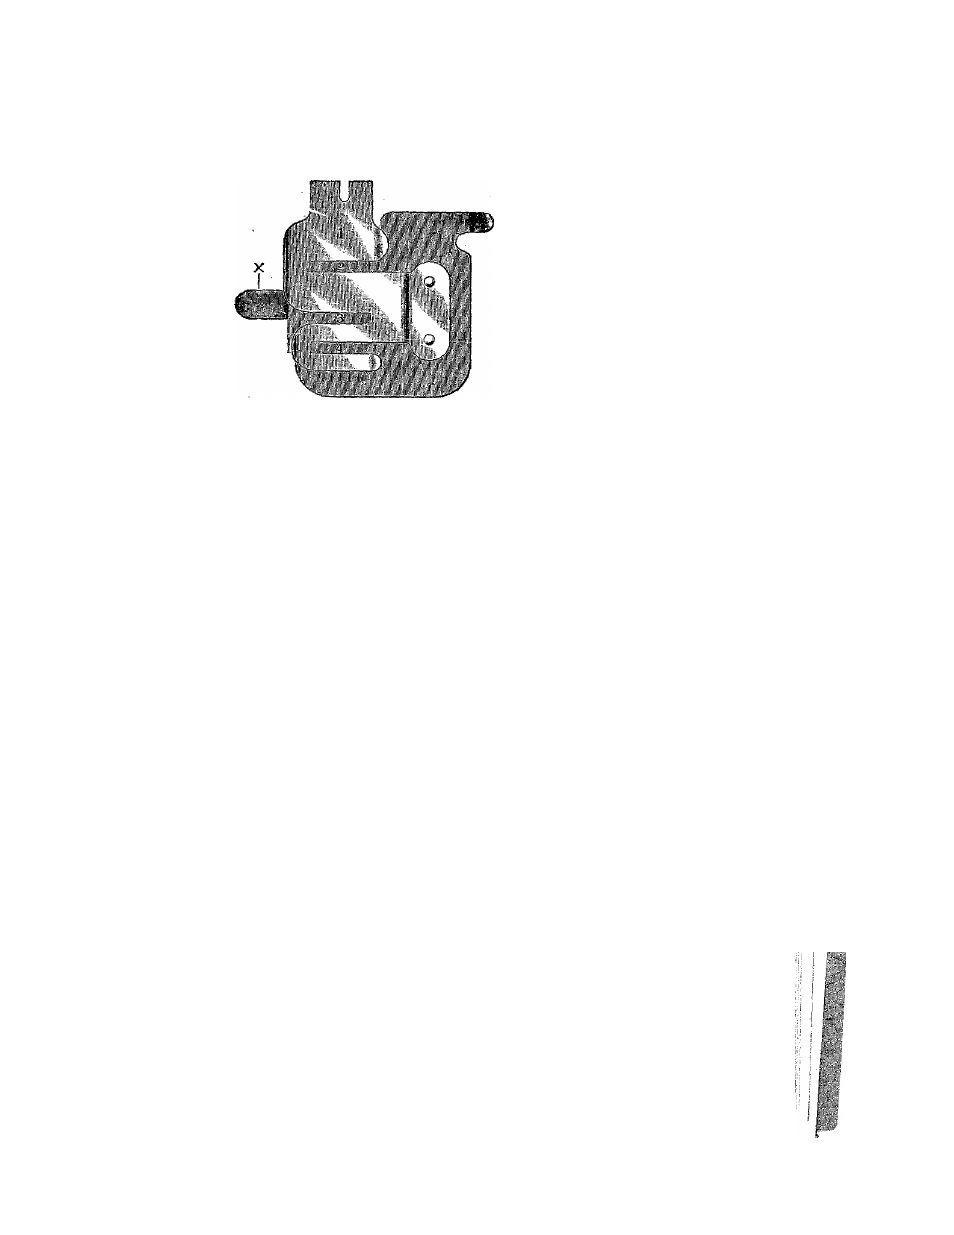
SHIRRING
Remove hand hole cover, in
sert ear of shirring plate into
gauge screw hole in needle
plate, and holding down the
shirring plate replace hand
hole cover over ear X on shir-
ing plate.
Loosen screw 4, shown in
illustration on page 16 and re
move separator, placing the
goods to be shirred between the blades, and shirr at any desired
distance.
Be careful not to use ruSler without the separator or shirring
blade and cloth above, for in so doing the rufiler teeth will be broken
or injured.
To
PUT RUFFLING ON A BAND EDGE, STITCHED, WITH OK WITHOUT PIPING,
take striped calico or plain colored goods; cut on the bias in strips
full one half inch wide, folding in center. Place the piping in guide
7 with folded edge to the right, then take the band and turn down on
edge a quarter of an inch and place in guide 6 having both ends
down under foot. The guide can be adjusted to right or left by
loosening screw 11. Place the ruffling to the right between the blades
and in guide 13; if wider ruffling is desired remove separator and use
shirring slide. To use facing with shirring slide place facing under
shirring blade 1 and in guides 2 and 4,
m
TO ADJUST RUFFLER FOR THE S TO I STITCH
The ruffler as shown in cut is set for the regular one gather to
each stitch. To change so as to make a pleat every fifth stitch, turn
screw “C" to the right as far as it will go. This will bring the lever
marked 5 St, in action and will produce a wide pleat without length
ening the stitch.
In placing the goods iii ruffler to be pleated or if you wish to use
bands, piping, eta follow same directions as in regular ruffling, in
heavy pleating the adjusting nut 5 should be turned entirely down,
the longer the stitch the farther apart the pleats will be.
TO ADJUST RUFFLER BACK FOR
REGULAR RUFFLING
Turn the screw “C” to the left as far as It will go.
17
i