Tucking – SINGER W12 User Manual
Page 14
Attention! The text in this document has been recognized automatically. To view the original document, you can use the "Original mode".
'■ i
TUCKING
‘■'-i
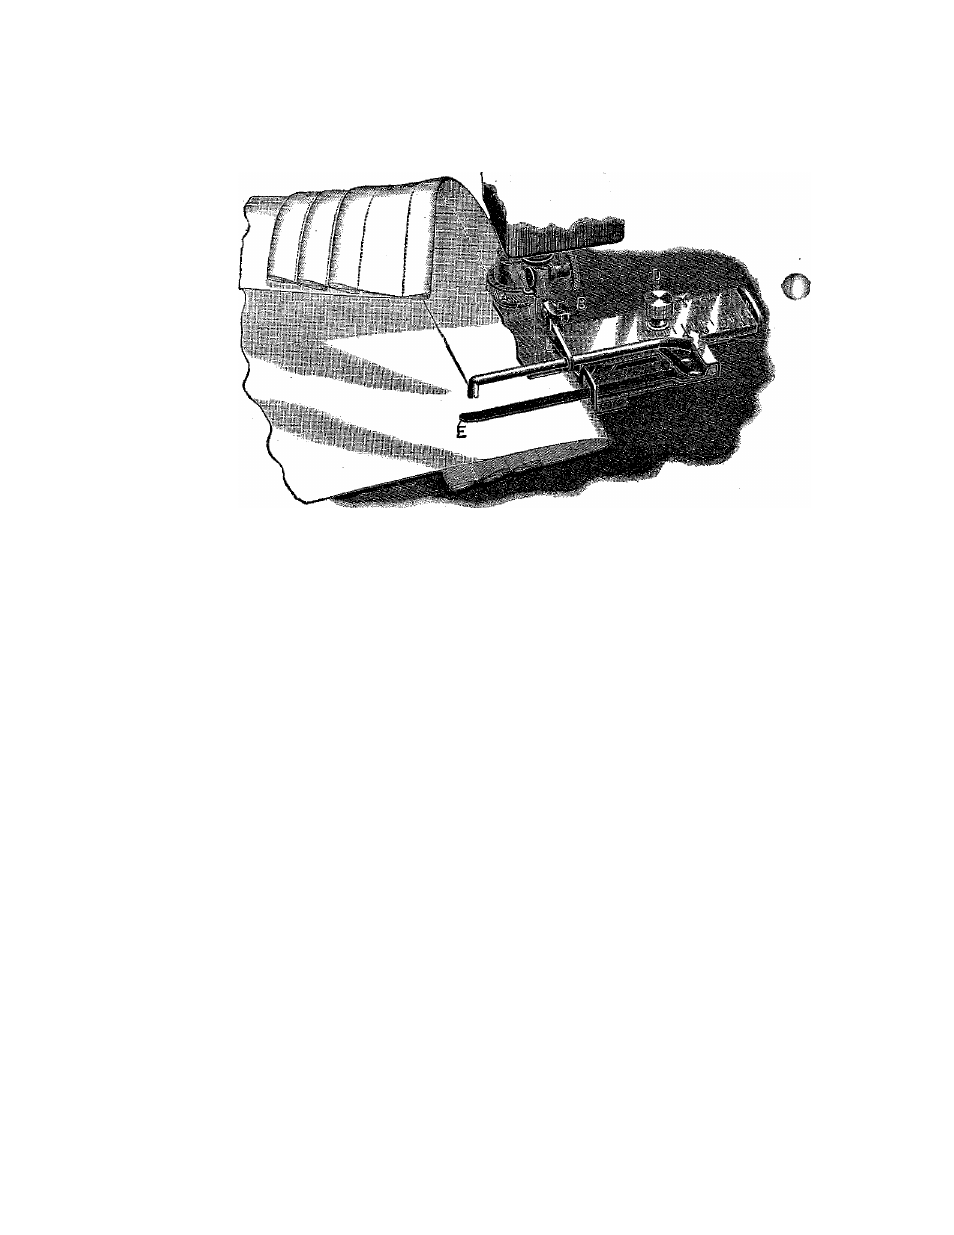
Loosen the thumb-nut A and remove presser-foot, adjusting the
tucker on holder, after which tighten A.
To regulate the size of tuck, loosen screw D and place gauge for
any desired width, moving to the right for wide and to the left for
narrow tucL
To regulate the space between tucks, loosen screw D and move
the marker to the left for a wide space and to the right for narrow
The figures on the back of cap show the width of tuck, and those
on the front the width of space.
By adjusting gauge and marker so that the indicators will point
to the'same figures, the tucks will meet
To
C
ommence
tucking
,
fold the cloth for the first tuck and place it
beneath the creaser and lip E. with folded edge against the guide;
drop the presser-foot and sew as usual
The edge of the .last tuck made should always pass under the
spur placed immediately in front of the marking blade. This will
prevent the finished tuck from passing over the marker and will
greatly assist in guiding the work.
To tuck without marking, throw the lever B up.
1 4