To replace headlight bulb, Interlocks and relays, To replace fuse – Sears 917.25156 User Manual
Page 26: To adjust attachment lift spring (see fig. 32), To remove hood and grill assembly (see fig. 33), Service and adjustments
Attention! The text in this document has been recognized automatically. To view the original document, you can use the "Original mode".
SERVICE AND ADJUSTMENTS
TO REPLACE HEADLIGHT BULB
•
Raise hood.
•
Pull bulb holder out of the hole in the backside of the
grill.
•
Replace bulb in holder and push bulb holder securely
back into the hole in the backside of the griil.
•
Close hood.
INTERLOCKS AND RELAYS
Loose or damaged wiring may cause your tractor to run
poorly, stop running, or prevent it from starting.
•
Check wiring. See electrical wiring diagram in the
Repair Parts section of this manual.
TO REPLACE FUSE
Replace with 30 amp automotive-type plug-in fuse. The
fuse holder is located behind the dash.
TO ADJUST ATTACHMENT LIFT SPRING
(See Fig. 32)
•
While holding spring bushing with wrench, loosen jam
nut,
•
Turn adjustment bolt clockwise to extend spring and
reduce lift effort for heavier attachments.
•
Turn adjustment bolt counterclockwise for lighter at
tachments.
•
Retighten jam nut against spring bushing.
IMPORTANT: DO NOT ADJUST FOR MAXIMUM SPRING
TENSION WHEN USING LIGHT ATTACHMENTS SUCH
AS A MOWER. ADJUST LIFT LEVER SPRING TO AID IN
LIFTING ATTACHMENT. DO NOT OVERPOWER SPRING.
WHEN REMOVING ATTACHMENT. ALWAYS ADJUST
SPRING TENSION TO ITS LOWEST POSITION.
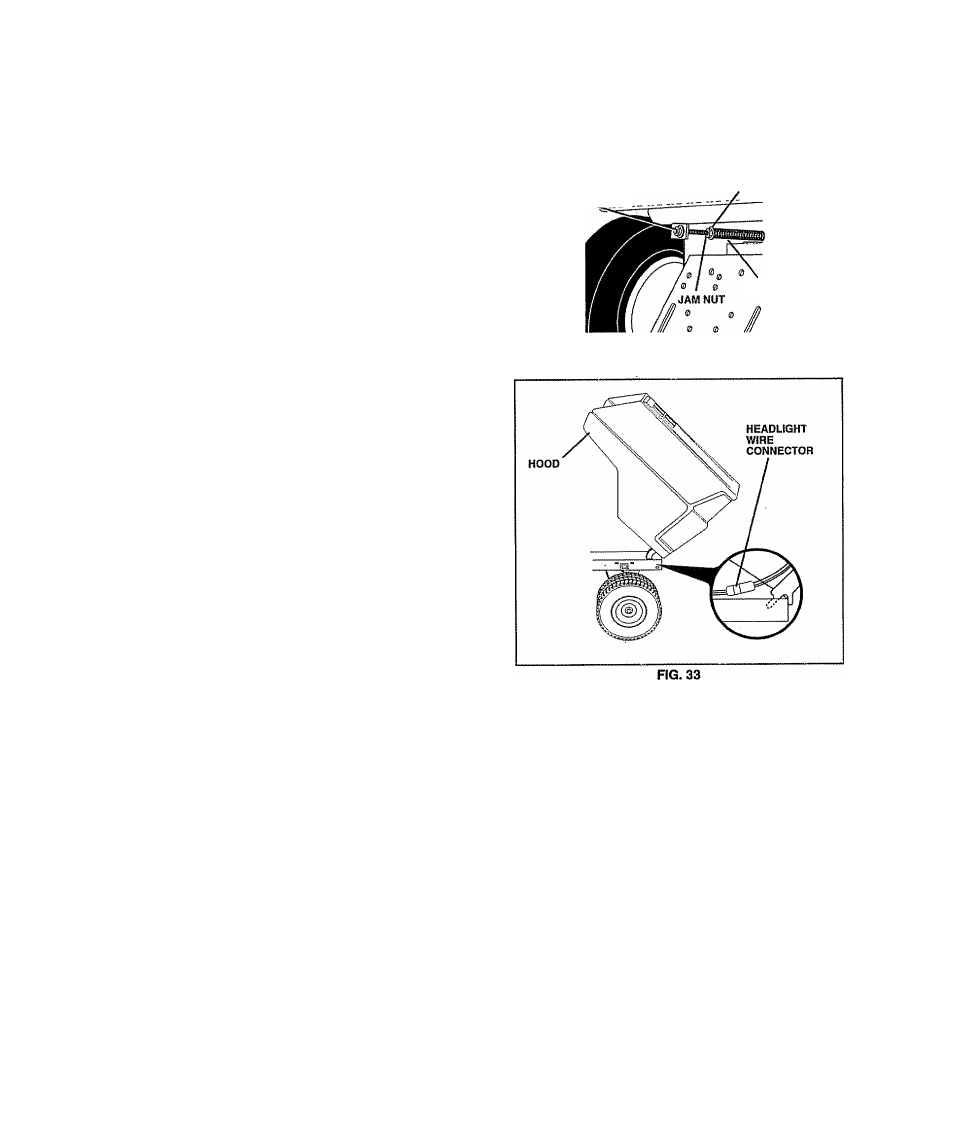
TO REMOVE HOOD AND GRILL ASSEMBLY
(See Fig. 33)
•
Raise hood.
•
Unsnap headlight wire connector.
•
Stand in front of tractor. Grasp hood at sides, tilt toward
engine and lift off of tractor.
•
To replace, reverse above procedures.
ADJUSTMENT .____ _
/[J
SPRING BUSHING
ATTACHMENT
LIFT SPRING
FIG. 32
26