Installation, Front view, Rear view – StarTech.com CAB1631HDU User Manual
Page 5: Hardware installation
Instruction Manual
2
Installation
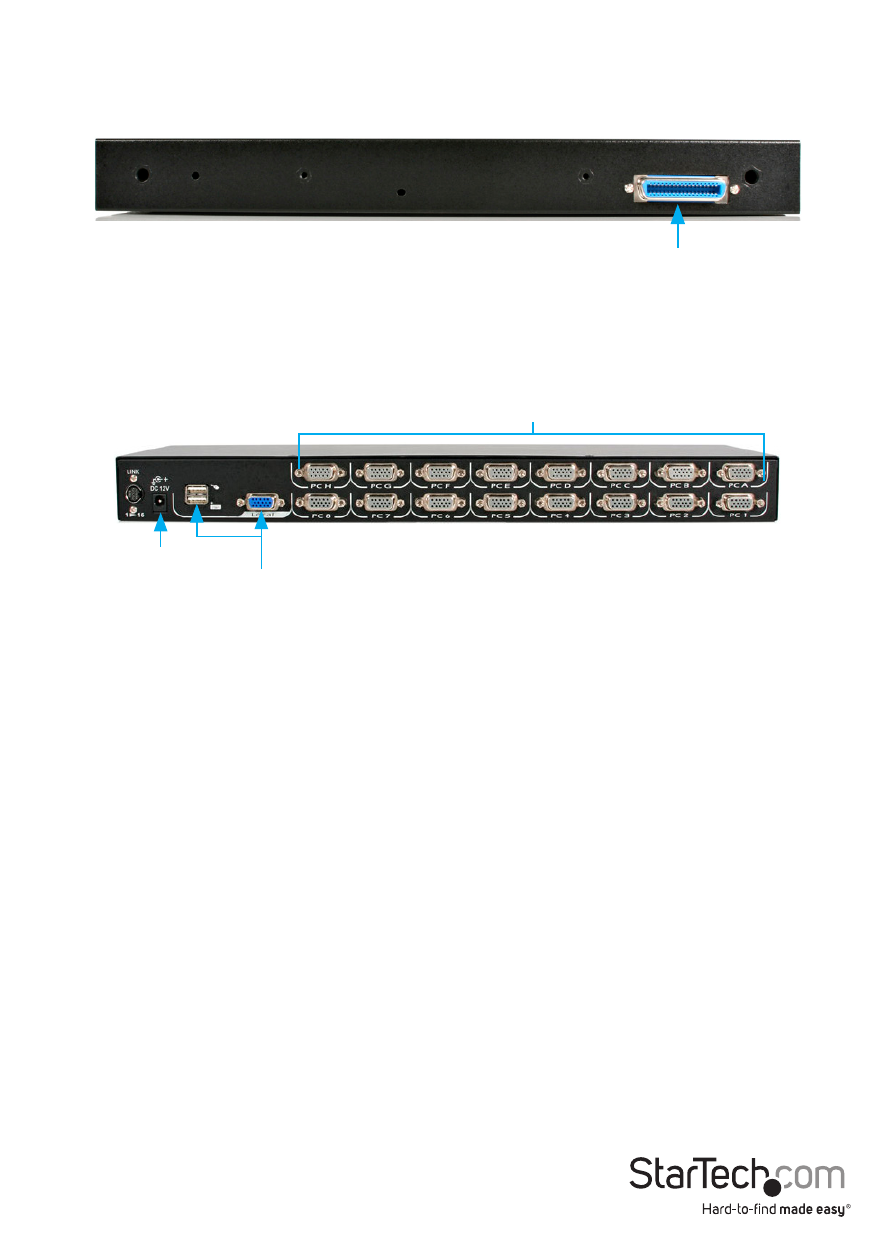
Front View
C-36 Centronics
Connector
Rear View
*16-port model shown
PC ports
Power
connector
Local
Console
Hardware Installation
This section will guide you through the hardware installation of your KVM Module.
Please read through this section carefully and complete each step in the order listed.
1. Make sure all computers and devices are powered off.
2. Remove/disconnect any existing KVM Module from the rear of the 1UCABCONS
series Rackmount Console.
3. Connect the KVM Module to your 1UCABCONS series Rackmount Console as
directed in it’s user guide.
4. Attach each of your managed computers to your StarView KVM console’s PC ports
using StarTech.com KVM cables. Use the cables to connect one of the PC ports on
the back of the KVM module to the computer’s keyboard/mouse, and video ports.
NOTE: These instructions are for a single KVM switch only. For information on
cascading multiple KVMs, see Cascade Configuration below.
5. Turn on the 1UCABCONS, followed by the computers.