Setting up the oven, Operation (continued) – Shellab SMO5CR-2 User Manual
Page 15
15 |
P a g e
OPERATION (CONTINUED)
Airflow and Applications
During normal operations an internal blower fan motor pulls air in through the intake vent. The
captured air is blown across heating elements and then forced down through a duct on the right
side of the oven chamber. The air exits the duct through the HEPA filter.
Upon leaving the filter, the heated air blows horizontally across the shelf space, helping to create
temperature uniformity and enhance drying. After crossing the shelves, the air enters a duct on the
left side of the chamber, and is then pulled back into the heater space above the oven chamber.
During each minute of operation some air exits through the open exhaust vent on the top right of
the unit. Lost air is replaced through the intake vent. The rate of atmosphere exchange on several
variable factors. These include: ambient conditions, position of the vent valves, the volume of
material in the oven chamber, and if a power exhaust unit is connected to the exhaust vent.
Over Temperature Limit
The Watlow controller contains a backup temperature control system with independent circuitry
connected to a redundant temperature sensor probe inside the oven chamber. To set up this
system for use, the user enters an over temperature limit into the Watlow controller
— typically 5°C
above the application or process temperature set point. In the event the oven temperature exceeds
the over temperature limit, the backup system will depower the heating element. This provides
redundant heating control the event of a failure of the primary circuitry or the main temperature
sensor probe.
Power Exhaust Outlet
SMO5CR-2 Ovens come provided with a power outlet that can be used to power an exhaust blower
unit
attached to the oven’s exhaust vent. The power outlet and attached fan can be activated by the
Watlow controller as part of a heating profile. The primary application of the power exhaust fan is to
channel or positively vent exhaust out of the workspace around the oven.
S
ETTING UP THE
O
VEN
1. After the oven has been installed in the location where it will be used, open the
oven’s intake and the exhaust vents.
2. Push the Power Switch to the ON position. The Temperature Display will illuminate.
3. Set up the oven for use by carrying out the following procedures found in this
manual’s Operation section:
Set the Over Temperature Limit
Set the Temperature Controller Set Point
(pg. 16)
(pg. 17)
(pg. 19)
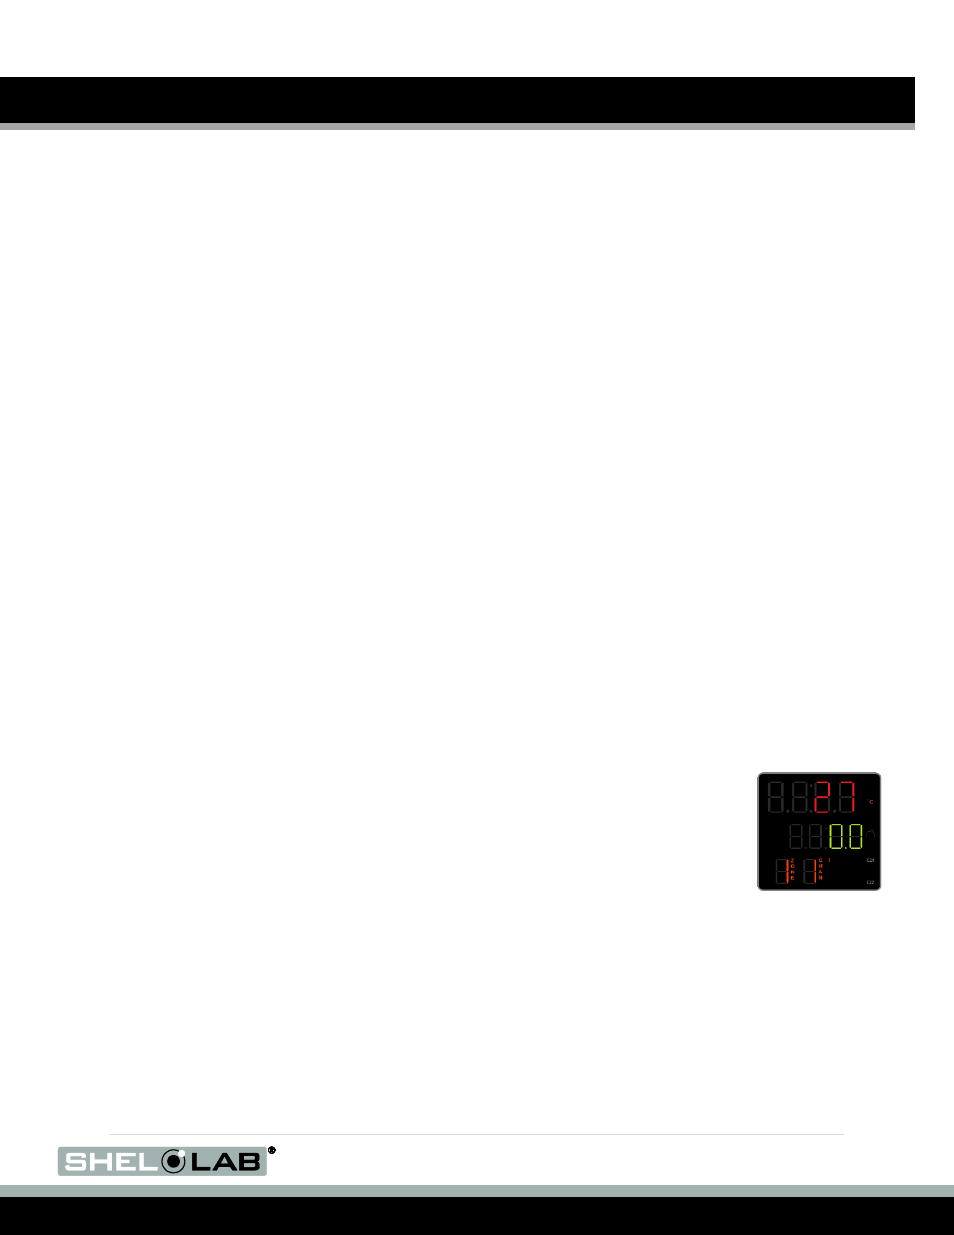
Home Page
Temp in Red
Set Point in Green