Great Planes ElectroStreak Sailplane Kit - GPMA0385 User Manual
Page 4
OPTIONAL LANDING GEAR
Parts are included in the ElectroStreak kit for a wire
landing gear and tail skid The landing gear adds a little weight
and drag, thereby reducing overall performance slightly, there-
fore, if you want maximum performance, do not install the
landing gear.
If you will be landing your plane on a hard surface, such
as blacktop, concrete or gravel, you should install the landing
gear or nylon skids on the belly to prevent damage to the fuselage.
If your flying site has a smooth grass surface, belly
landings are no problem, and (usually) result in no damage to the
fuselage or nylon propeller.
SELECTION OF WHEELS
If you plan to install a landing gear, we strongly recom-
mend that you choose wheels that are both lightweight and
aerodynamically clean We have used Williams Bros #127
wheels with good success. If you use lightweight foam rubber
wheels, you should round the edges of the wheels with sandpaper
to reduce drag
GLUES (ADHESIVES)
You may build this entire airplane using CA (Cya-
noacrylate) adhesive Thin CA runs right into a good fitting joint,
so you can assemble the parts first, then apply thin CA Thick CA
is more like syrup and it will not harden until you press the two
parts together squeezing the glue out to a thin layer A related
and very handy product is CA Accelerator spray (Zip Kicker or
Hot Shot), and is used to instantly harden CA glue When using
CA glues "trial fit" the parts to make sure they fit well before
gluing because they don't give you a second chance The most
common mistake made by new modelers is using loo much CA
glue Rather than squeezing the bottle, it is usually sufficient to
touch the tip of the applicator spout to the joint being glued and
allow a few drops of CA to flow into the joint.
There may be a couple of instances during construction
of this model in which a small amount of Aliphatic Resin or
Epoxy adhesive will make construction easier. The amounts
required will be very small, however.
In any case, a "glob" of glue is not a substitute for a good-
fitting joint' Take the time to sand the parts until they fit well, then
a small amount of glue will do the job.
OTHER ITEMS REQUIRED
Radio, Speed control or Switch, Batteries (See above
comments on these items)
2- 1-1/2" Diameter Main Wheels
4- 1/8" Wheel Collars
Iron-on Covering Matenal (Super Monokote, Black
Baron Film or equivalent)
Roll of 1/16" x 1/4" self adhesive foam wing seating tape
(Sonictronics #230)
SUPPLIES & TOOLS NEEDED
2 oz - Thin CA Adhesive
1/2 oz - Thick CA Adhesive
Instant Glue Accelerator (optional)
2.5 oz - 30 Minute Epoxy
2 oz Aliphatic Resin (Titebond. etc.)
Hand or Electnc Drill
Drill Bits (1/16', 5/64", 3/32", 5/32", 11/64", 13/64")
Sealing Iron (for covering)
Heat Gun (optional, for shrinking covering)
Soldering Iron
Hobby Saw (X Acto Razor Saw)
X-Acto Knife, #11 Blades
Pliers
Screw Drivers
Flat File
T-Pins (small)
Straightedge or Ruler
Masking Tape
Sandpaper (80, 100, 220 and 400 grit)
T-Bar Sanding Block, or similar
Waxed Paper
Lightweight Balsa Filler
COMMON ABBREVIATIONS USED IN THIS BOOK AND
ON THE PLANS:
Elev = Elevator
Fuse = Fuselage
LE = Leading Edge (front)
LG = Landing Gear
Lt = Left
Ply = Plywood
Rt = Right
Stab = Stabilizer
TE = Trailing Edge (rear)
" =Inches
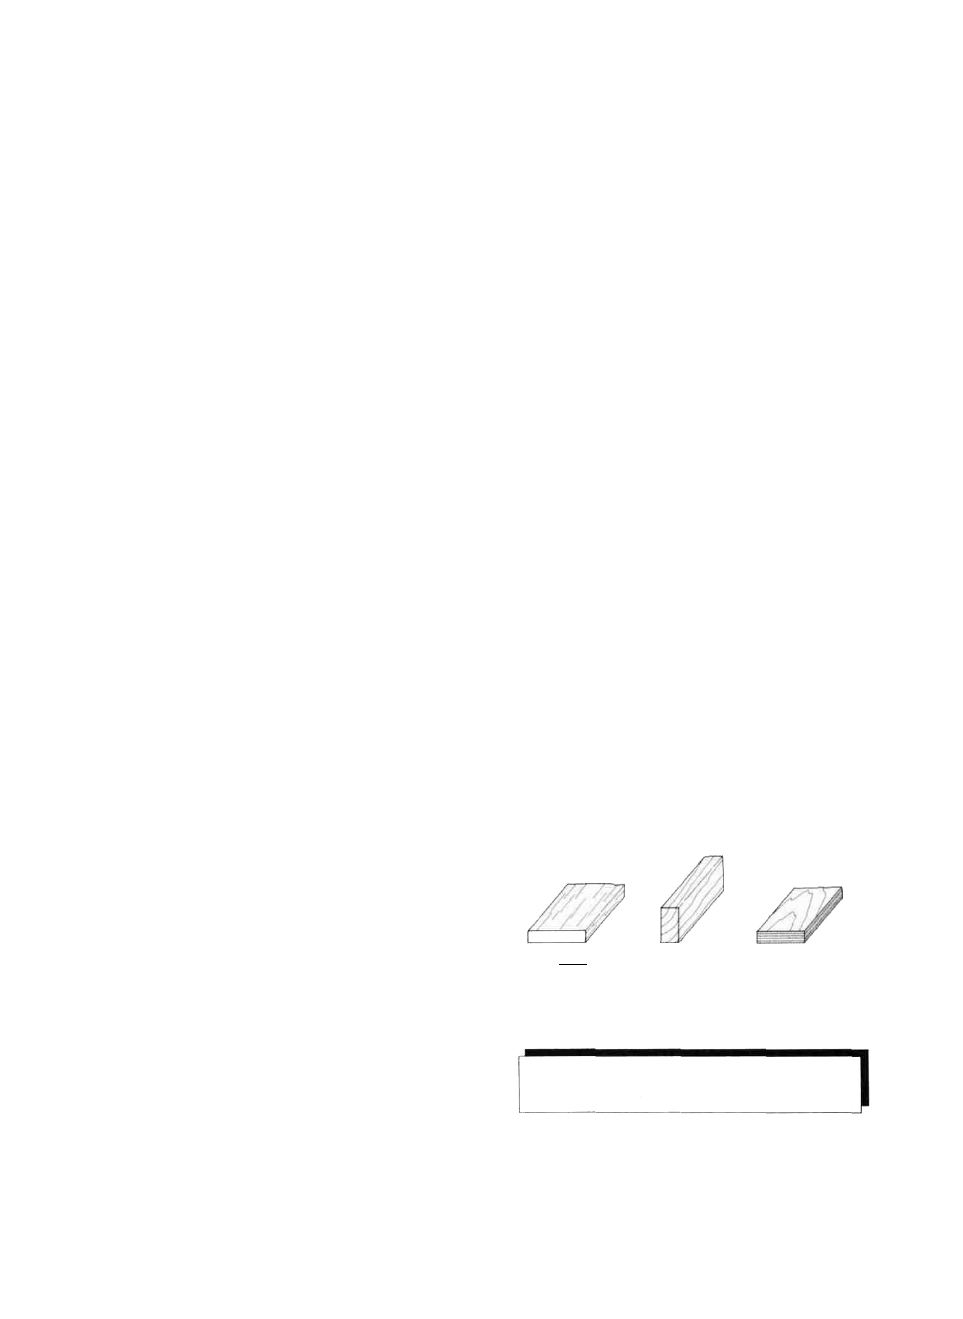
TYPES OF WOOD
BALSA
Study the perspective drawing on page 5 to become
familiar with the parts of the ElectroStreak
4