Great Planes ElectroStreak Sailplane Kit - GPMA0385 User Manual
Page 29
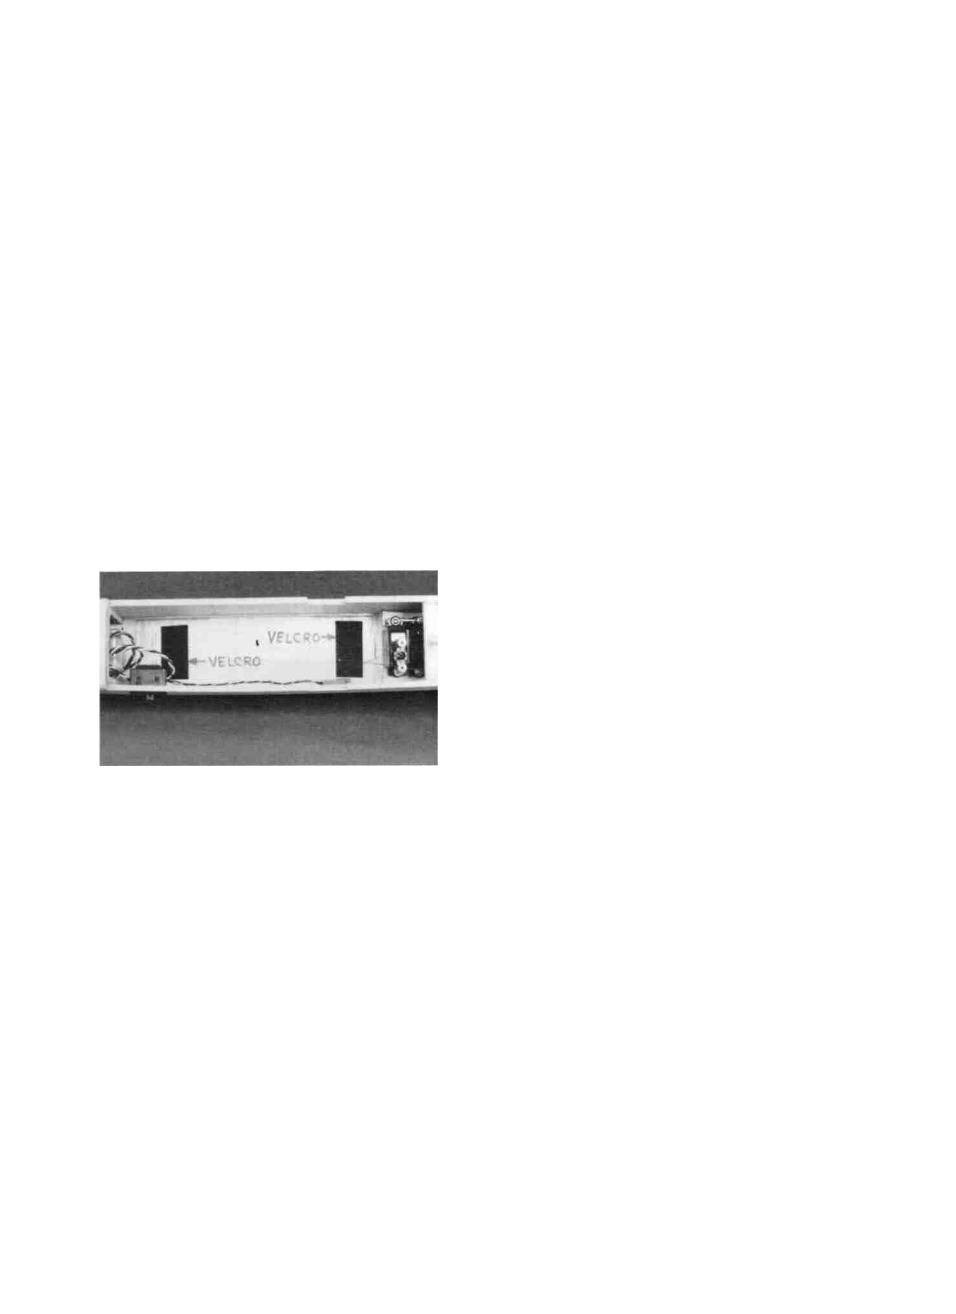
Here is a sample weight computation: two strips at the front and rear). There is not enough Velcro
supplied in the kit to do this, but you may purchase more at
FUSELAGE (fuse, fin, stab, a sewing supply store or K-Mart. NOTE: We have found
rudder, elevator).........................................................3.5oz. the method shown on the plan to be satisfactory, but the
battery has come loose occasionally in hard landings and
WING (with ailerons and dowel)...............................4.5 oz. violent "negative G" maneuvers.
GOLDFIRE MOTOR (prop. adaptor)........................8.5 oz.
BALANCE THE AIRPLANE LATERALLY
ELECTRONIC SPEED CONTROL
(or servo and switch)..................................................2.1oz. NOTE: Do not confuse this procedure with "checking the C.G." or
"balancing the airplane fore and aft". That very important step will
RADIO (receiver, switch, 3 micro be covered later in the manual.
servos, 225 mAh receiver battery)............................5.3 oz.
Now that you have the basic airframe nearly completed, this is
PUSHRODS AND ALL HARDWARE..................... 1.2 oz. a good time to balance the airplane laterally (side-to-side). Here is
how to do it:
7-CELL 1200 mAh MOTOR BATTERY................13.2 oz. D 1 Temporarily attach the wing and motor to the
fuselage.
COVERING (film type)...........................................2.5 oz.
D 2. With the wing level, lift the model by the propel-
(Optional) WIRE LANDING GEAR. ler shaft and the bottom of the rudder. Do this several times.
WHEELS, COLLARS & HARDWARE...................1.5 oz.
——————— D 3. If one wing tip always drops when you lift, it
TOTAL..................................................................423oz. means that side is heavy. Try to balance by sanding the
heavy wing panel and by drilling holes in the heavy wing tip.
If you are unable to balance it by removing material from the
INSTALL V E L C R O heavy side, then you will have to add weight to the other
wing tip until it balances. Place several drops of thick CA
on the inside surface of Rib W-8 until it balances.
The receiver, receiver battery, motor battery and speed
control may all be attached to the fuselage using the self-adhesive
Velcro fastener strips supplied. Here are some tips:
D 1. Before attaching Velcro to balsa wood, spread a
few drops of thick CA on the balsa with a piece of waxed
paper to strengthen the balsa and to provide a good bonding
surface for the Velcro.
D 2. When applying Velcro to your electronic speed
control, do not apply it to the side that has the heat-
dissipating metal. Apply it to the plastic case on the side that
does not get hot during operation.
D 3. Do not attempt to cushion the radio or batteries by
using foam rubber. You must keep the fuselage interior open
to permit a free flow of cooling air for the motor and battery.
D 4. For additional security, you may run Velcro all
along the full length of the motor battery (instead of only
FINAL SANDING
D 1. Check the structure over carefully to make sure all
joints have been glued.
D 2. Fill all unwanted holes, dents and "dings" with
lightweight balsa filler (not the spackling compound found
in hardware stores).
D 3. Sand the entire structure smooth with 400 grit
sandpaper.
COVERING
D 1. Preparation: Before covering, make a final thor-
ough check to make sure the entire model has been sanded
smooth. The covering material probably will not hide im-
perfections in your structure, so now is the time to fix them.
Then vacuum the model dust free, using a brush attachment
on your vacuum cleaner. Finally vacuum your entire work
area dust-free. Remove the rudder, elevator, hinges, radio,
batteries, servos, pushrods, motor, switch harness and land-
ing gear from your model.
29