Great Planes RimFire 35mm Power System User Manual
Page 2
Position the motor/front
plate assembly between
the backplate. Measure
the distance from the
fi rewall to the front of the
prop adapter. Attach the
front plate of the motor
mount to the back plate
using the eight 4-40x1/4”
SHC screws and eight #4
fl at washers, spaced out as far as possible. A drop of Threadlocker on
the threads of the screws will prevent the screws from coming loose.
Note: Once the motor is mounted in position, the prop adapter can
be removed to allow the cowl to be mounted. This adapter is easily
installed with the cowl already installed.
11
INSTALL THE BRUSHLESS ESC
Mount your ESC in the desired location. Always make sure that the
ESC is positioned so that it gets some cooling air fl owing over it.
Use the instructions included with the ESC to correctly connect
the ESC.
12
RIMFIRE MOTOR MAINTENANCE
RimFire brushless motors require virtually no maintenance. There are
no brushes to wear out and replace. The precision bearings have a
very long service life and should last a very long time. The internal
parts of the motor should not require any cleaning. The only thing that
needs to be checked is to make sure all the screws and set screws
remain tight.
13
IMPORTANT PRECAUTIONS
•
Once the battery is connected to the ESC, stay clear of the motor
and prop.
•
DO NOT apply an input voltage that exceeds the maximum
specifi cation of each motor.
•
DO NOT apply currents to the motor that exceed the maximum
specifi cations of each motor.
•
DO NOT allow the input connectors to accidentally touch each other
while power is applied to the motor. Make sure all input connections
are insulated electrically.
•
DO NOT allow water or moisture to enter the motor, as it can
cause permanent damage to the motor and possibly short out the
attached ESC.
•
DO NOT cut the coated wires from the motor. If you must remove
the bullet connectors, unsolder them.
•
Allow the motor to cool after each fl ight.
•
The motor shaft of the motor will rotate at very high rpm. DO NOT
attempt to touch the shaft while it is rotating. If setting up the
motor/ESC on the workbench, make sure the motor is securely
attached and that nothing is attached to the motor shaft BEFORE
applying power.
•
Never attempt to use a damaged motor (having mechanical or
electrical defects).
•
ElectriFly carries a complete line of Ammo (inrunner style) and
RimFire (outrunner style) brushless motors, gear drives, motor
mounts, prop adapters and speed controls. For a complete list of
these products, check out our web site at:
www.greatplanes.com www.electrifl y.com
or visit your nearest hobby shop that carries the full line of Great
Planes and ElectriFly products.
10
ADJUSTABLE MOTOR MOUNT INSTALLATION
Attach the backplate of the
motor mount to the fi rewall
using four 6-32 machine
screws and four #6 fl at wash-
ers. A mounting template is
provided with the adjustable
mount.
Mount the RimFire motor to
the motor mount front plate
(front or back) using four
3mm machine screws.
Install the collet or set screw
prop adapter on the motor
shaft or the aluminum prop
adapter on the motor case.
The RimFire 35mm motors
use the 4mm prop adapter (GPMQ4965 Collet Type or GPMQ4936 Set
Screw Type).
Aluminum Prop Adapter Included With Motor
Mount the aluminum prop
adapter to the motor case us-
ing four 3x7mm SHC screws.
Use a drop of Threadlocker
(GPMR6060) to the threads
of each screw to prevent them
from coming loose.
Collet Type Prop Adapter Installation
Slide the prop shaft over
the output shaft of the gear
drive or motor. Next slide
the prop shaft retainer over
the prop shaft. Note that the
hole through the retainer is
tapered. Make sure that the
side with the larger diameter
hole is installed fi rst. Install
the spinner backplate (if
used, not included), the prop, prop washer and then the prop nut. Tighten
the prop nut against the prop. This will cause the tapered hole in the prop
shaft retainer to squeeze the prop shaft around the output shaft. Carefully
pull on the prop to make sure it is securely attached to the output shaft of
the gear drive.
Set Screw Type Prop Adapter Installation
Slide the prop adapter over
the output shaft of the gear
drive or motor. Apply a drop
of Great Planes Threadlocker
(GPMR6060) to the set
screws and install them in the
prop adapter, tightening them
against the motor shaft.
8
ASSEMBLE YOUR POWER SYSTEM
Once the required RimFire motor has been determined, it needs to be
installed on the plane. To determine the best mounting system, the
distance from the fi rewall to the front of the prop adapter fi rst needs
to be determined.
It can be mounted directly
to the fi
rewall using
the RimFire aluminum
mounting plate (included
with the motor). or an
ElectriFly Medium Motor
Mount (GPMG1255).
Both mounting systems
are direct replacements
for the Great Planes
®
.40-
.70 nylon engine mount.
Check the airplane in-
struction manual for the
correct distance. These
pictures show the dis-
tances from the fi rewall
to the front of the prop
adapter using the differ-
ent mounting systems.
On the header card, you will fi nd the mounting hole pattern template
for the Brushless Medium Motor Mount and RimFire mounting plate.
If you are replacing a glow engine with an electric motor system,
remove the nylon engine mount and replace it with the Medium Motor
Mount or RimFire mounting plate, using the same bolts to attach it to
the fi rewall. If the fi rewall has not been drilled for an engine mount and
blind nuts, use the mounting template on the header card to locate the
mounting holes. Drill the four mounting holes and install 6-32 blind
nuts from the back of the fi rewall.
9
MOUNTING PLATE INSTALLATION
If attaching the motor to the fi rewall using the adjustable motor mount,
skip to the Adjustable Motor Mount Installation.
Attach the RimFire alu-
minum mounting plate
to the motor using four
3x8mm fl at head machine
screws. Apply a drop of
Great Planes Threadlock-
er (GPMR6060) to the
screws before installing
them.
Attach the RimFire
mounting plate to the
fi rewall using four 6-32
machine screws and four
#6 fl at washers. Apply
a drop of Great Planes
Threadlocker to the
screws before installing
them. Mount the alumi-
num prop adapter to the
motor case using four 3x7mm SHC screws. Use a drop of Thread-
locker to the threads of each bolt.
Entire Contents Copyright © 2009
GPMZ0028
RimFire 35mm Aluminum
Mounting Plate Template
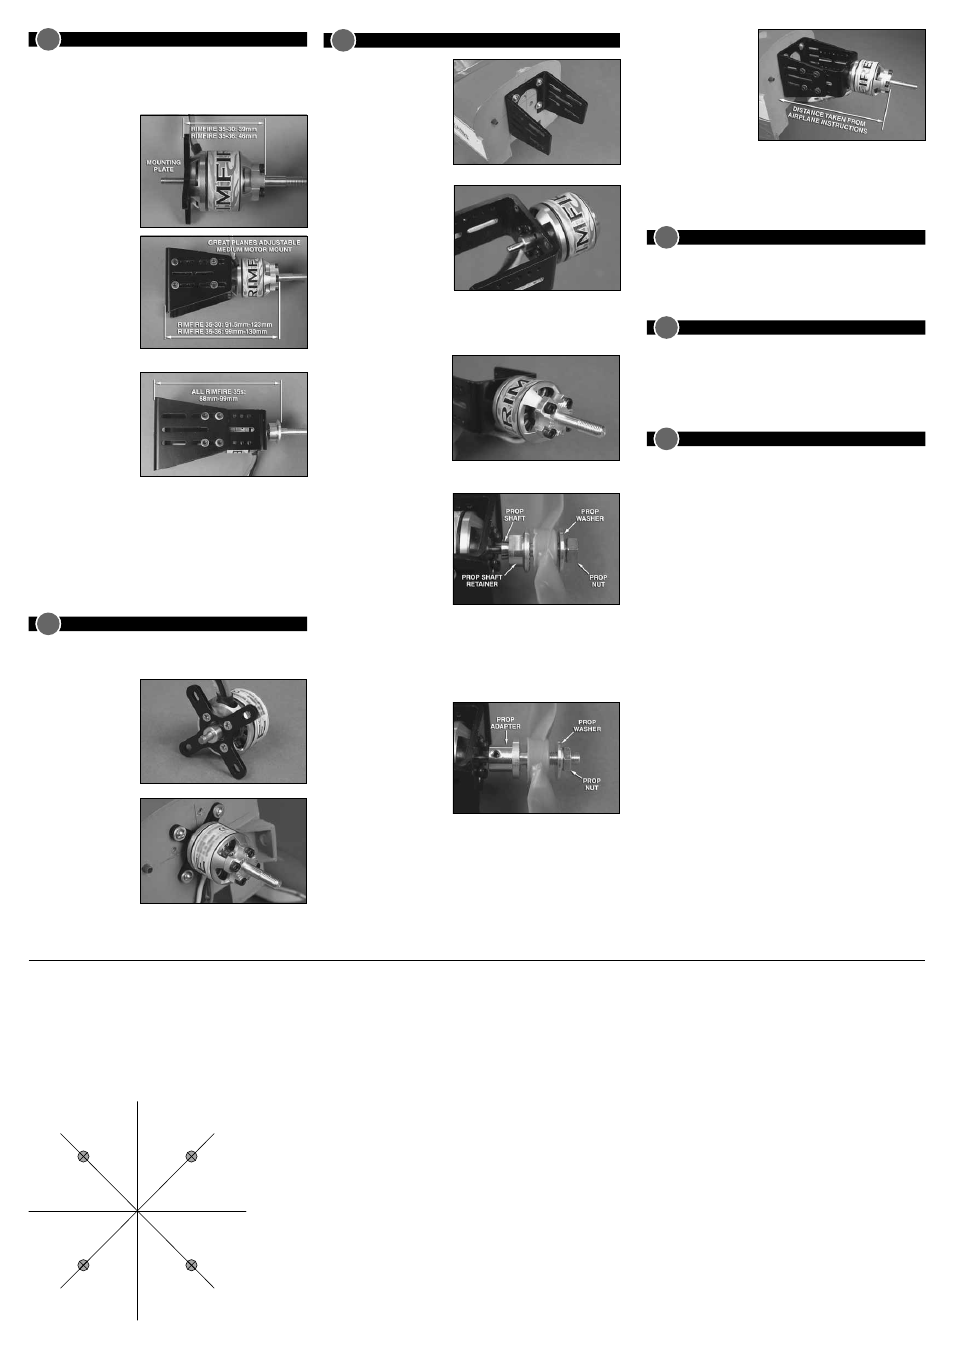
RimFire .10 Accessory and Spare Parts
GPMM3113 3.5mm gold plated bullet connectors - female (3)
GPMM3112 3.5mm gold plated bullet connectors - male (3)
GPMQ4903
RimFire Prop Adapter for 35mm Motors
GPMG1205
RimFire Backplate Motor Mount for 35-42mm Motors
GPMG1432
C-clip (10) for 4mm RimFire Motor Shafts
GPMG1452
Bearings (2) for RimFire 35-30-xx and 35-36-xx Motors
GPMG1406
Replacement Shaft Kit for RimFire 35-30-xx Motors
RimFire .15 Accessory and Spare Parts
GPMM3113 3.5mm gold plated bullet connectors - female (3)
GPMM3112 3.5mm gold plated bullet connectors - male (3)
GPMQ4903
RimFire Prop Adapter for 35mm Motors
GPMG1205
RimFire Backplate Motor Mount for 35-42mm Motors
GPMG1432
C-clip (10) for 4mm RimFire Motor Shafts
GPMG1452
Bearings (2) for RimFire 35-30-xx and 35-36-xx Motors
GPMG1406
Replacement Shaft Kit for RimFire 35-30-xx Motors