GME TX3540S User Manual
Page 11
PA G E 1 0
I N S T R U C T I O N M A N UA L
T X 3 5 1 0 S / T X 3 5 2 0 S / T X 3 5 4 0 S
T X 3 5 1 0 S / T X 3 5 2 0 S / T X 3 5 4 0 S
I N S T R U C T I O N M A N UA L
PA G E 1 1
BANDWIDTH FILTER SETTINGS
To accommodate the blending of newer 80 channel
narrowband UHF radios with the original 40 channel
wideband radios, your radio has been fitted with two user
selectable receiver bandwidth filters. While the use of
either filter will provide superb receive audio, selecting the
wideband filter while on channels 1-40 will further increase
your receiver’s tolerance to older 40 channel wideband
radios that might otherwise sound over-modulated or
mildly distorted. Select the narrowband filter to improve
the selectivity of the receiver to provide greater resistance
to interference from older 40 channel wideband radios
operating on adjacent channels.
To select the desired filter
1. Press and hold MENU to enter the menu.
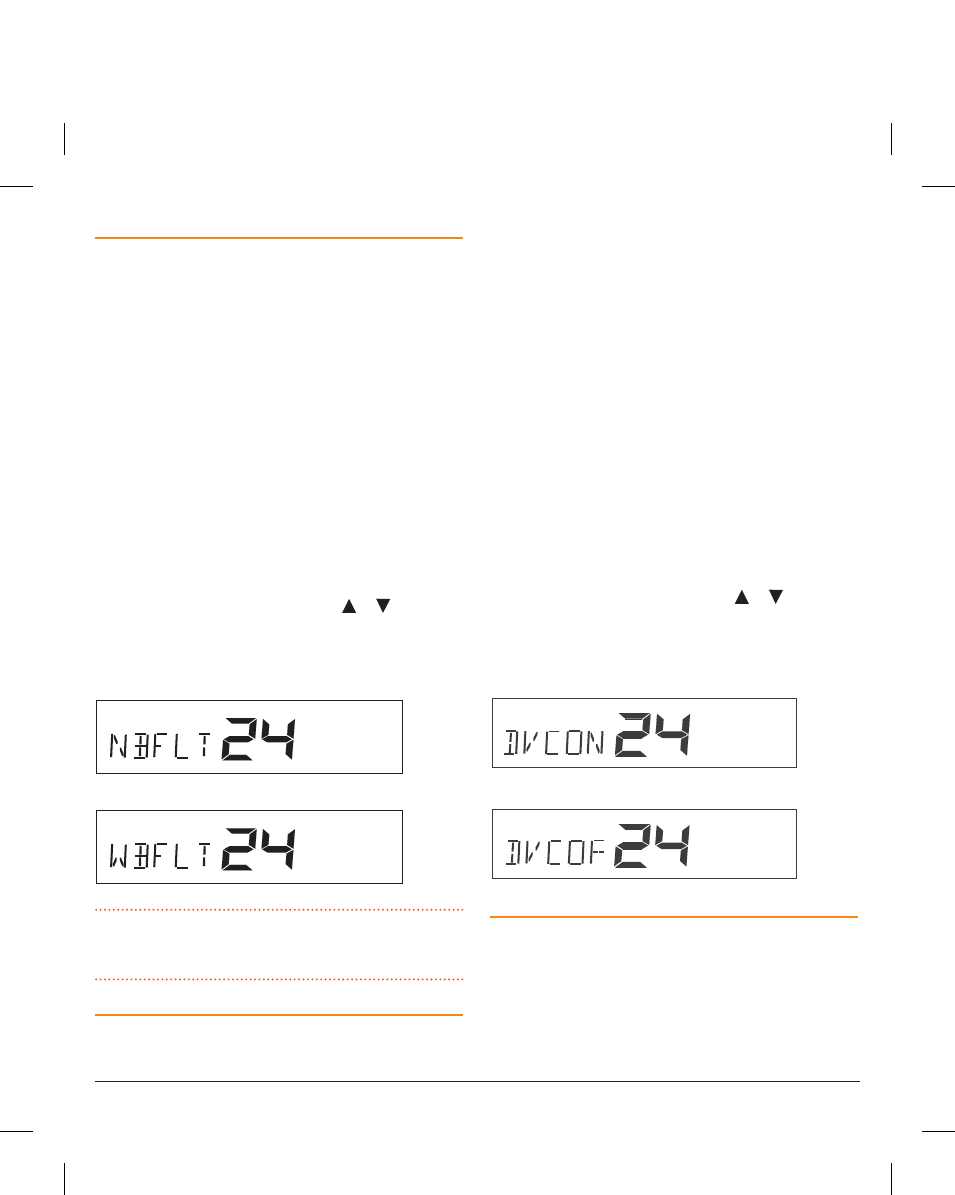
2. Press MENU repeatedly until ‘NBFLT’ (Narrowband Filter)
or ‘WBFLT’ (Wideband Filter) is displayed.
3. Rotate the Channel control (or press or keys) to
make the desired selection.
When finished briefly press the PTT to exit the menu.
Narrowband filter selected
Wideband filter selected
NOTE:
The wideband receiver filter setting is only applied
to channels 1 – 40. Channels 41 – 80 always use the
narrowband filter.
DYNAMIC VOLUME CONTROL (DVC)
The modulation level of signals heard on the UHF CB band
has always varied considerably resulting in noticeable
differences in received audio volume between stations.
Generally users have compensated for this by adjusting
the Volume control for each incoming signal. With the
introduction of 80 channel narrowband transmissions that
use lower levels of modulation, the diversity in received audio
volume is likely to increase further.
Your radio is able to automatically compensate for these
variations in received audio level by utilising a Dynamic
Volume Control. When activated, this feature automatically
compensates for variations in received audio level resulting in
a constant audio output level to the speaker.
To activate the Dynamic Volume Control
1. Press and hold MENU to enter the menu.
2. Press MENU repeatedly until ‘DVCOF’ (Dynamic Volume
Control Off) or ‘DVCON’ (Dynamic Volume Control On) is
displayed.
3. Rotate the Channel control (or press or keys) to
make the desired selection.
When finished briefly press the PTT to exit the menu.
Dynamic Volume Control ON
Dynamic Volume Control OFF
VOICE SCRAMBLER
Your radio incorporates a simple voice scrambler using band
inversion. The scrambler is compatible with the majority
of scramblers used by other manufacturers, allowing you
to enjoy scrambled communications with owners of non-
GME radios. Once the scrambler has been activated your
transmission and reception will only be intelligible to others
using the same scrambler technology.
2. Rotate the channel control left or right (or press or
keys) to adjust the brightness.
3. Briefly press the Channel control (or LVL key) to select
the Colour setting mode. ‘COLOR’ is displayed.
4. Rotate the Channel control left or right (or press or
keys) to adjust the colour.
5. Briefly press the Channel control (or LVL key) to select
the Whiteness setting mode. ‘WHITE’ is displayed.
6. Rotate the Channel control left or right (or press or
keys) to adjust the colour saturation. For the deepest
colour range, reduce the WHITE setting.
To exit, press and hold the Channel control (or LVL key).
Auto-colour Mode
The radio has an automatic colour-change option that, when
activated, will cause the display colour to automatically cycle
through the available colour spectrum. The colour-change
option can be enabled temporarily as an aid to choosing
a display colour or can be set to cycle continuously as the
preferred display colour setting.
To enable the auto-colour option,
7. Hold the Channel control (or LVL key) to select the
Backlight mode. ‘BKLGT’ is displayed.
8. Briefly press the Channel control (or LVL key) to select
the Colour setting mode. ‘COLOR’ is displayed.
9. While in the colour setting mode, briefly press the MENU
key to enable or disable the auto-colour option. When
enabled, the display lighting will continuously cycle
through the available colour spectrum. When disabled the
display will hold the last selected colour.
To exit, press and hold the Channel control (or LVL key). If
auto-colour is still enabled, the display lighting will continue
to cycle through the colour spectrum until disabled using the
steps above.
NOTE:
The back-light setting function will automatically
time out after 6 seconds if no further adjustments have
been made.