Installation instructions – Culligan 7850S User Manual
Page 6
5
HELPLINE: 1-800-BUY-MOEN
INSTALLATION INSTRUCTIONS
CAUTION:
Always turn water supplies OFF before removing existing faucet. Turn
faucet on to relieve water pressure and to ensure water is completely off.
OLD FAUCET REMOVAL: Your old faucet may attach in a number of different
ways depending on the brand. To remove, reverse steps in installation
instruction sheet of old faucet, follow instructions in a DIY type of book or
follow instructions listed below.
After years of use, you may need to use a penetrating oil spray on the faucet
mounting hardware to help loosen corrosion and assist in removing the faucet
connections.
Disconnect water supply lines from faucet supply lines. Remove mounting
hardware using a basin wrench or channel lock pliers. Lift out faucet.
Thoroughly clean and dry the mounting surface after removal of old faucet.
INSTALLING PURETOUCH
®
FILTERING FAUCET SYSTEM
Helpful Tools: Phillips screwdriver, adjustable wrench (2)
CAUTION: Do not use with portable washing devices, i.e.
dishwashers, washing machines.
NOTE: Do not bend supply tubes until instructed in step 5.
1. Place screen washer
(17) in hose connection (16) and
attach to pull-out spout
(19). A few threads on the
quarter turn connector
(18) will be showing.
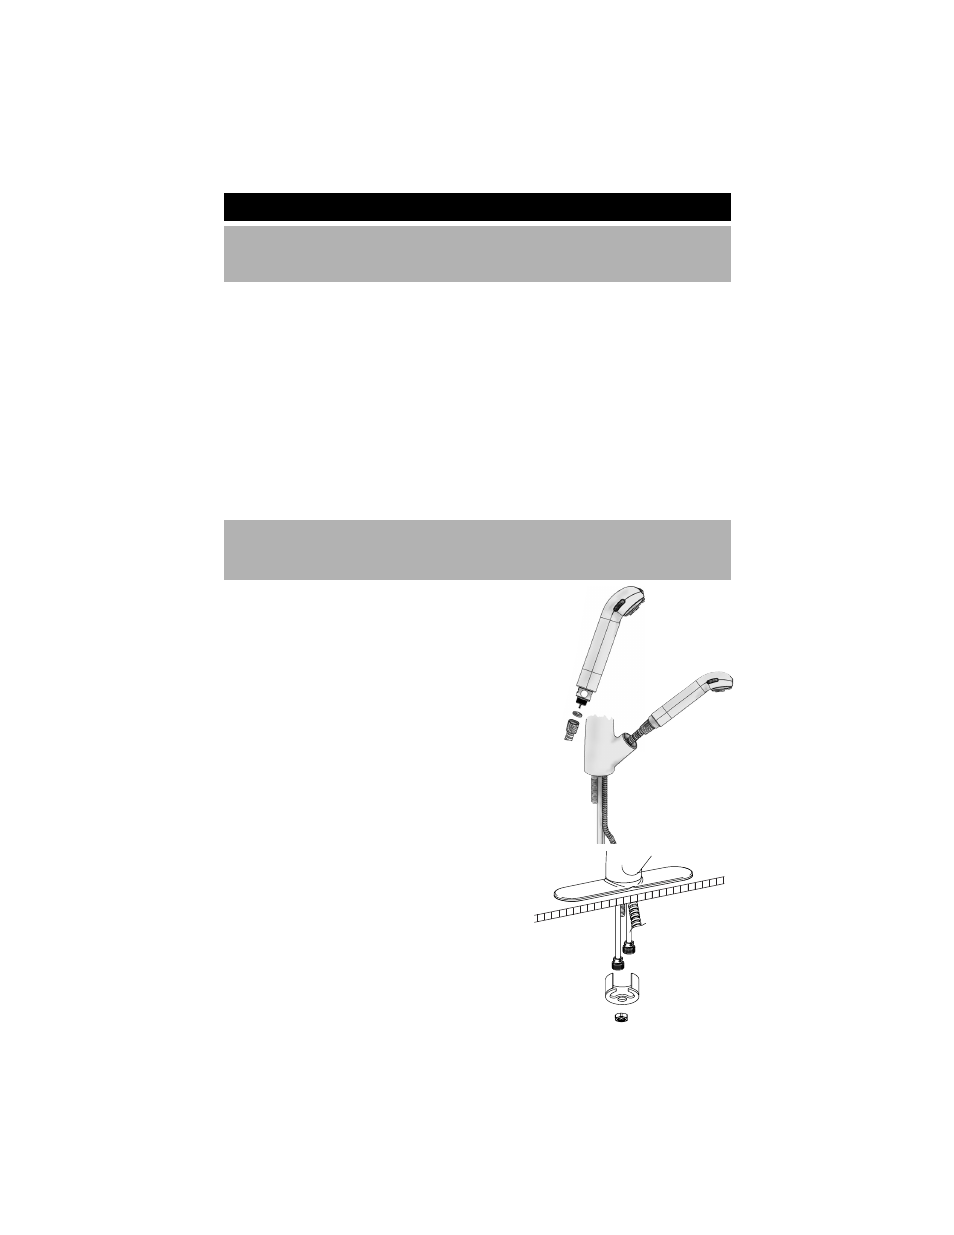
2. With the spout receptor
(15) facing directly forward
and threaded discharge tube
(24) in back, feed
small end of hose
(34) down through spout
receptor. When encountering resistance, feed the
hose through with a push/pull motion. Set aside
faucet assembly.
Depending on your sink configuration, you have the
option to install your faucet with a deck plate
(27) or
a round deck ring
(28). NOTE: Never use deck plate
(27) and deck ring (28) together on one sink.
3a.
FOR INSTALLATION USING DECK PLATE.
Install faucet through deck holes
(threaded
shank (24) to back). Center faucet on sink
with support plate
(31) oriented in sink holes.
Position spout to the side to keep faucet from
tilting forward. Go to step 4b for installation of
mounting bracket
(32).
(1)
(2)
(3a)
INS115D
(3a)