Get the model ready to fly check the controls, Channel radio setup (standard mode 2), Set the control throws – Flyzone FLZA3604 User Manual
Page 9
9
GET THE MODEL READY TO FLY
Check the Controls
The next few steps will require working on the model with
the radio turned on and power to the motor. To prevent
an accident or possible injury, temporarily remove the
spinner cone and propeller.
❏
1. Turn on the transmitter and lower the throttle stick all the
way. Center all the trims and connect the battery to the ESC.
If everything is working correctly you should hear one, low-
pitch beep from the ESC (“beep”). This signals that the motor
is not yet “armed,” but is ready to be armed and is receiving
a signal from the receiver. To arm the motor when ready to
fl y, advance the throttle stick all the way, listen for another,
single beep (“beep”), then return the throttle stick to off and
hear two more beeps (“beep, beep”). Now the motor will turn
whenever the throttle stick is advanced.
If, when you connect the battery you hear consecutive, higher-
pitch beeps (“BEEP. BEEP. BEEP. BEEP…”) this indicates that
the throttle stick is not all the way down to the “off” position, or
that the throttle servo direction is reversed. To fi x this, return
the throttle stick to off, or disconnect battery and reverse the
throttle servo direction in transmitter.
If you hear consecutive, fast, loud beeps (“BEEP! BEEP!
BEEP! BEEP!...”), this indicates that the ESC not receiving
a signal from the receiver. Either the receiver is not bound to
the transmitter, or the transmitter is off.
Once you have the motor fi gured out and set correctly continue
to set up the rest of the controls:
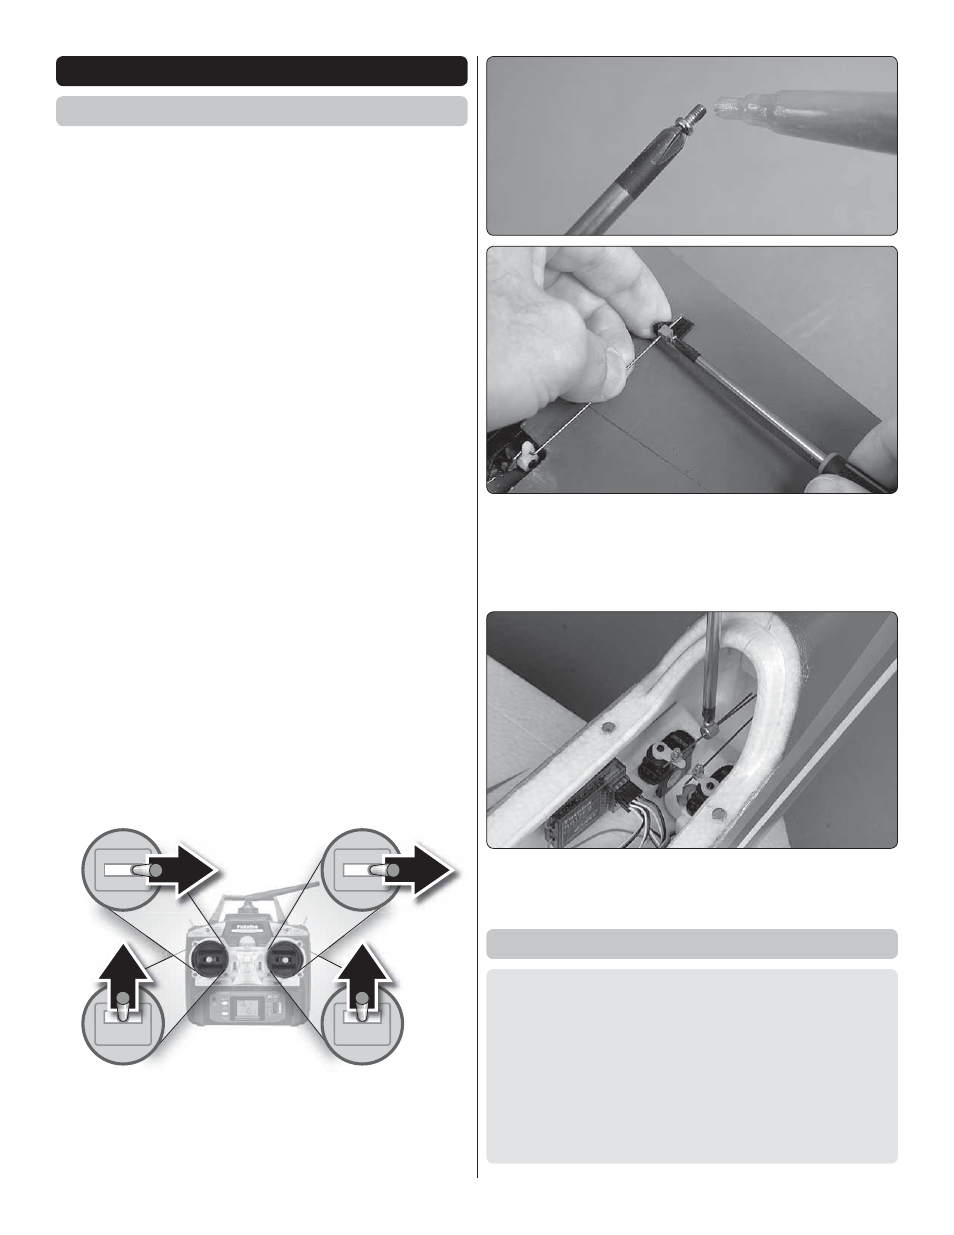
FULL
THROTTLE
RUDDER & NOSE
WHEEL MOVES
RIGHT
ELEVATOR
MOVES DOWN
RIGHT AILERON
MOVES UP
LEFT AILERON
MOVES DOWN
4-CHANNEL RADIO SETUP
(STANDARD MODE 2)
❏
2. Use the transmitter to make sure all the controls respond
in the correct direction.
❏
3. Take each screw out of the screw-lock connectors on
all the pushrods and lightly “wet” the threads of the screws
with threadlocker. With the radio on and the controls centered,
reinstall and tighten the screws with the control surfaces and
nose wheel centered.
❏
4. Also remove the screw in the collar that locks the elevator
pushrods together, add threadlocker to the screw, reinstall it in
the collar, center the elevators and securely tighten the screw.
Set the Control Throws
To ensure a successful fi rst fl ight, set up your Millennium
according to the control throws specifi ed in this manual. The
throws have been determined through actual fl ight testing
and accurate record-keeping allowing the model to perform
in the manner in which it was intended. If, after you have
become accustomed to the way the Millennium fl ies, you
would like to change the throws to suit your taste, that is
fi ne. However, too much control throw could make the model
too responsive and diffi cult to control, so remember, “more
is not always better.”