Dynaflite DYFA2014 User Manual
Page 10
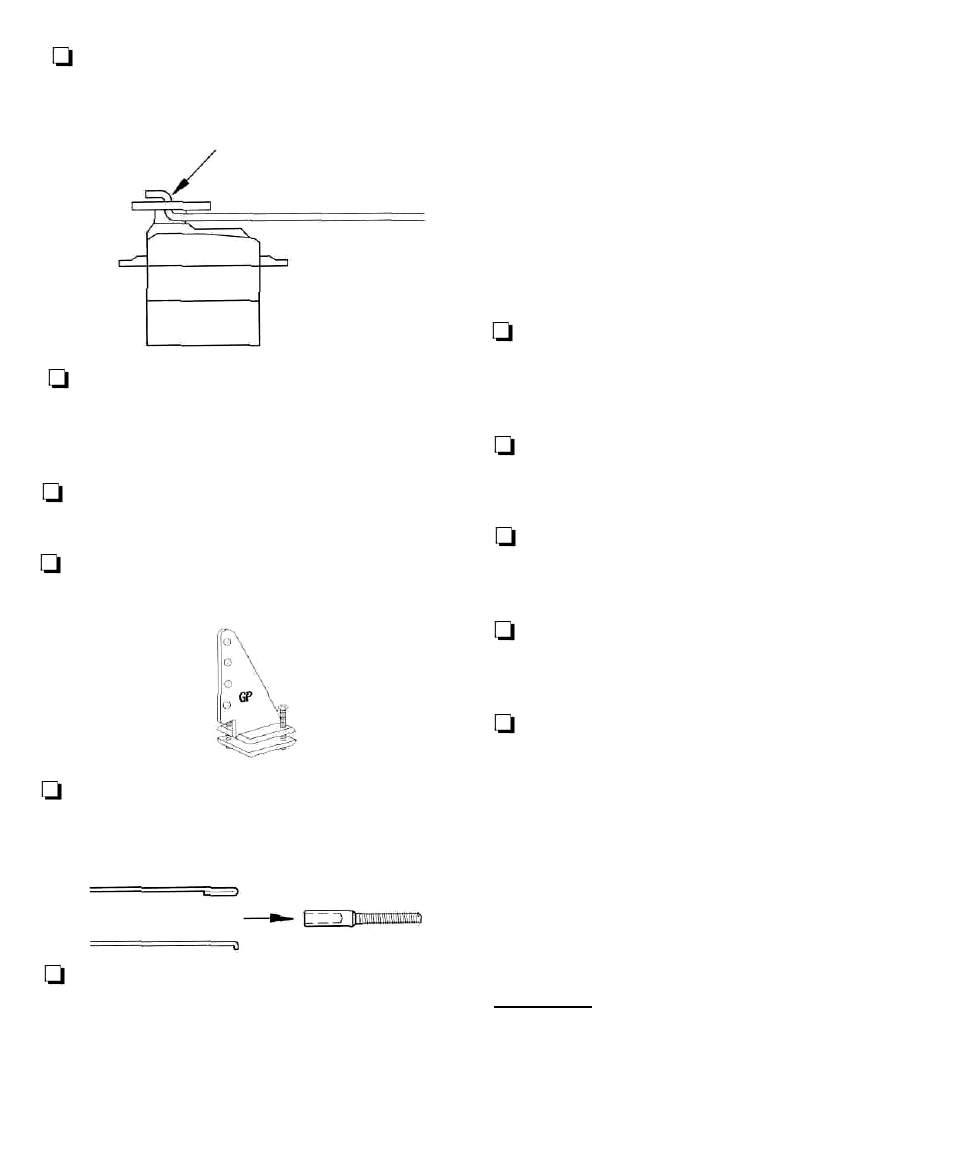
1—1 2. Based on the servo location, cut the pushrod
guide tubes to fit. Leave enough room for the servo
output attachment. Use 1/16" wire for this.
Z-BEND
Ul 3. When you have the forward part of the
pushrod bent and attached/ slide the wire into the
tube from the front. Then mount the servos using
double-sided tape.
Q 4. Use CA to glue the guide tubes to the fuselage
formers and the rear of the fuse.
LI 5. Trim off and sand the excess guide tubes flush
with the fuse sides.
LJ 6. Before attaching the threaded shaft and clevis,
install the control horns using two 2-56 x 5/8"
screws each.
the coupler). Now, measure another 1/2" toward
the elevator on the pushrod wire and make another
mark. Trim the pushrod wire at the second mark.
Bend the wire between the two marks as shown in
the sketch. Remove the clevises from the control
horns and unscrew the clevis from the coupler. Slide
the coupler onto the wire and carefully solder the
coupler to the wire. Reassemble the clevises and
reattach them to the control horns.
Q 8. Mount the battery in the front of the fuse. If
you can fit any foam around the battery, use it to
keep the battery in place.
Ul 9. Glue the 1/16" plywood tongue to the bottom
front of the canopy, as shown on the fuse plan.
Ul 10. To hold the canopy down, simply use a piece
of tape on both sides.
Q 11. Mount the receiver and check the direction of
the control surface movement.
Q 12. Check the balance. A good place to start is
on the spar. Move the center of gravity (C.G.) to
your liking - remember if you move the C.G. back
the model will become more sensitive in pitch, to the
point that it snap rolls, so go slowly.
OR
Q 7. Turn on the radio and center the servos.
Thread a nylon clevis onto a threaded solder coupler
at least 10 turns. Attach a clevis/coupler assembly to
the rudder and elevator control horns. Align the
coupler with the pushrod wire (making sure the
rudder and elevators are centered) and mark the
wire at the back of the coupler (where it would enter
IMPORTANT
If this is your first model we recommend you now enlist
tne help of an experienced modeler and Test Pilot. Doing
so will assure a more successful first experience. Your
local hobby dealer or R/C club is a great source of
assistance if you don't already know someone into R/C.
10