Dangerous Music Source User Manual
Page 12
8 |
DANGEROUS MUSIC
Benefit: Simultaneously press and hold the bracketed
setup
buttons (
an
2
and
aes
/
spdif
) on the
headphone
source
side. The
setup
lights
will blink. Then press the button with the orange circle (
spkr
1
) on the
speaker
selector
side to switch between
toggle
mode (button unlit) and
latch
mode (button lit). Press either of the blinking
setup
buttons
(
an
2
or
aes
/
spdif
) to
store and exit setup mode.
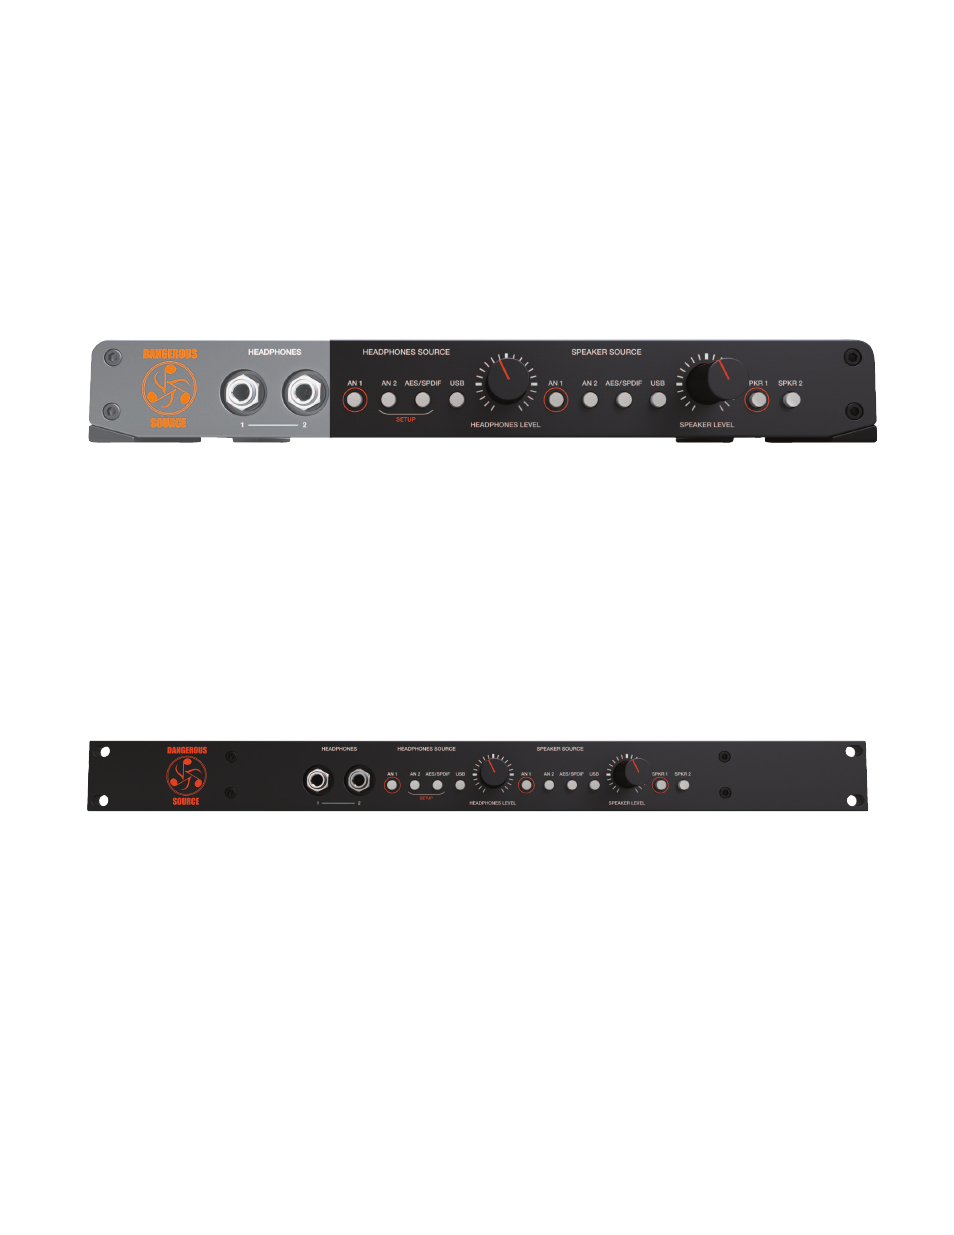
8. MOMENTOGGLE (HEADPHONES SOURCE • SPEAKER SOURCE • SPEAKERS)
[
headphones
source
,
speaker
source
and
speaker
selection
buttons
pictured
above
]
Feature:
momentoggle
is built into all of the buttons above. It provides either a momentary or latching mode, at the user’s
discretion.
Operation:
latch
mode
. If the buttons are pressed and released quickly, they will latch.
toggle
mode
. If pressed and held for more than a second, the function remains locked until the button is released.
Uses:
Create a talkback mic:
Plug a mic and preamp into analog input two (
an
2
). To communicate with the talent, just hold
the
an
2
button on the
headphones
source
side to speak directly into their cans. Release and it deactivates.
Subwoofer check: Plug your main monitors into
spkr
1
and the sub(s) into
spkr
2
. Then hold the
spkr
2
button for as long
as you’d like to check the low frequency content.
9. OPTIONAL RACK KIT
[
optional
srk
rack
kit
pictured
above
]
Feature:
Mount
source
in traditional racks or road cases with the optional 19” faceplate (part number
srk
).
Benefit:
Ability to tuck
source
into a 19” rack bag or into a fixed installation.
Operation: Remove the desktop front and install the single rack space faceplate as explained below.
(1) Gently pull off the two knobs
(2) Remove the two nuts from around phones jacks Remove the four main hex screws from the faceplate
(3) Remove the four main hex screws from the faceplate
(4) Remove the four feet
(5) Replace the phillip head screws in the former holes where the feet had been
(6) Install the one space rack panel