Installing the music stand – Casio PRIVIA PX330ES1A User Manual
Page 5
General Guide
E-3
English
•
This manual uses the numbers and names below to refer to buttons and controllers.
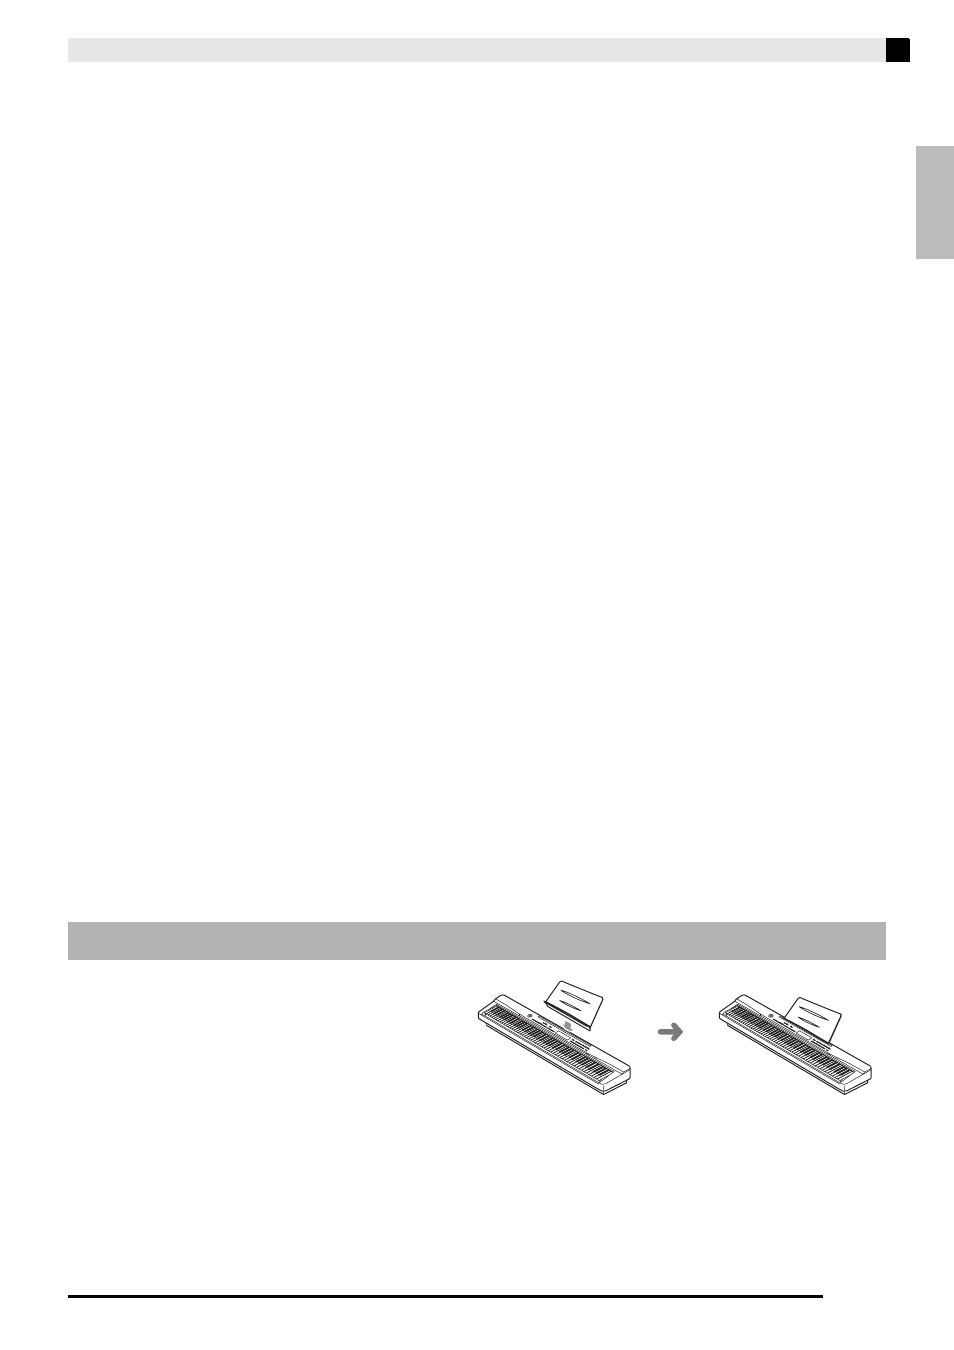
Insert the bottom of the music stand into the
groove on the top of the Digital Piano’s
console.
* Installing the Music Stand
VOLUME controller
INTRO/REPEAT button
NORMAL/FILL-IN, sREW button
VARIATION/FILL-IN, dFF button
SYNCHRO/ENDING, PAUSE button
START/STOP, PLAY/STOP button
ACCOMP ON/OFF, PART button
METRONOME button
RECORDER button
TEMPO buttons
RHYTHM, USER SONGS button
POPS/JAZZ, MUSIC PRESET button
LATIN/WORLD, MUSIC PRESET button
BALLAD/PIANO RHYTHMS,
RHYTHM EDITOR button
USER RHYTHMS, RHYTHM EDITOR button
Display
TONE, REGISTRATION button
FUNCTION button
w/NO, q/YES buttons
GRAND PIANO (MODERN) button
GRAND PIANO (CLASSIC) button
ELEC PIANO button
VIBES/CLAVI button
ORGAN button
STRINGS/SYNTH-PAD button
BASS/GUITAR button
VARIOUS/GM TONES button
REVERB, REV TYPE, EXIT button
CHORUS, CHOR TYPE, u button
SPLIT, SPLIT POINT, i button
CARD/INTERNAL, SAVE/LOAD,
ENTER button
STORE, USB DEVICE MODE button
SD CARD SLOT
PITCH BEND wheel
USB port
MIDI OUT/IN terminals
DAMPER, SOFT/SOSTENUTO PEDAL jacks
DC 12V terminal
LINE OUT R, L/MONO jacks
LINE IN R, L/MONO jacks
POWER button
PHONES jacks
Pedal connector