Nsert and, Harge the, Attery – CLEAR Spot 4G Apollo Users Guide User Manual
Page 5: Set it up (continued)
4
Set It Up (continued)
Insert and Charge the Battery
The battery comes partially charged, so you can use your CLEAR Spot right away. Remove the
battery cover, slide in the battery so the pins align and replace the battery cover.
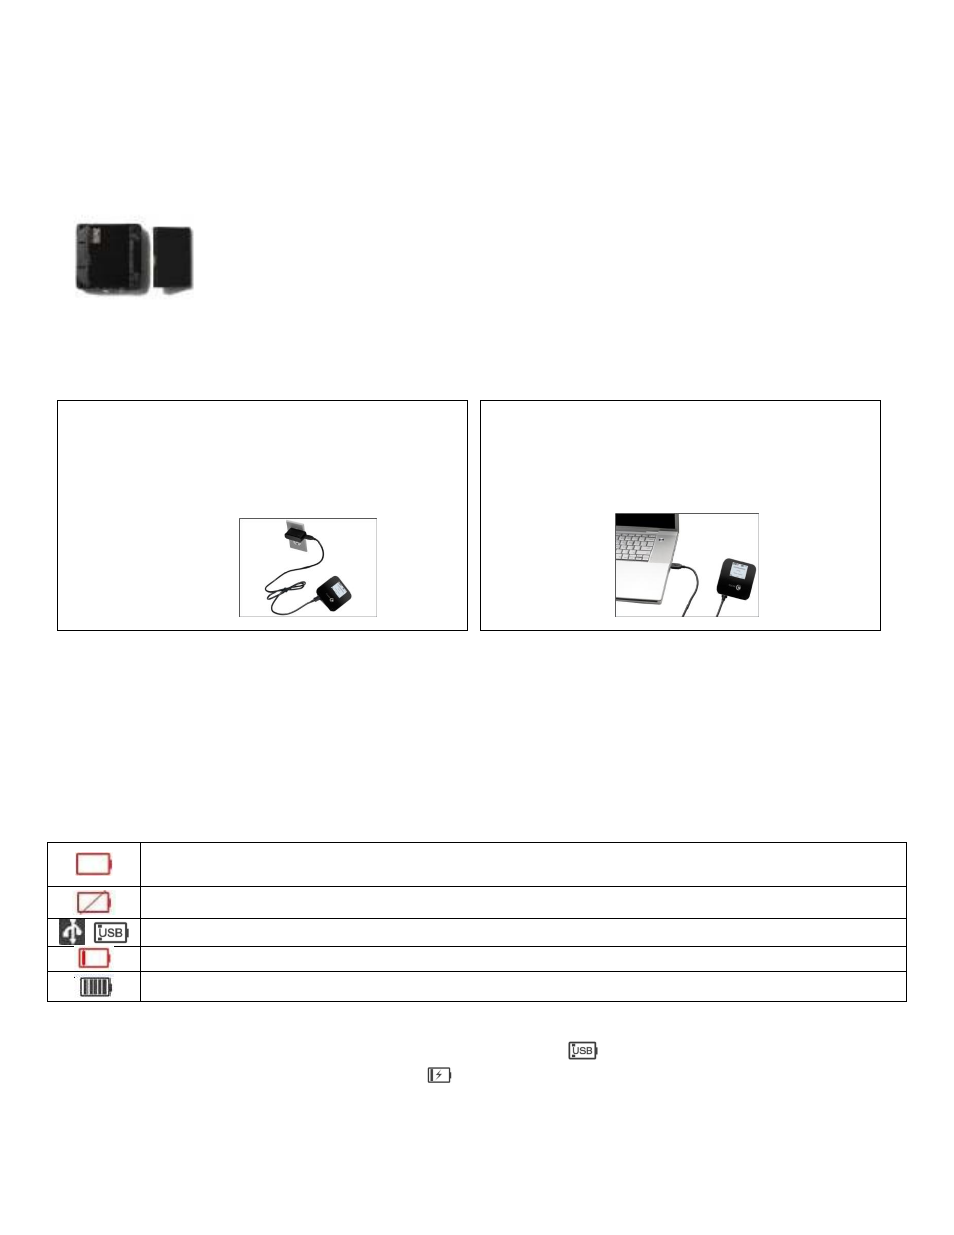
The CLEAR Spot battery is easy to charge.
You can use the CLEAR Spot while charging the battery.
When the battery is fully charged, you’ll see five bars on the LCD screen.
It takes approximately three hours to fully charge a battery that has no charge.
The LCD screen displays icons, depending on the battery charge level. The chart below illustrates
the icons, as well as the descriptions of the different battery conditions.
Icon Description
The battery charge level is critical and the battery should be charged immediately. When
this happens, the CLEAR Spot automatically will turn off.
No battery is in the CLEAR Spot. The CLEAR Spot is connected to the Wall Charger.
The CLEAR Spot is connected via the USB Cable. The battery is charging
The battery is low.
Five bars indicate the battery is fully charged.
When charging when the device is off, the LCD screen shows
. When charging when the device
is on, the device will show the following icon
.
To use the Wall Charger, plug the small end of
the Micro-USB Cable (USB Cable) into the
CLEAR Spot, plug the large end into the Wall
Charger, and plug the Wall Charger into an
electrical outlet.
To charge the CLEAR Spot battery through
your computer, plug the small end of the USB
Cable into the CLEAR Spot and plug the large
end into an available USB Port on your
computer.